Week 13
Production Deployment
Assignment Reminder
Final project - GIFTR is due by 5:00 pm April 21, 2020.
This is the final deadline. There will be no extensions.
Counts for 30% of your MAD9124 final grade.
# Architecture
Of all cloud infrastructure service providers, Amazon Web Services (AWS) is far and away the market leader. We will take advantage of their generous education credits to learn how to deploy the final project using a typical architectural pattern.
Your main web service API application will be bundled into a Docker container which can be auto-scaled in response to service demand. This service container cluster will be accessed via an Application Load Balancer, which can also manage the secure HTTPS connection with the client application. The Node Express containers will talk to a MongoDB service running in another high-availability cluster.
Additionally, your client application from MAD9022 could be served from a global content delivery network – but we will not tackle that for this project.
The key service components that you typically need include:
Backend Web Service
- Docker Hub (image repository)
- Amazon Virtual Private Cloud (VPC)
AWS Certificate Manager- Amazon Elastic Application Load Balancer (ELB)
- Amazon Elastic Container Service (ECS) with Fargate
- MongoDB Atlas – deployed to a managed Amazon Elastic Cloud Compute (EC2) Cluster
Frontend Client APP
Amazon Simple Storage Service (S3)Amazon CloudFront (CDN)- GitHub PWA Private Repo
# Setup Hosted MongoDB
We will use the free tier of the MongoDB Atlas (opens new window) service to deploy a managed MongoDB service cluster to the same AWS region as our production Express server containers.
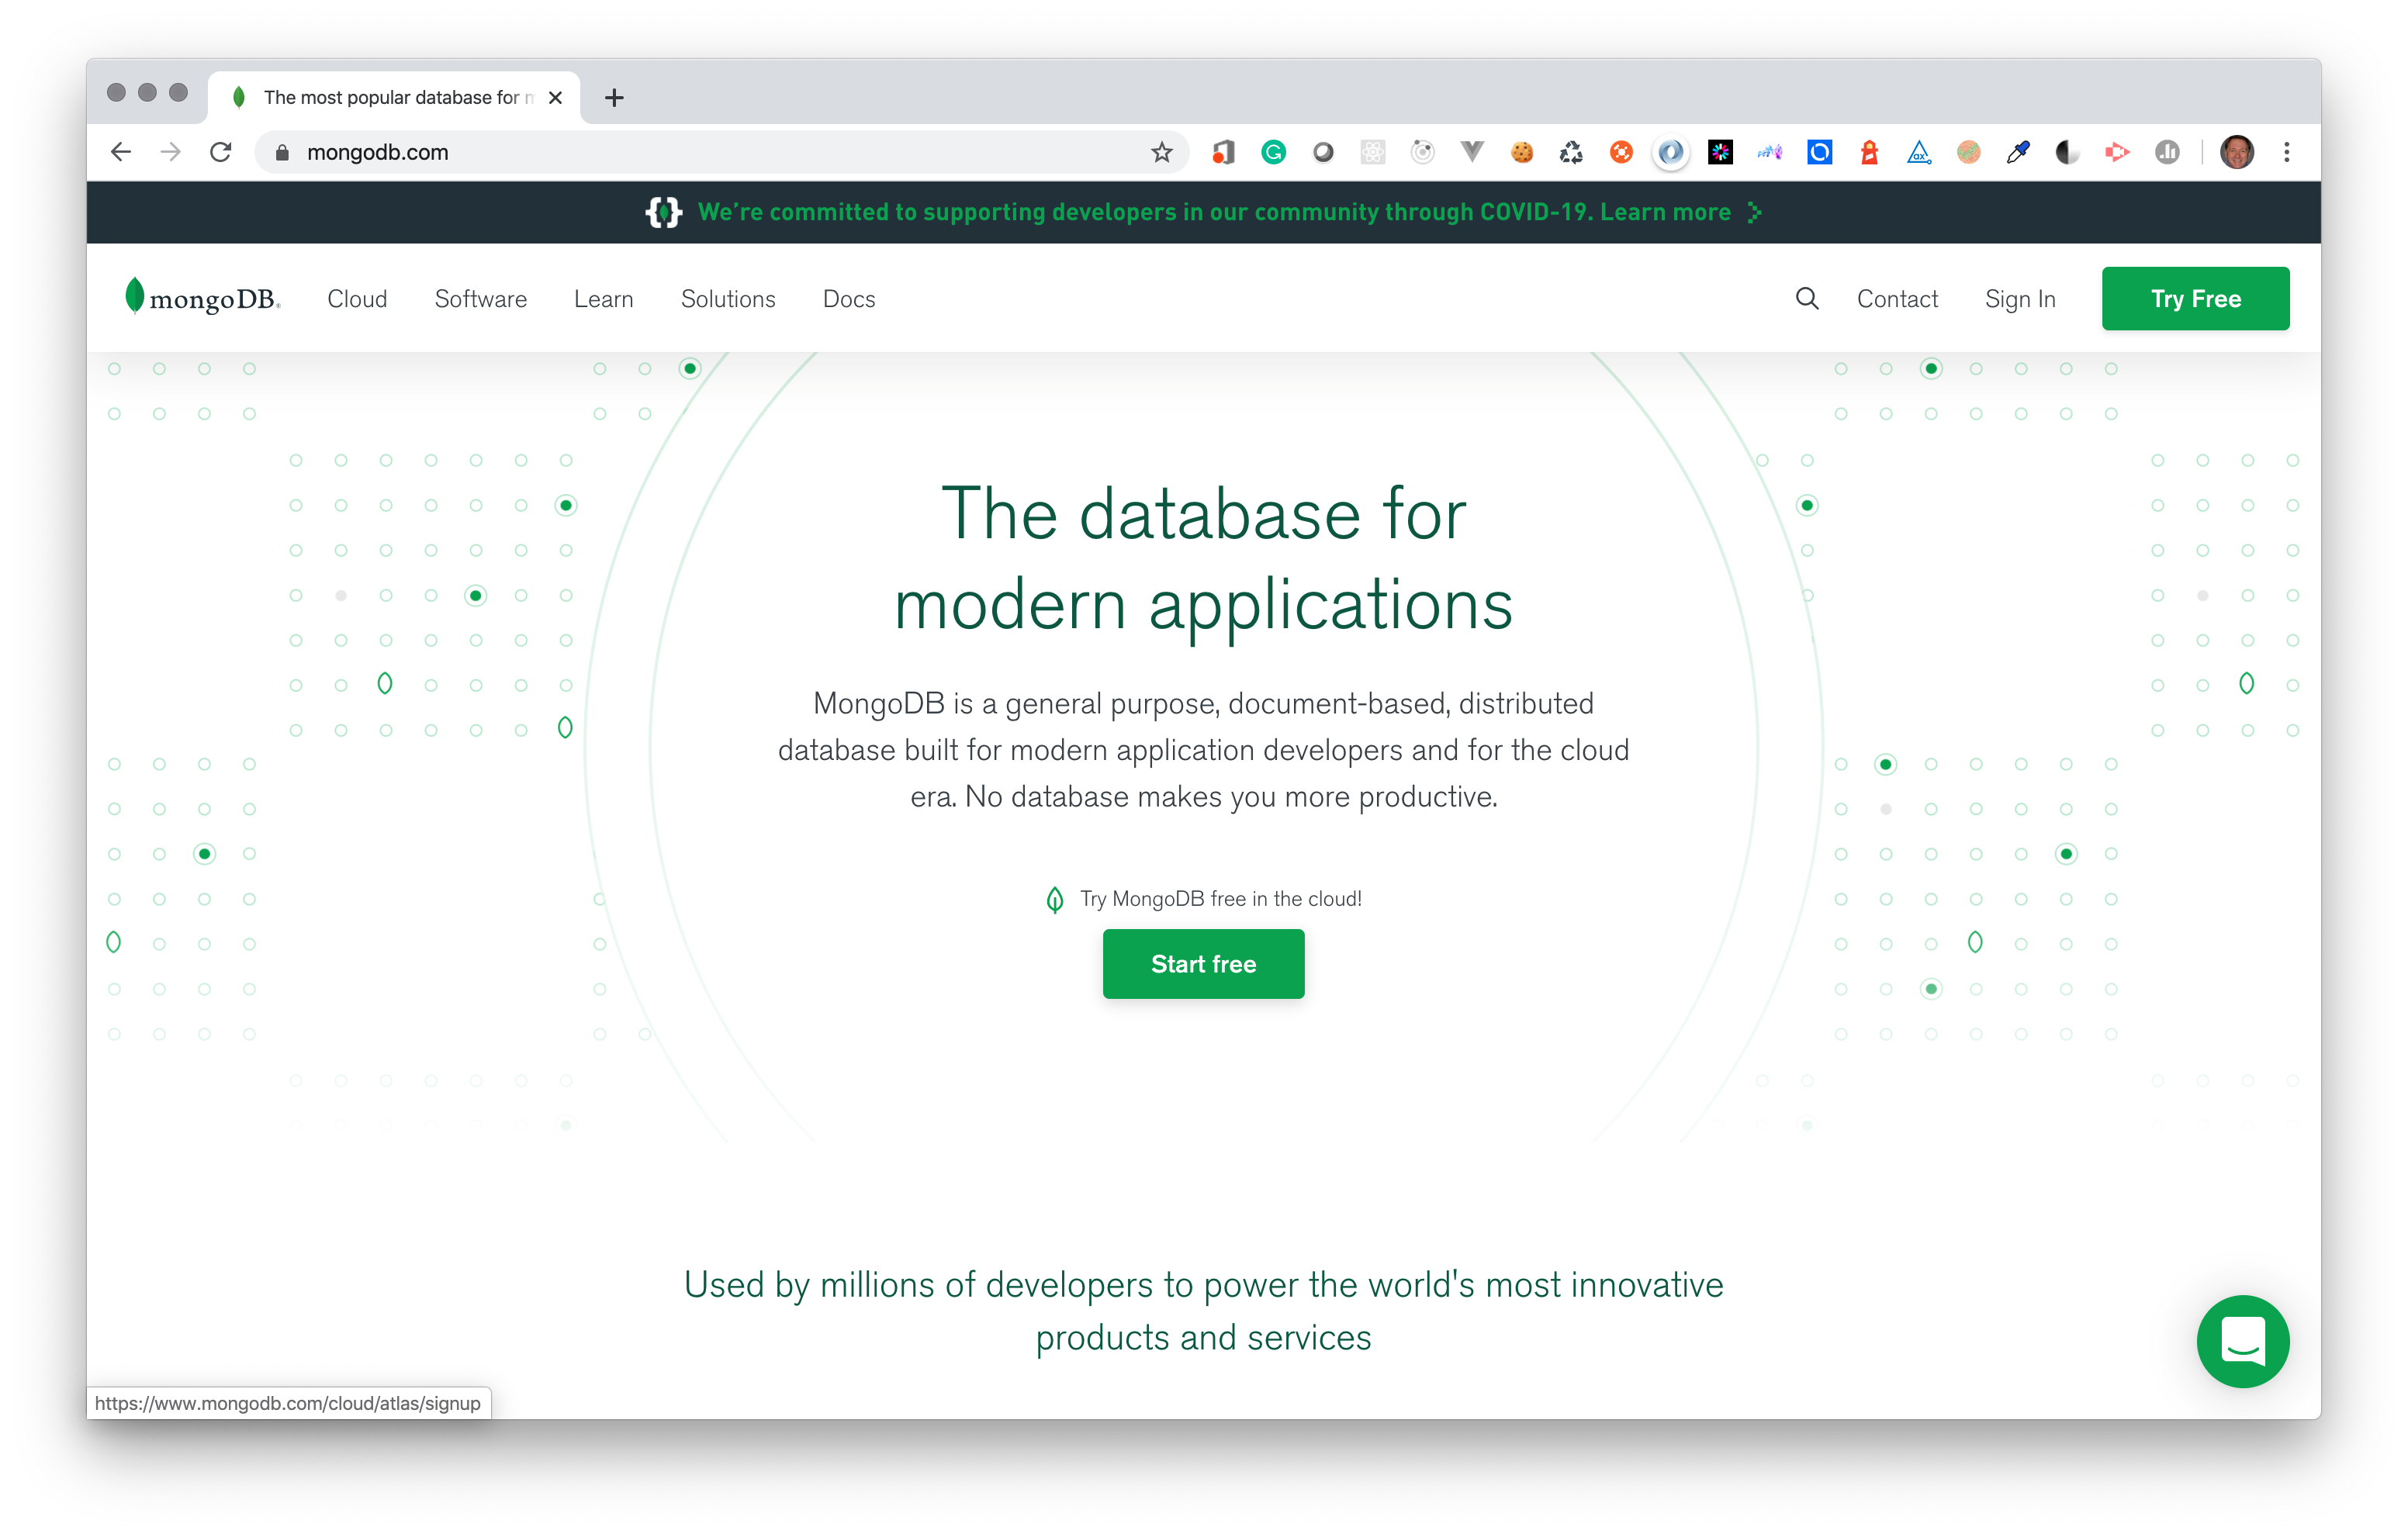
# Create a MongoDB cloud account
From the MongoDB home page (opens new window), click the green Start Free button.
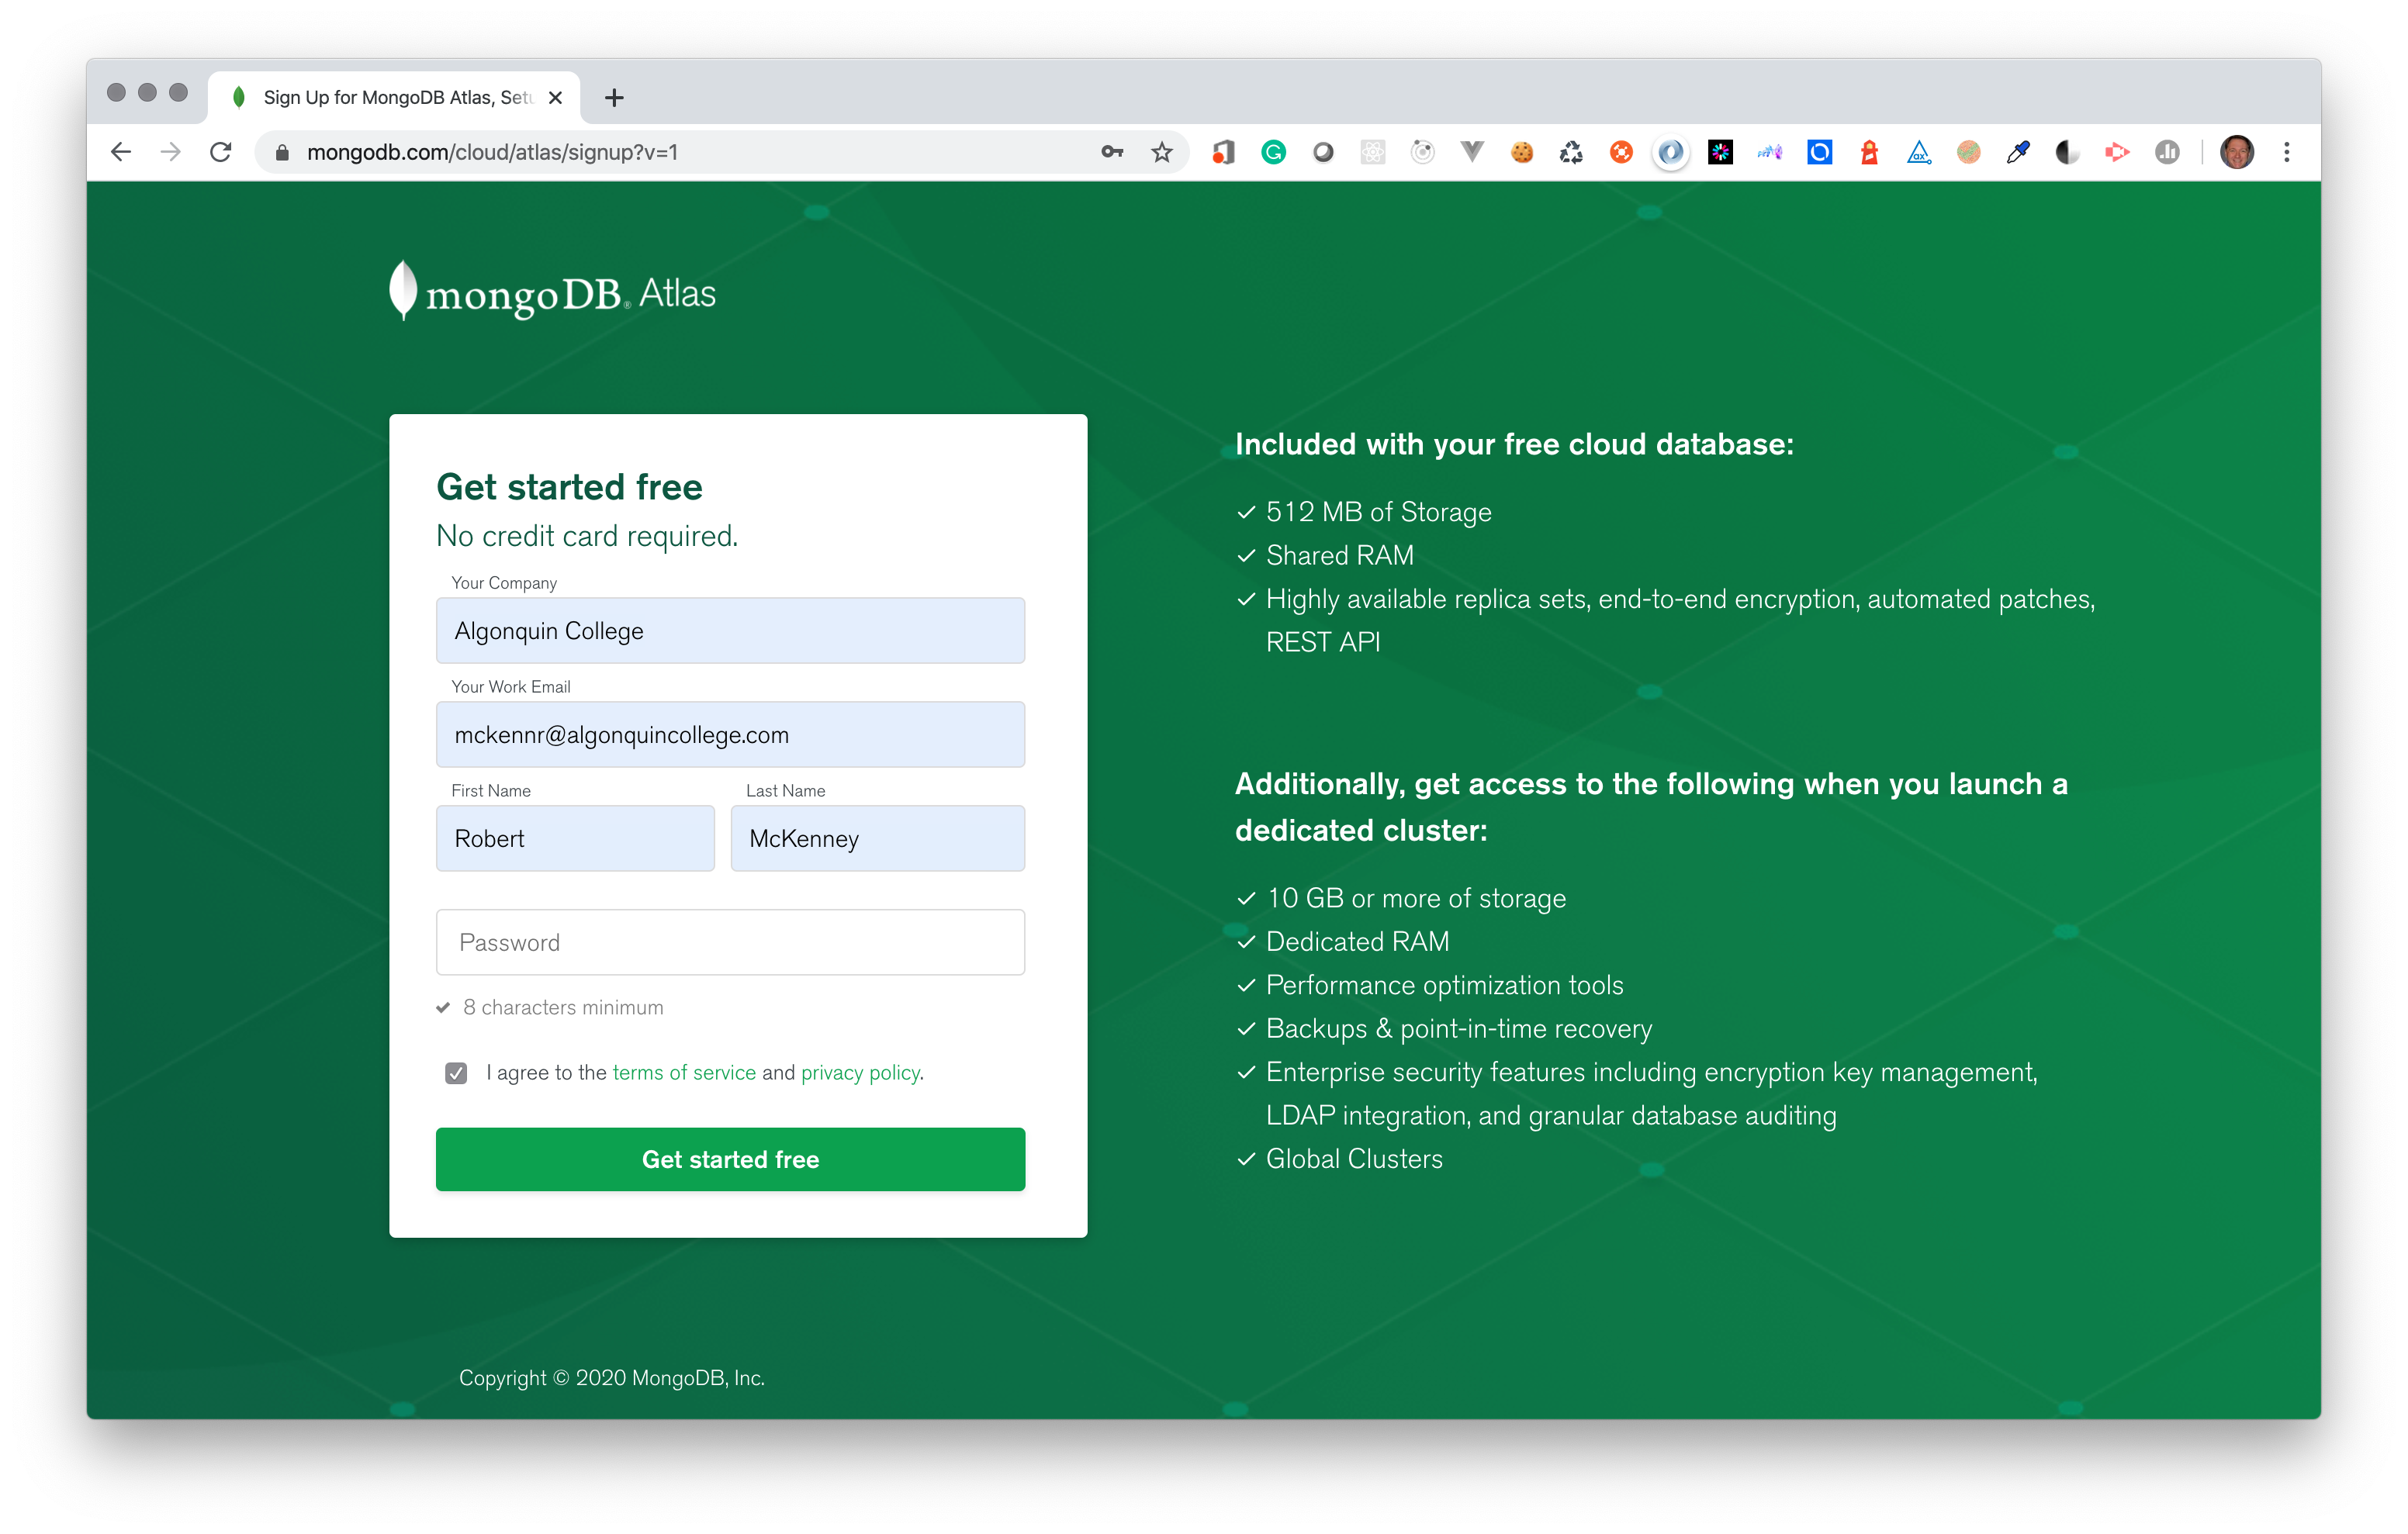
Fill in the form to create your free account. Please use your Algonquin College email address.
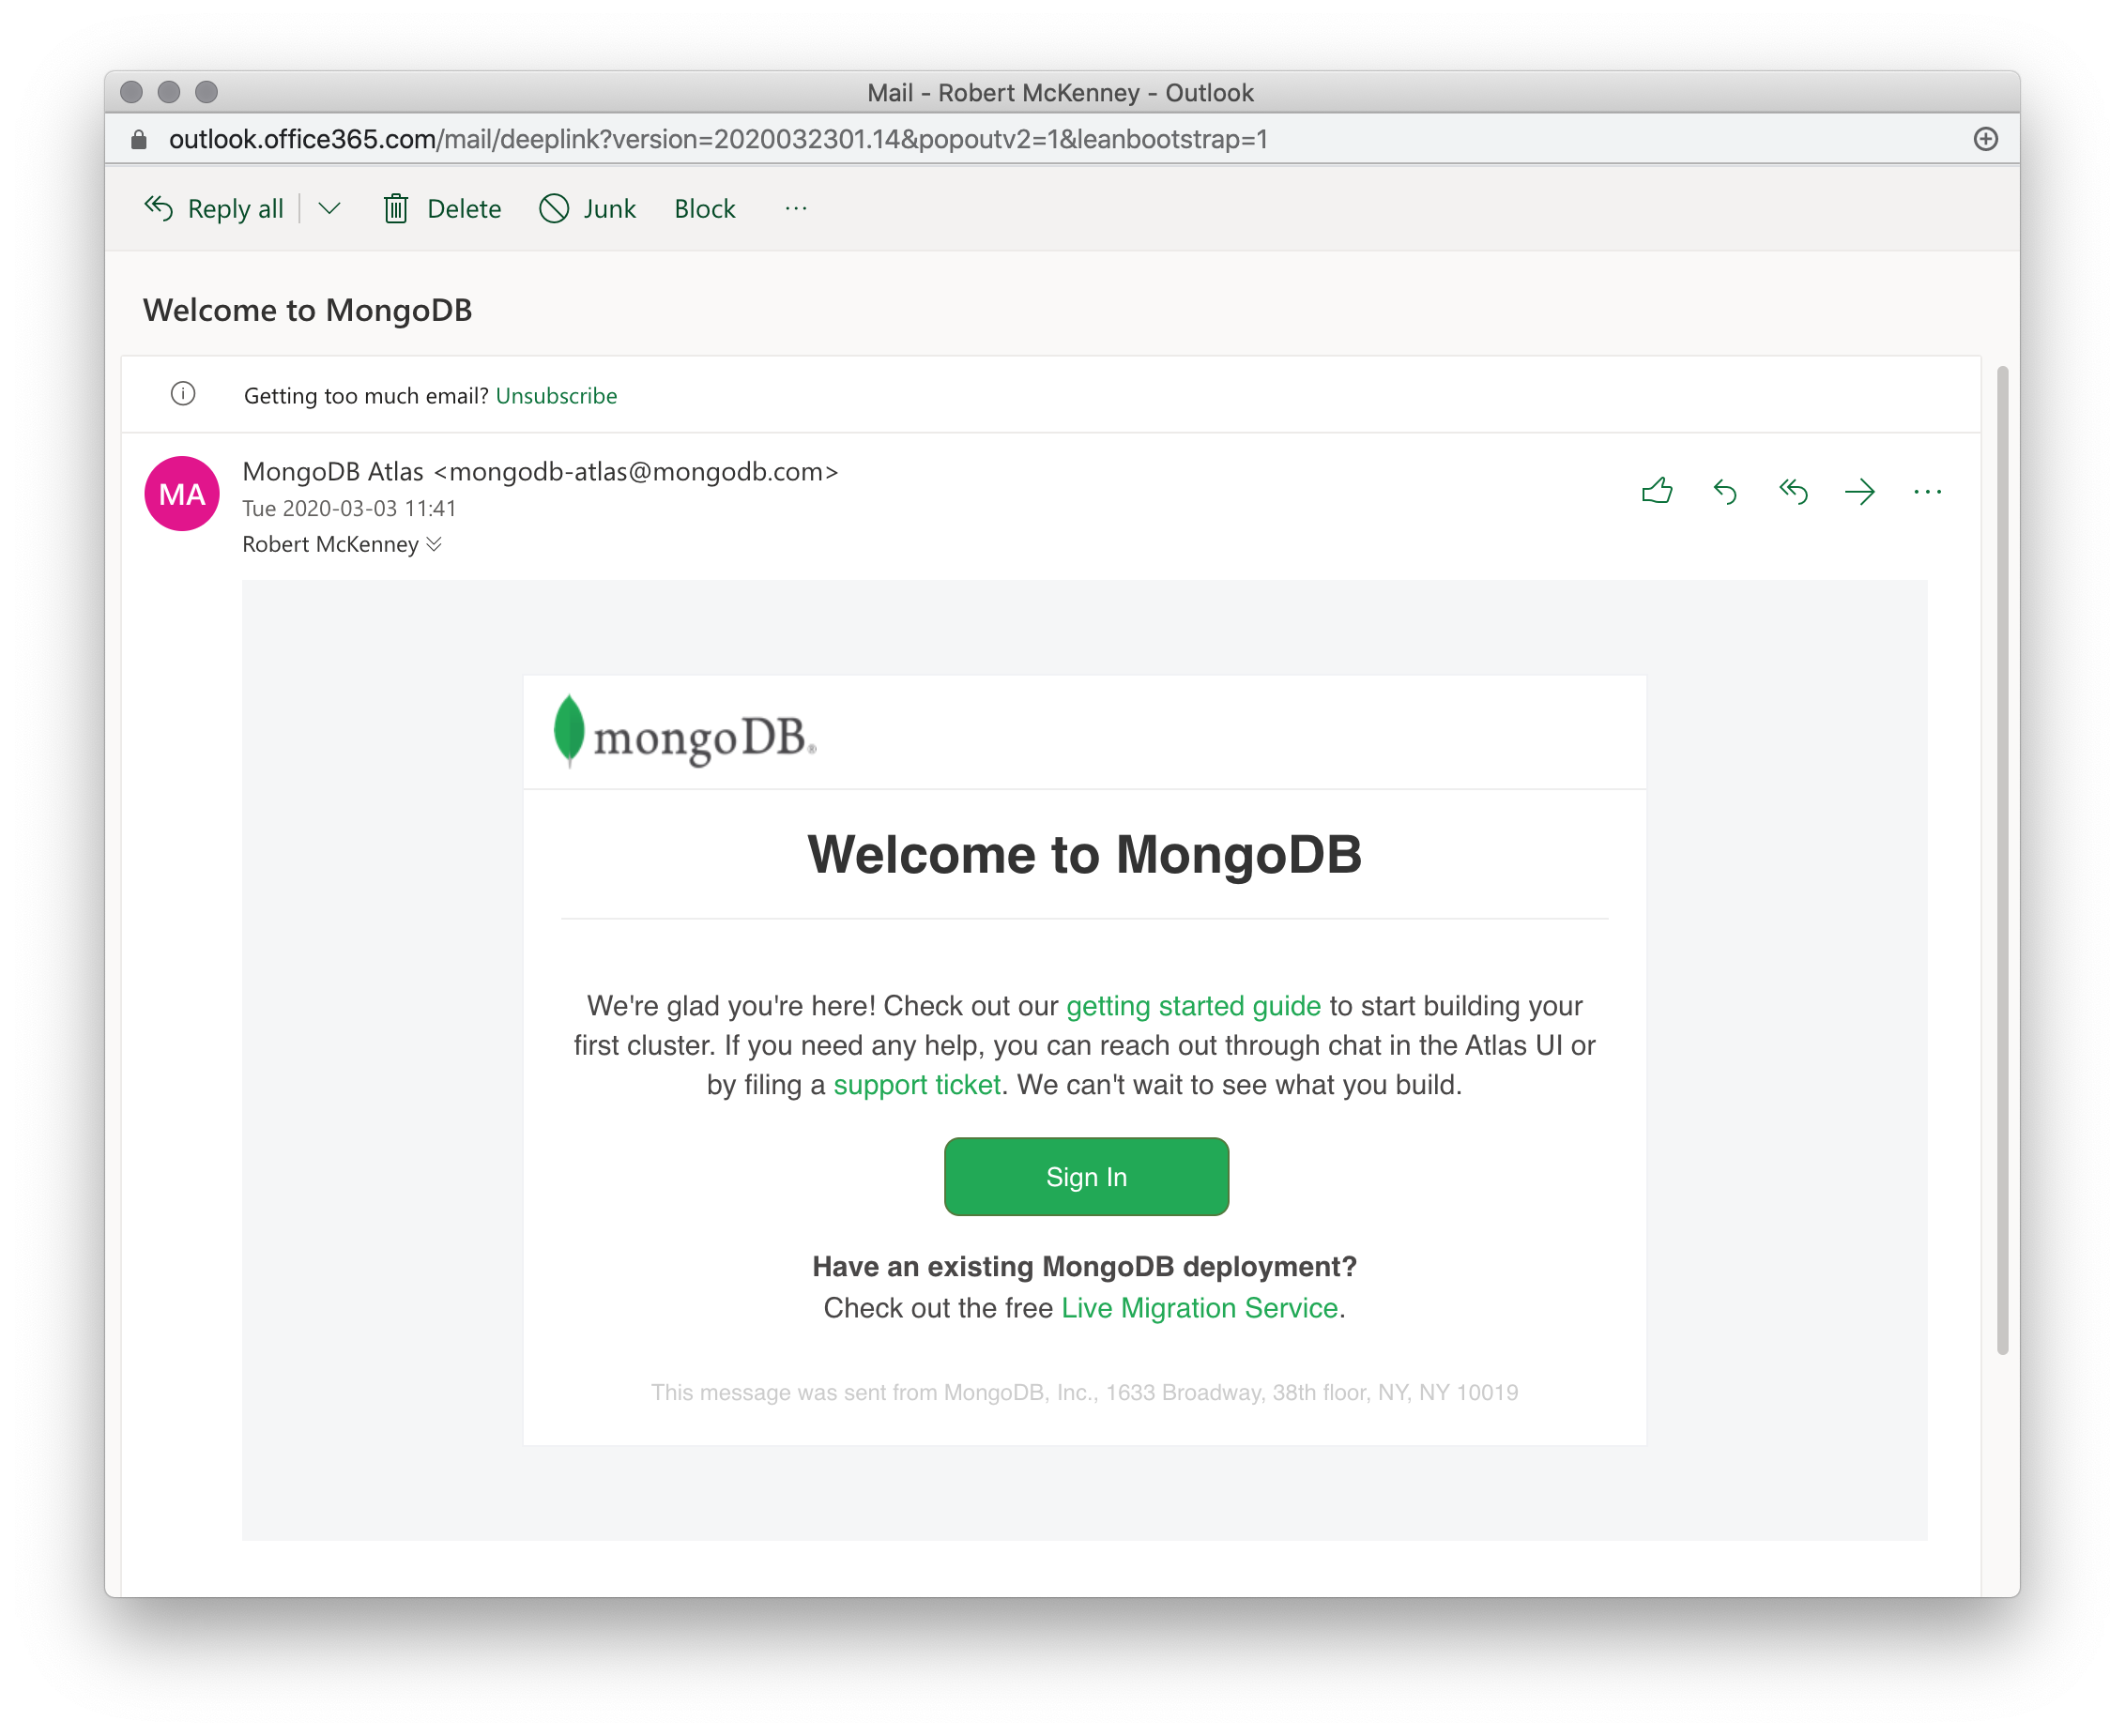
You should shortly receive a confirmation email from MongoDB Atlas. Click the Sign In button in that email.
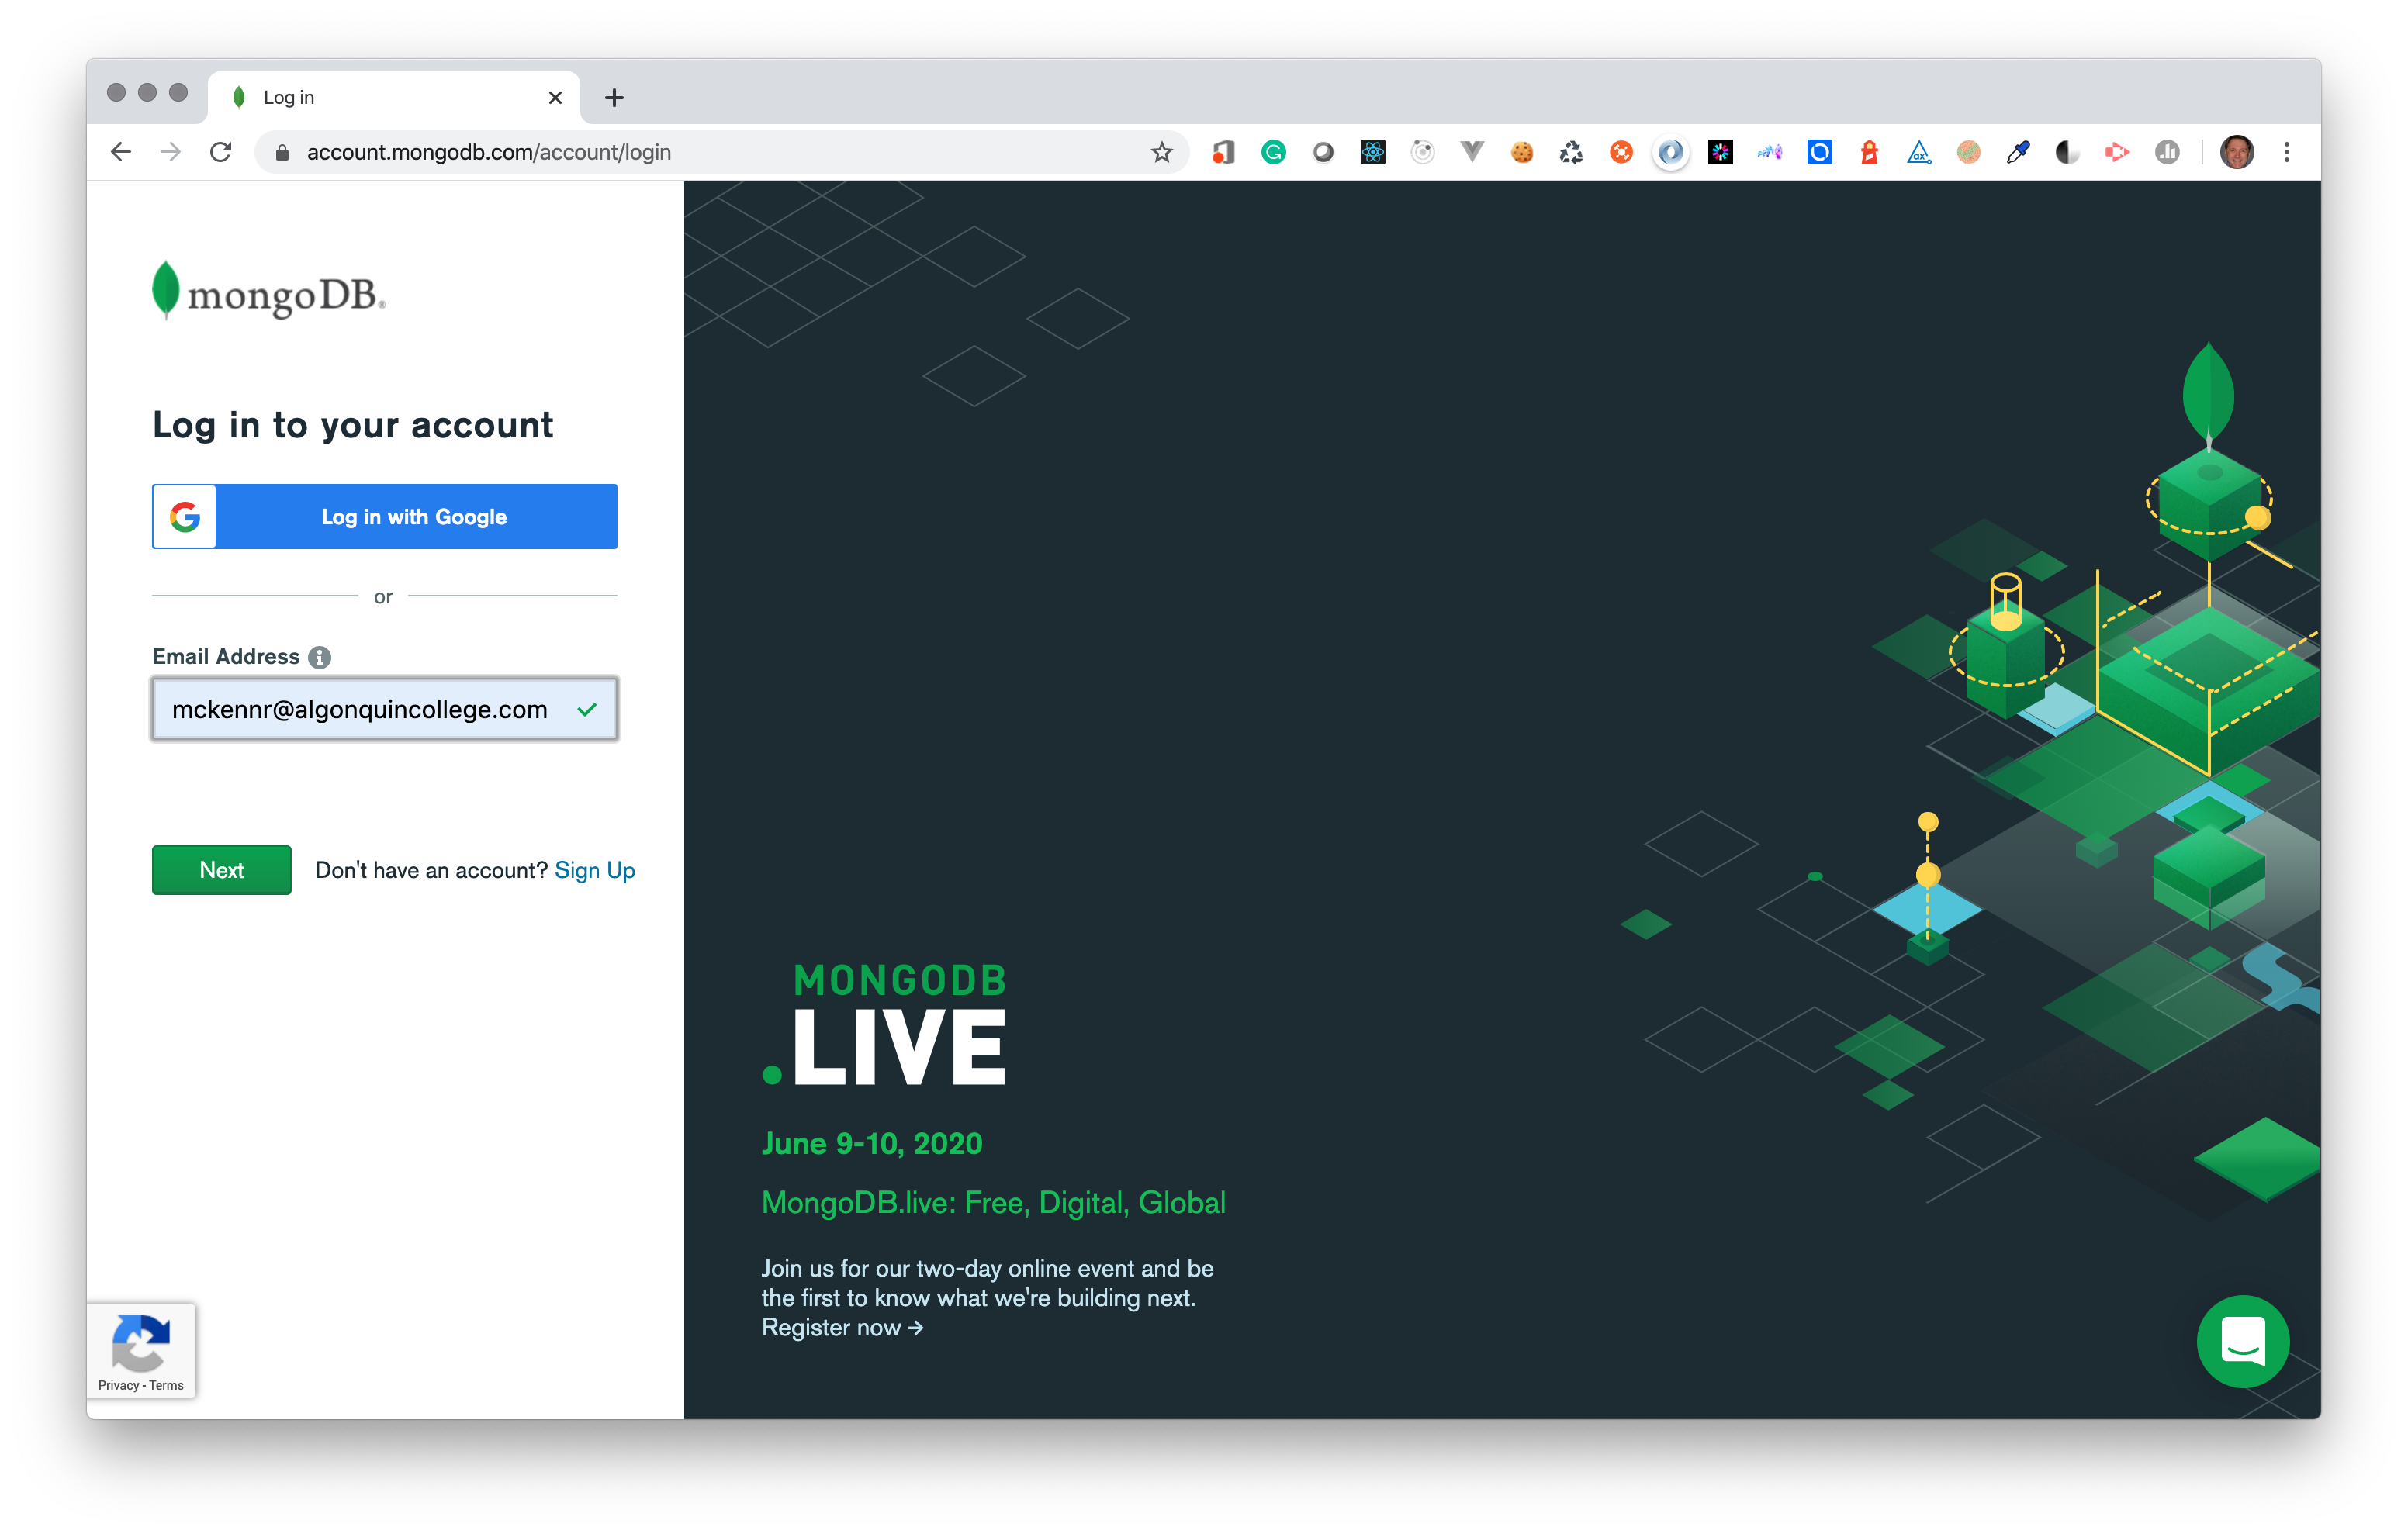
That will take you to the MongoDB Atlas login page (opens new window).
# Create Database Cluster
Follow the prompts to create your first Project and Cluster.
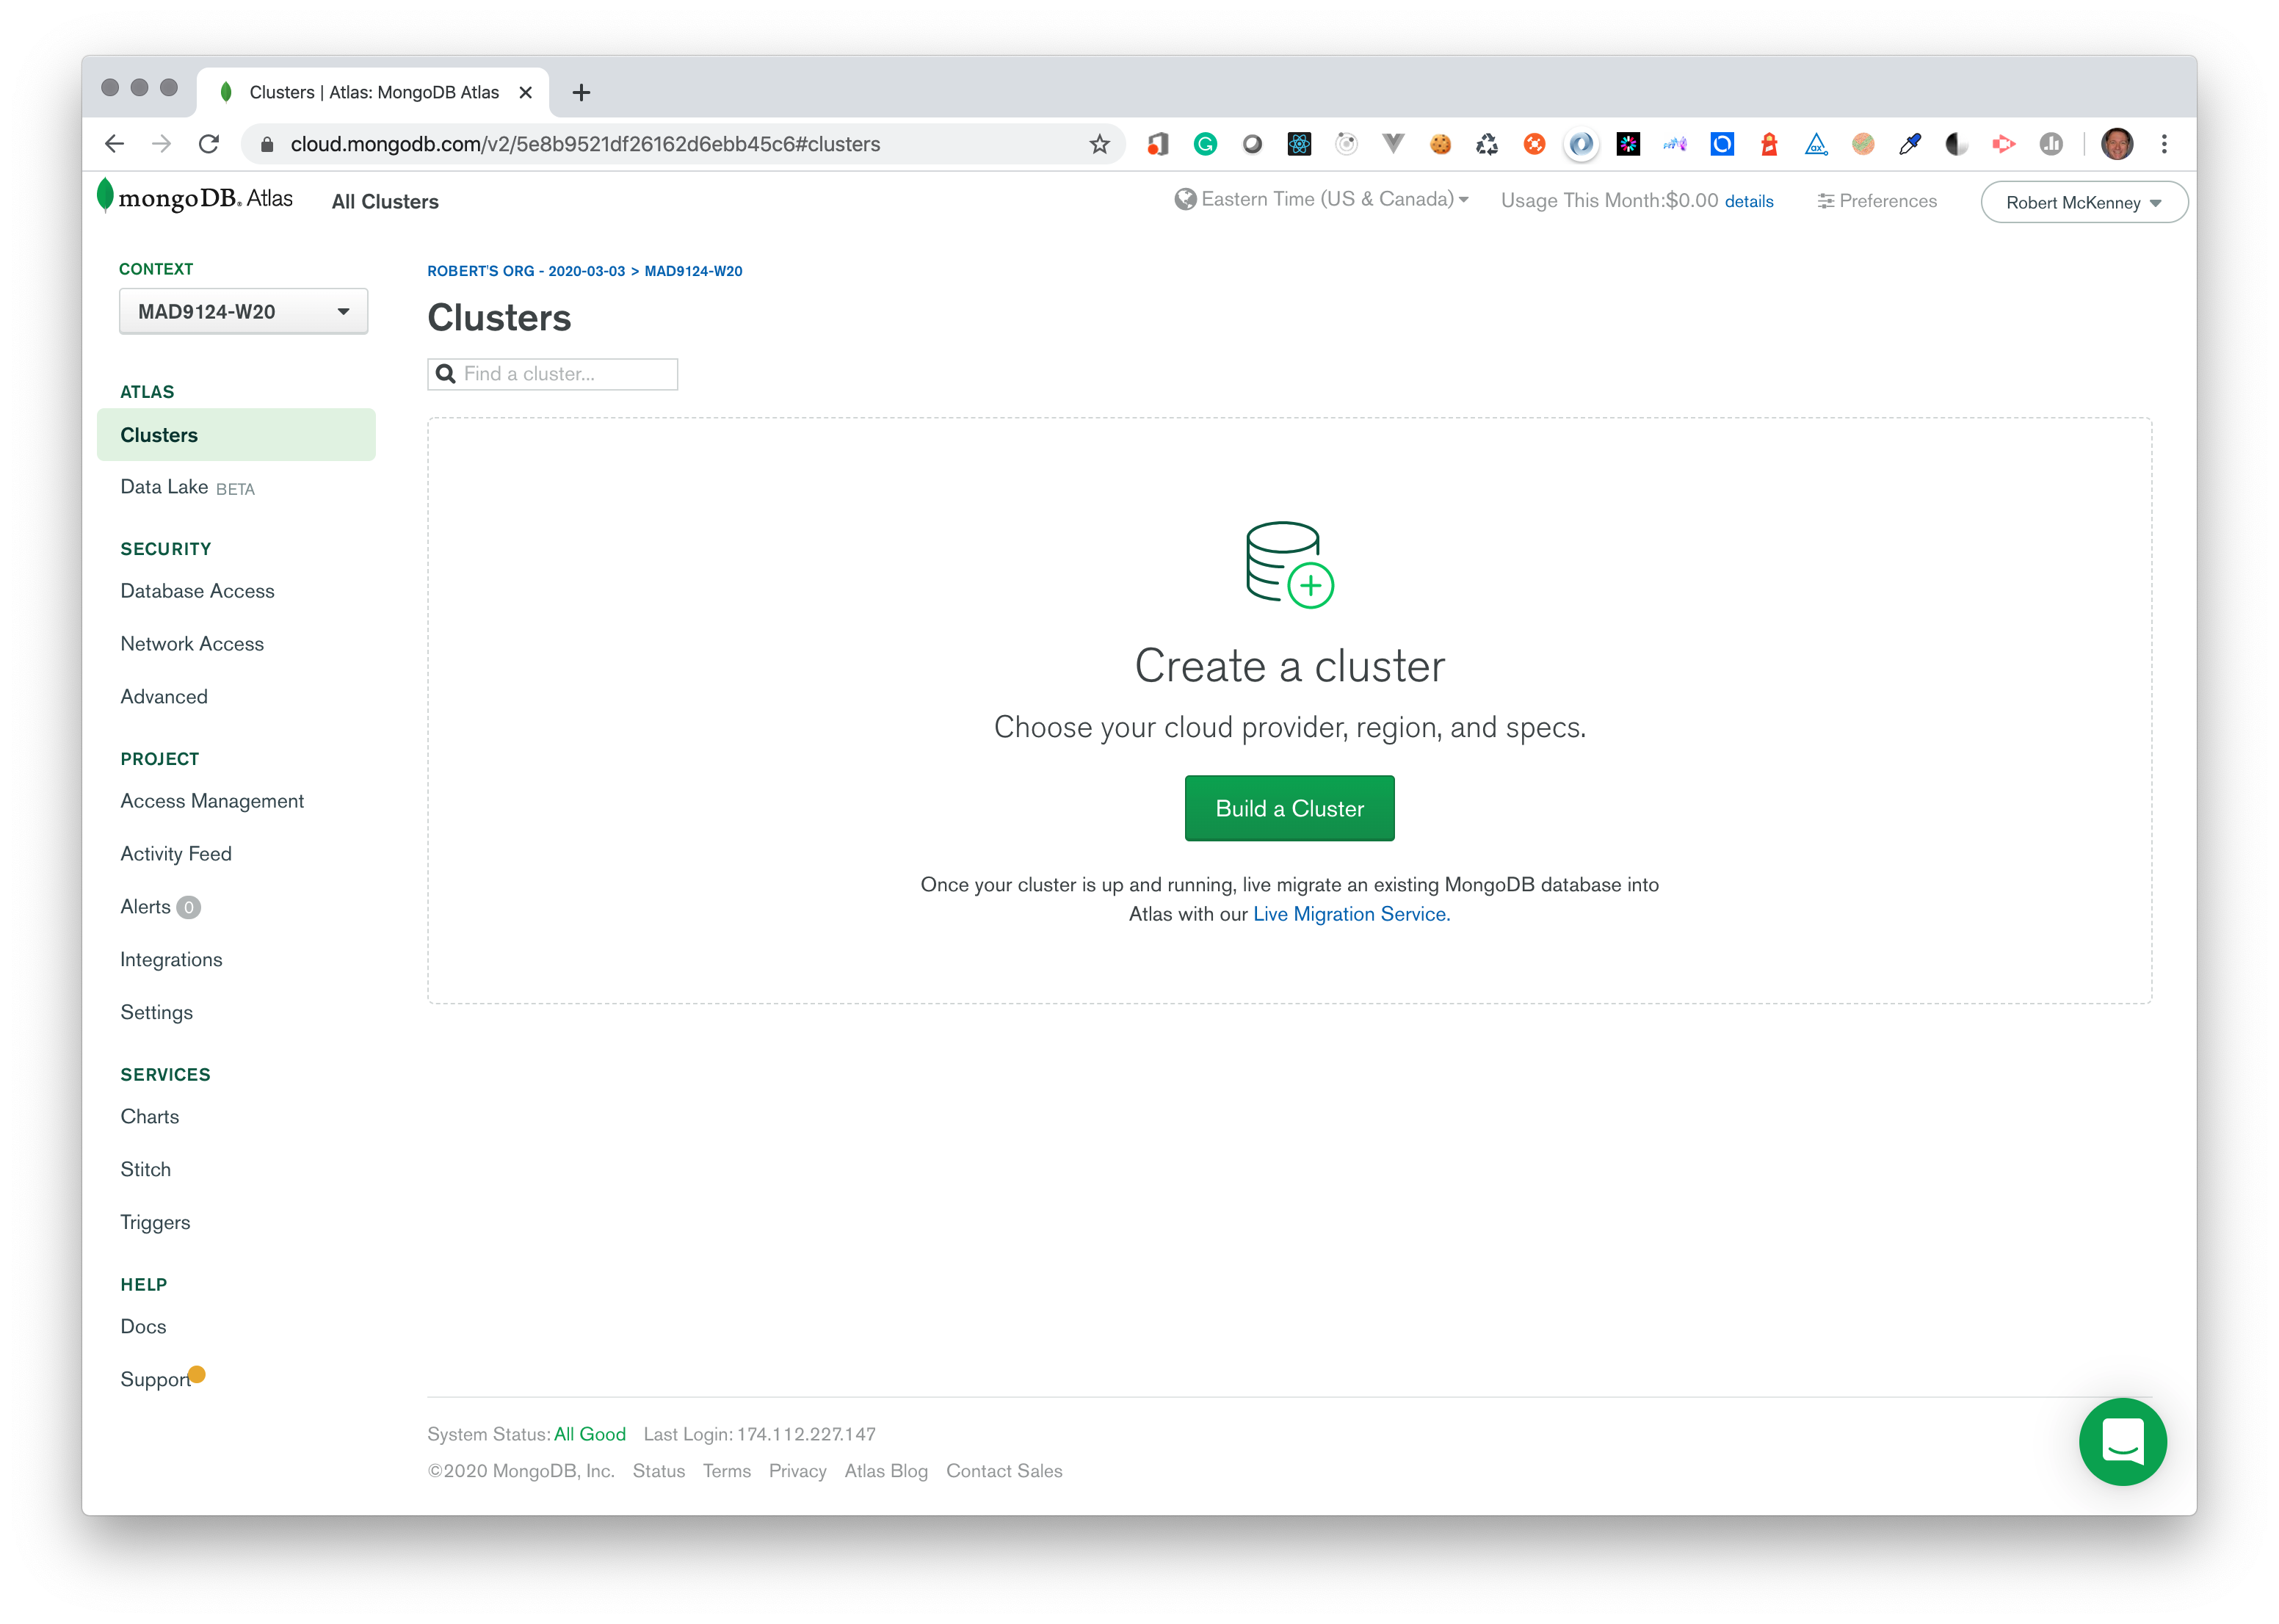
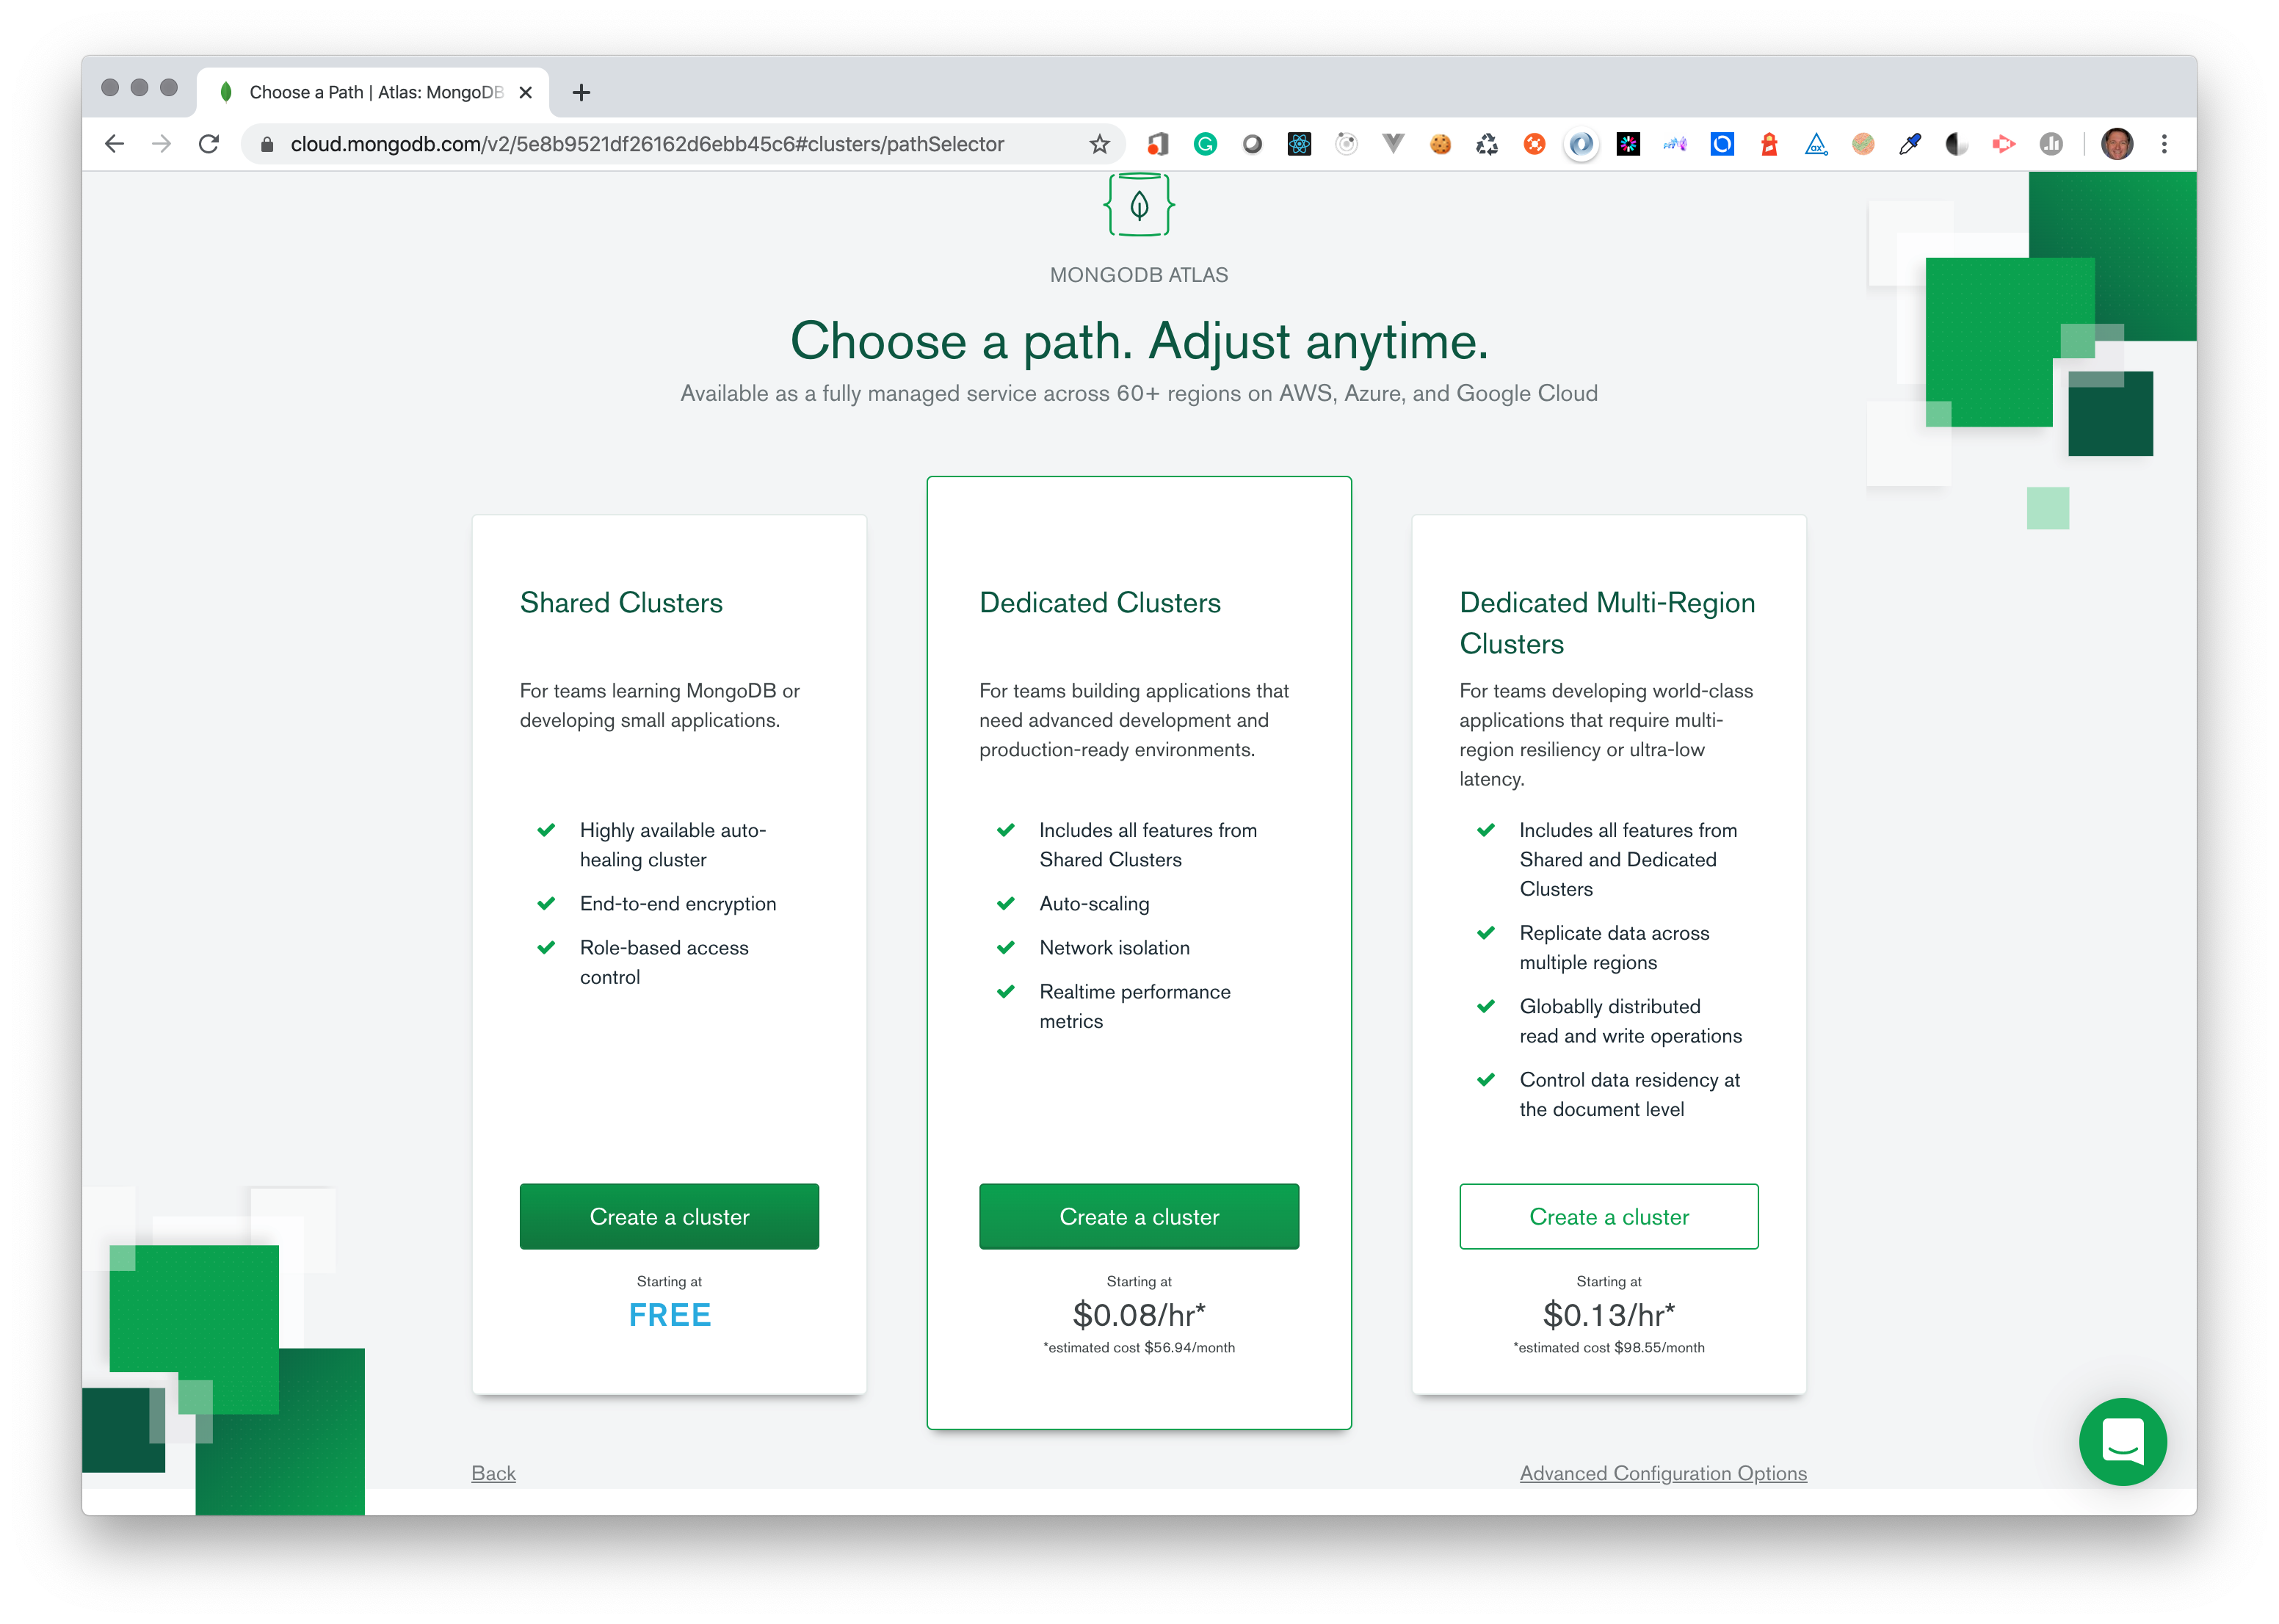
Choose the Shared Clusters option on the left – the free one.
# Configure Cluster
Choose AWS as the cloud provider. DO NOT choose 'Multi-Region ...'
Choose the N. Virginia AWS Region.
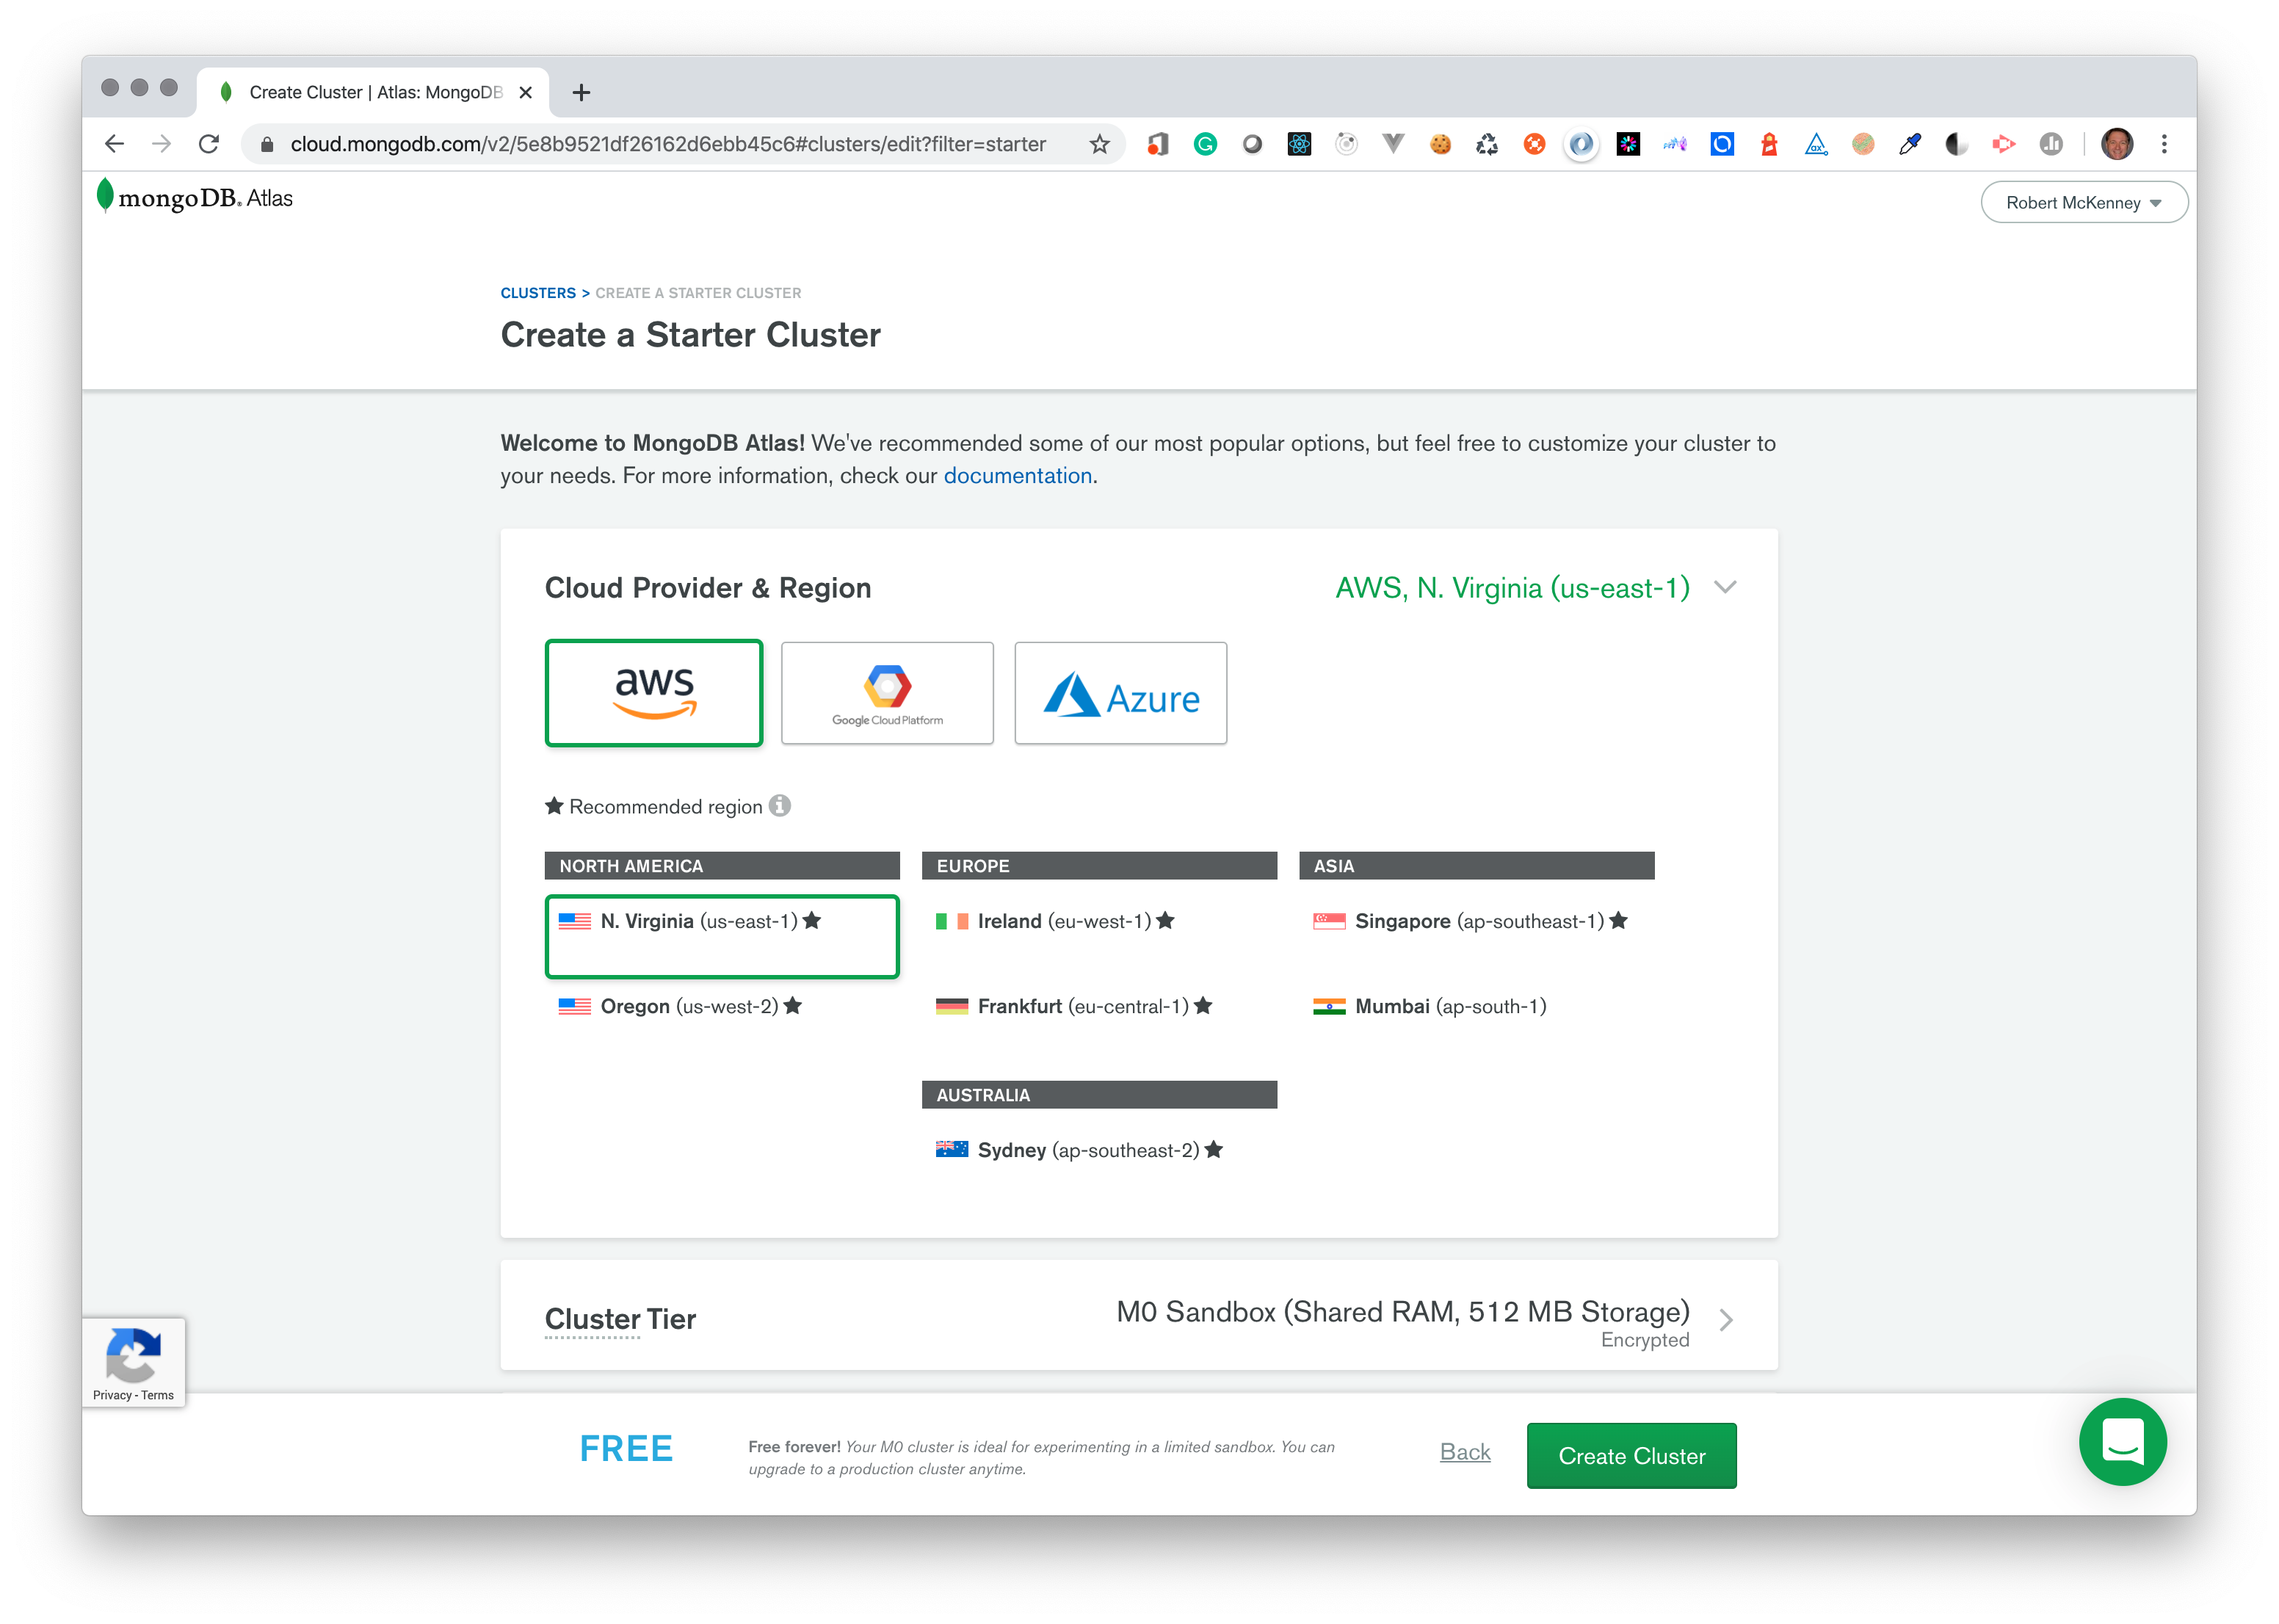
Under the heading Cluster Tier, choose M0 Sandbox – this is the free one.
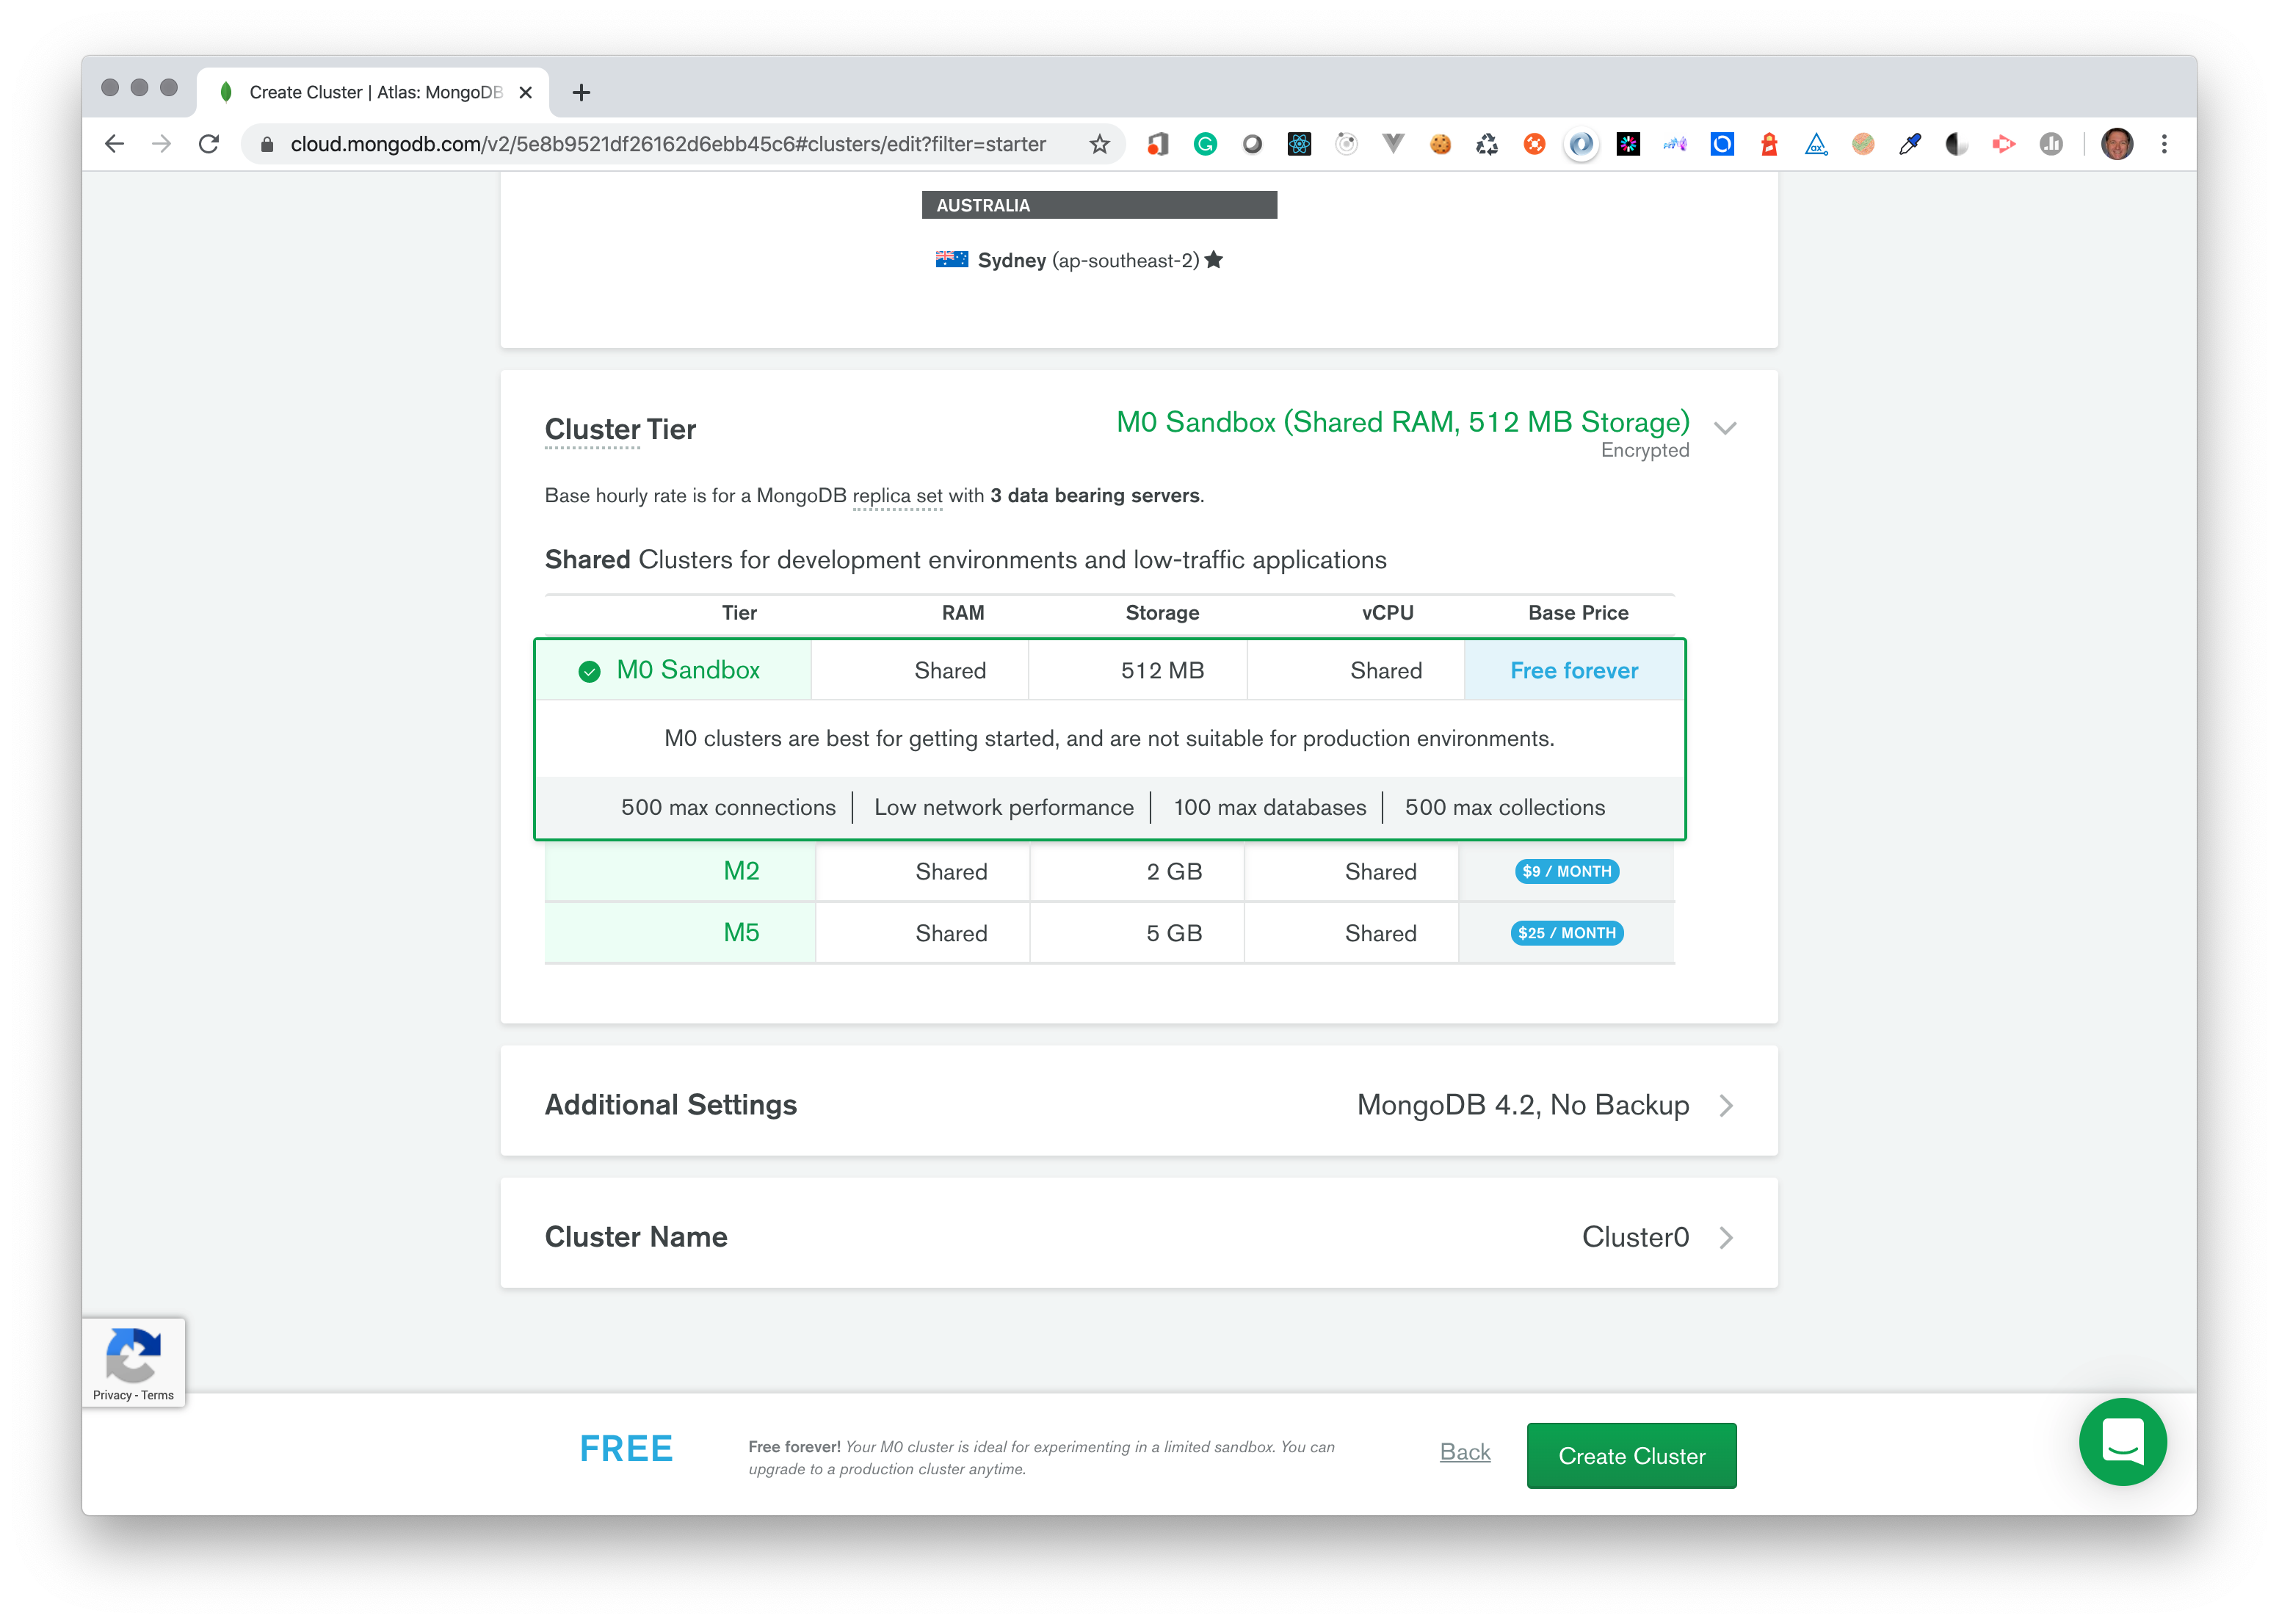
Do not select any Additional Settings. They are not available in the free tier.
Set the Cluster Name to GIFTR.

Verify your settings and click the green Create Cluster button.
You should now see the Clusters Dashboard while your new cluster is being provisioned. There should be a blue sandbox label on your cluster – this confirms that you correctly selected the free tier.
# Set-up Connection Security
There are still a few more steps. Click the connect button under your cluster name to bring up an information modal.
You will be accessing this cluster from multiple locations – home, school, and your AWS containers. You could (and in a real app SHOULD) designate an allowed list of only the IP addresses that need to connect to the database. But, for simplicity with this project simply allow all.
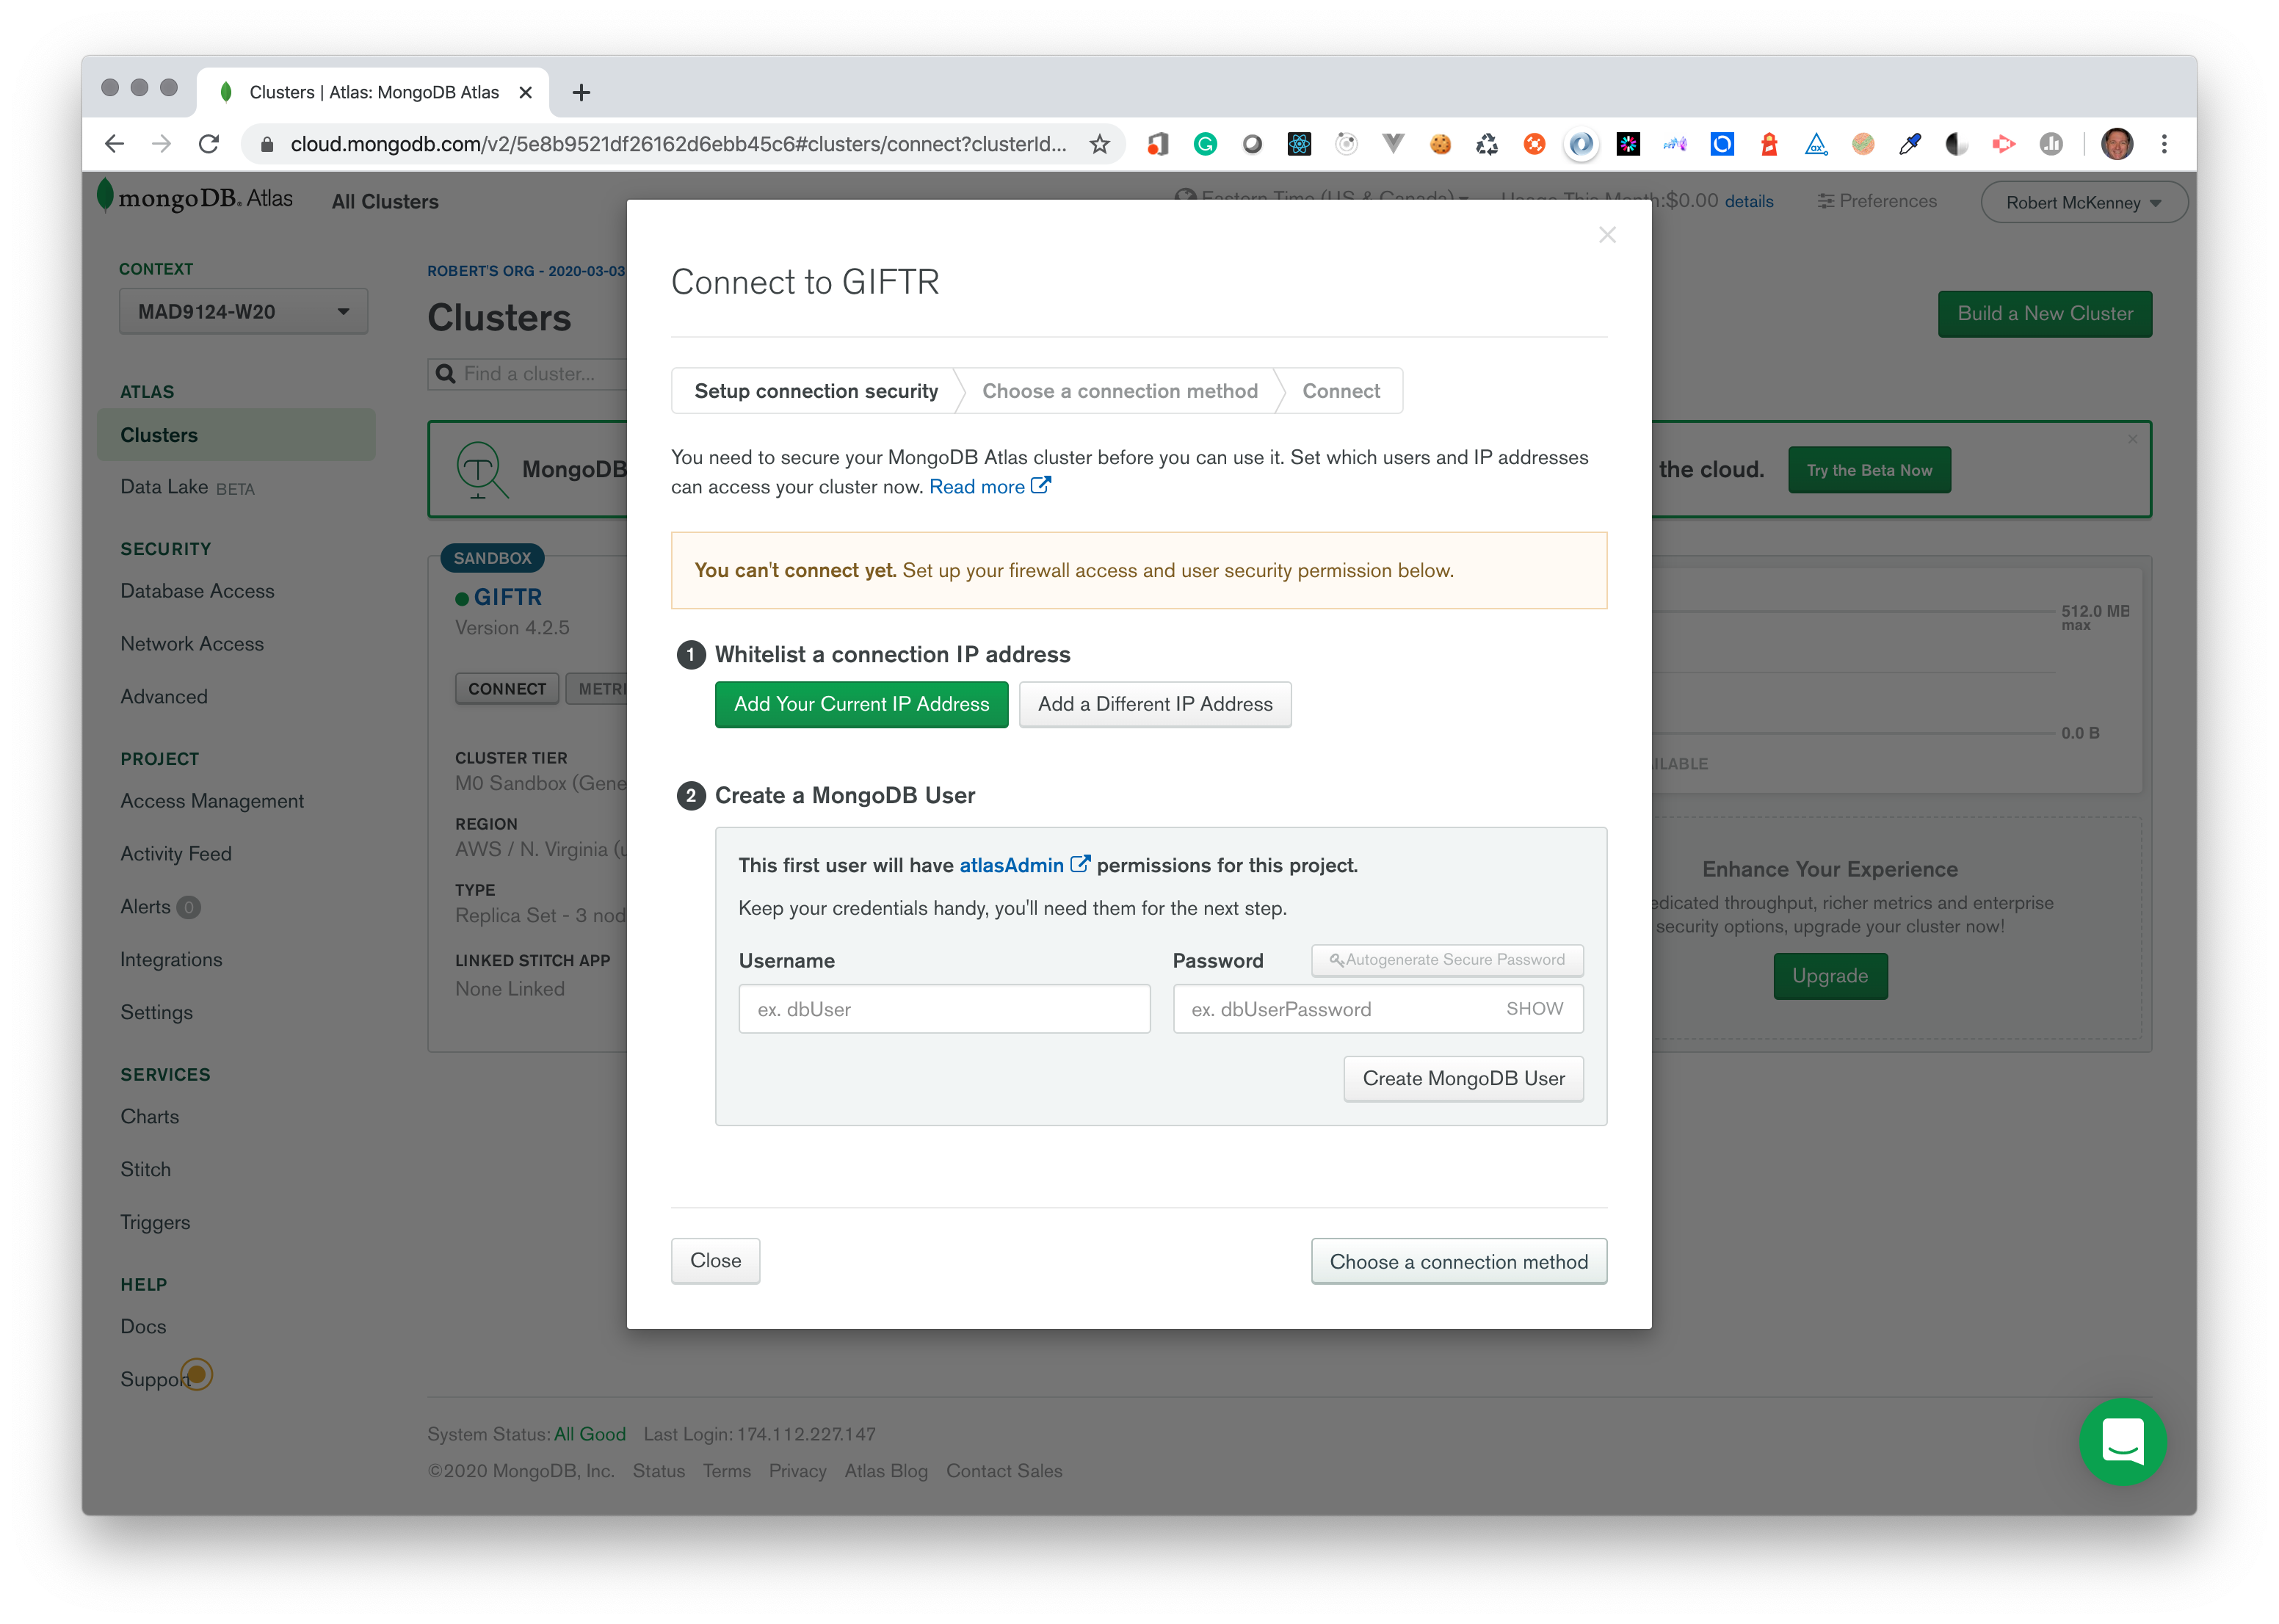
Click the Add a Different IP Address button, and then enter 0.0.0.0/0 for the IP address (CDIR notation (opens new window)) and click Add IP Address.
Next you will be asked to create an new administrative user for your database cluster. I called mine madadmin and selected the autogenerate password option for a reasonably secure random password.

Copy the password
Don't forget to click the show button next to the password, and then copy it to your config JSON file. You will never see this password again.
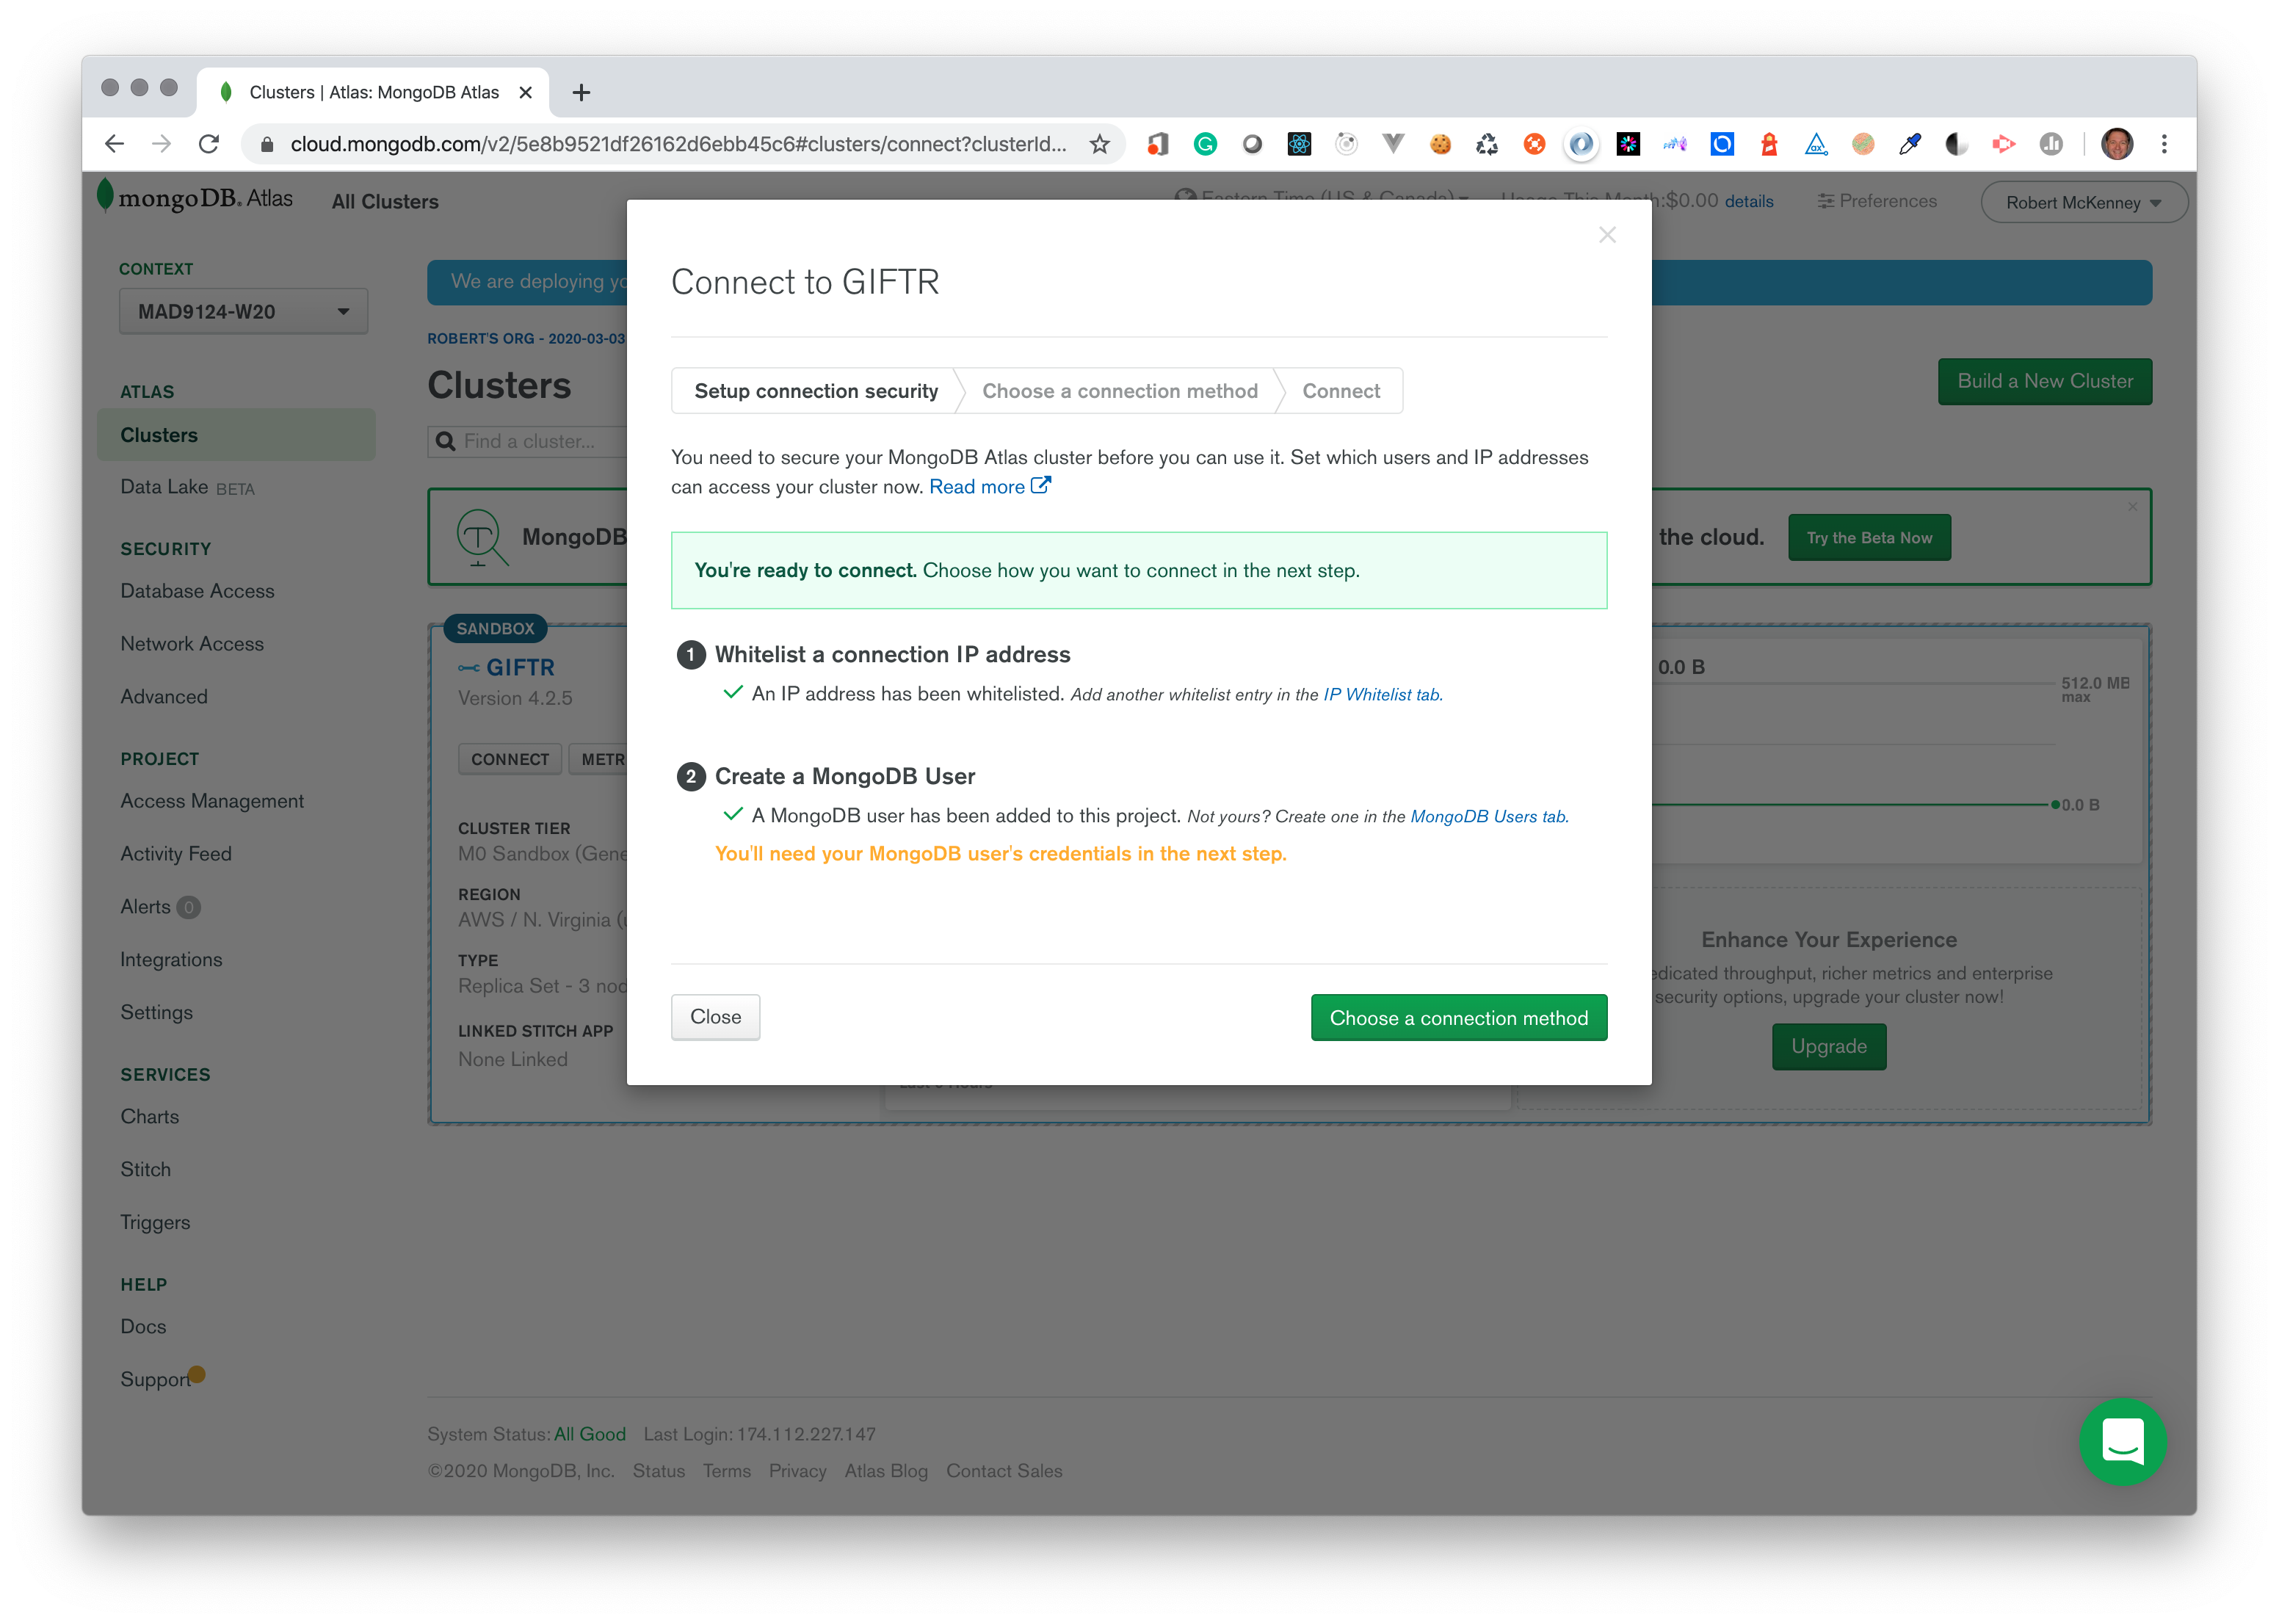
You will need to get the connection string details for this new database cluster. Click the Choose connection method button at the bottom of the modal.
You want the middle option Connect your application.
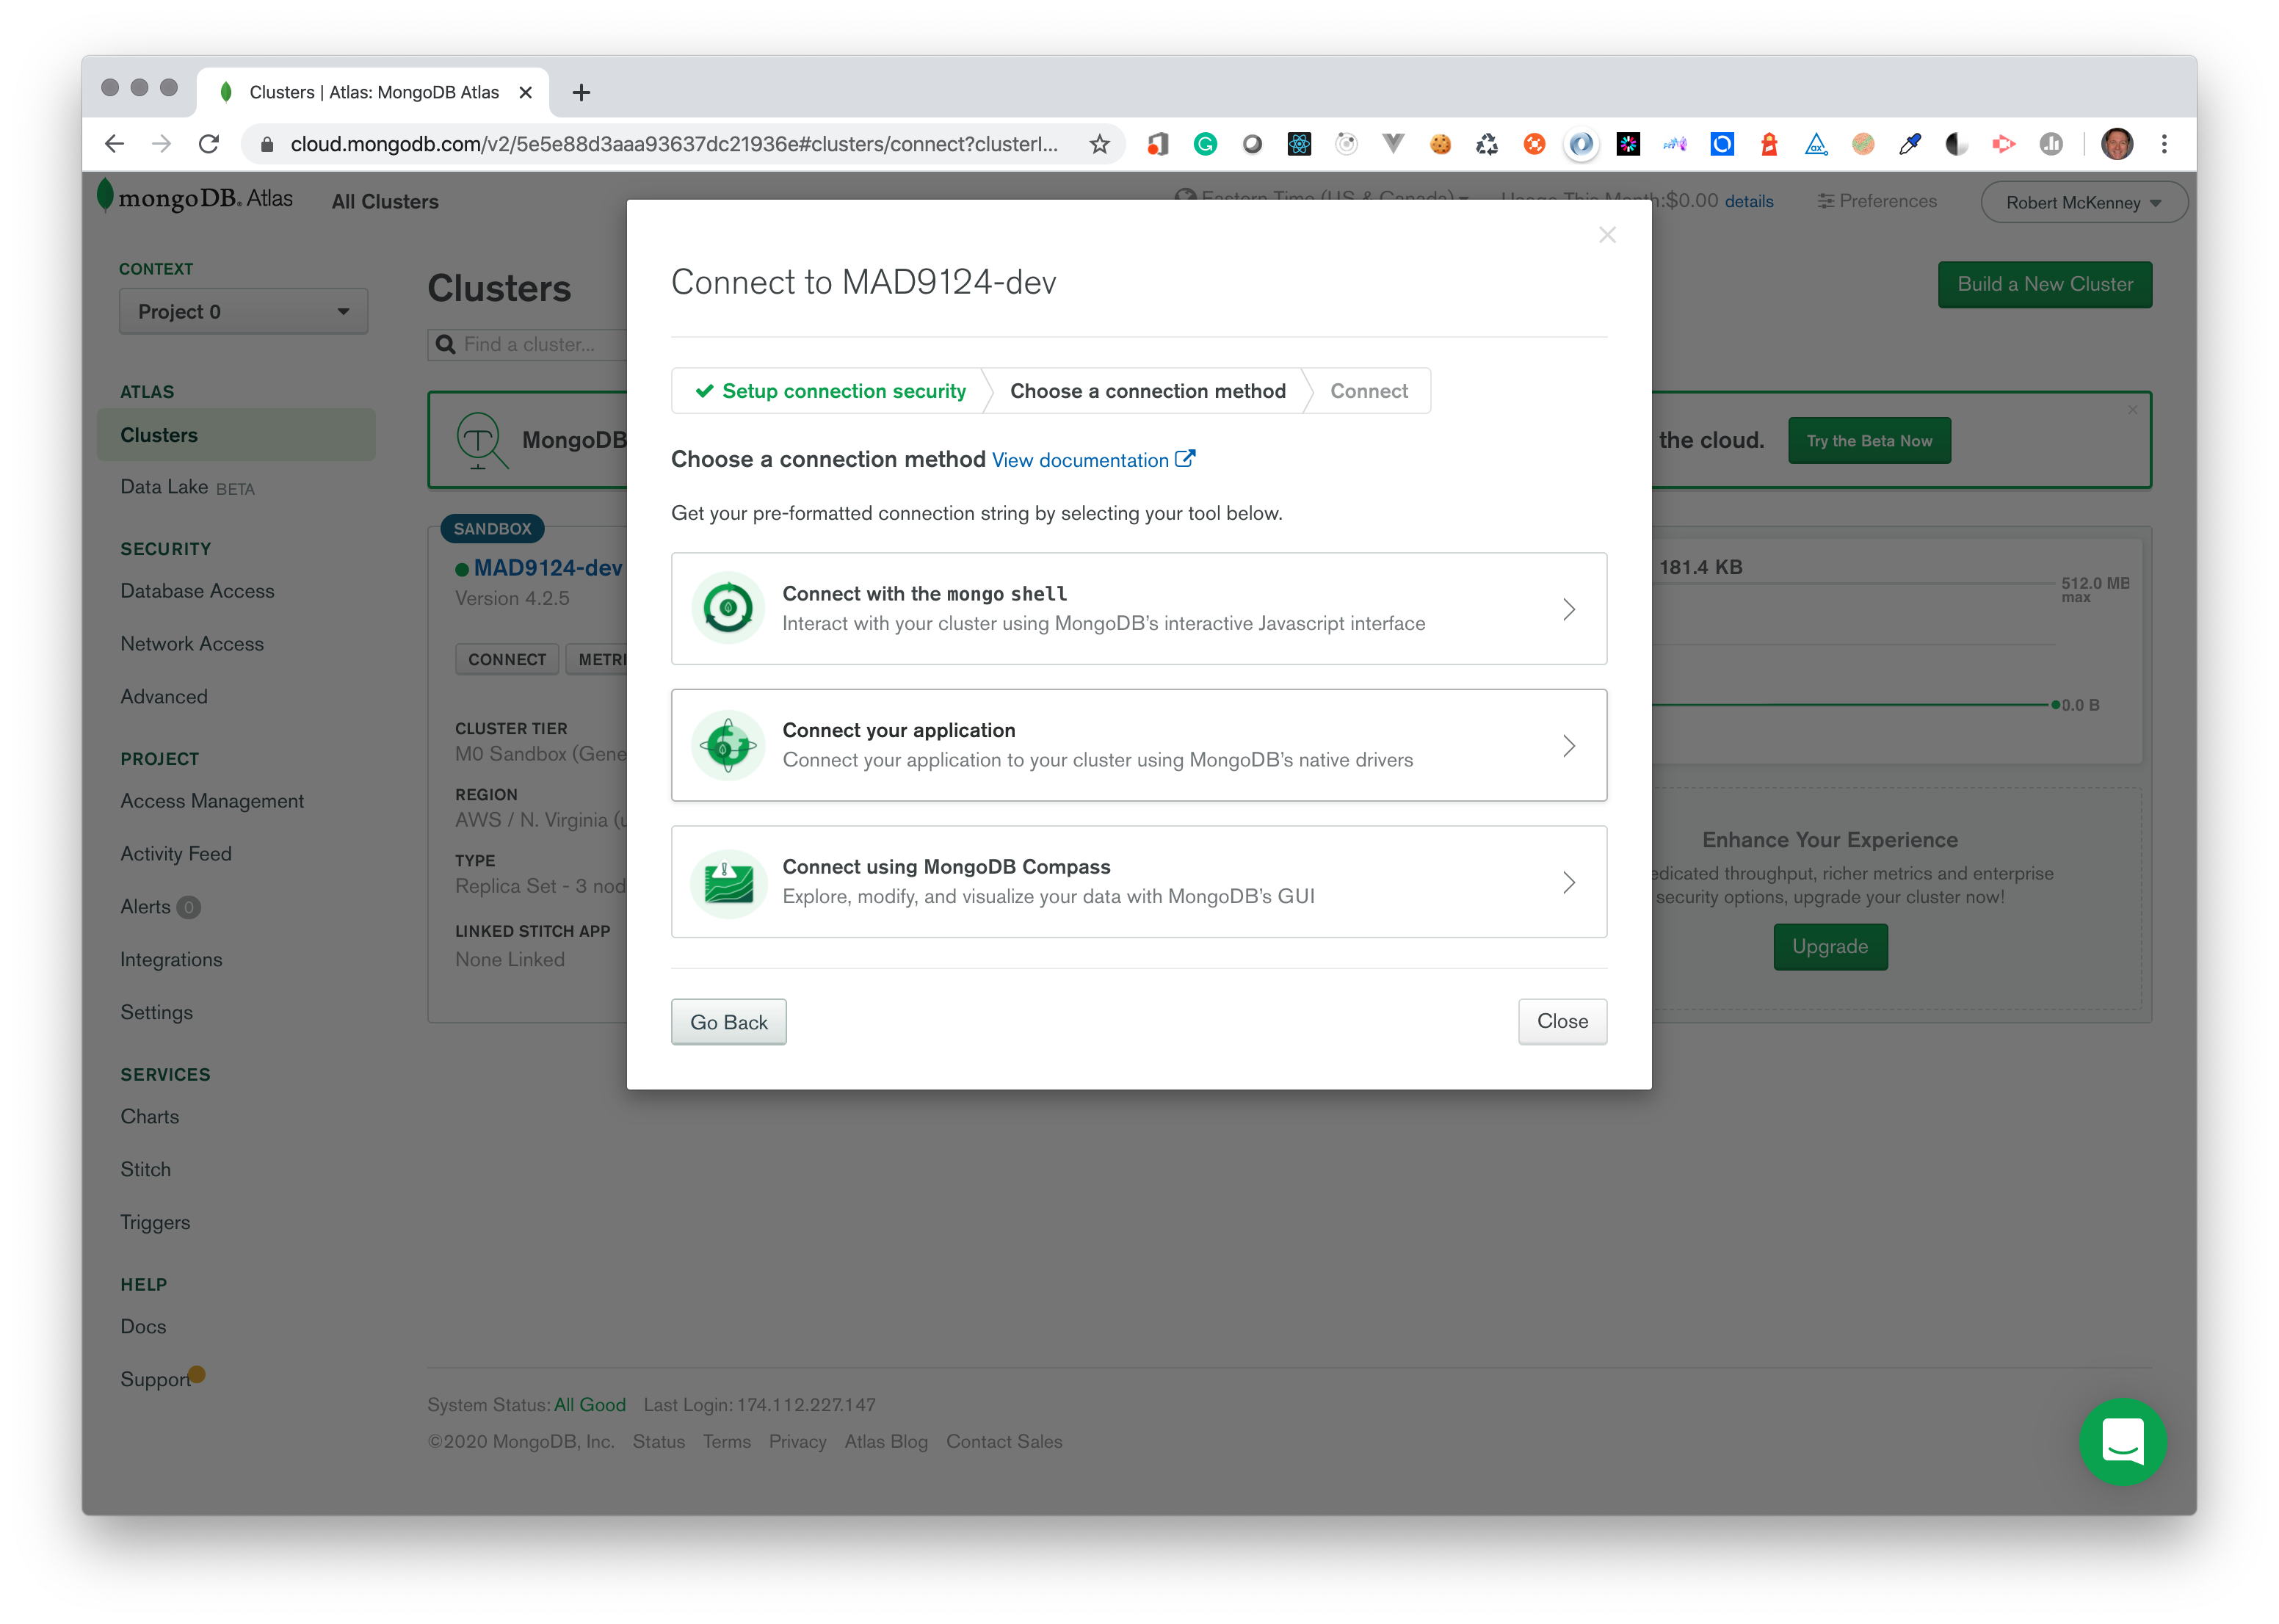
Copy the hostname portion of the connection string. It will go in your config JSON file later.
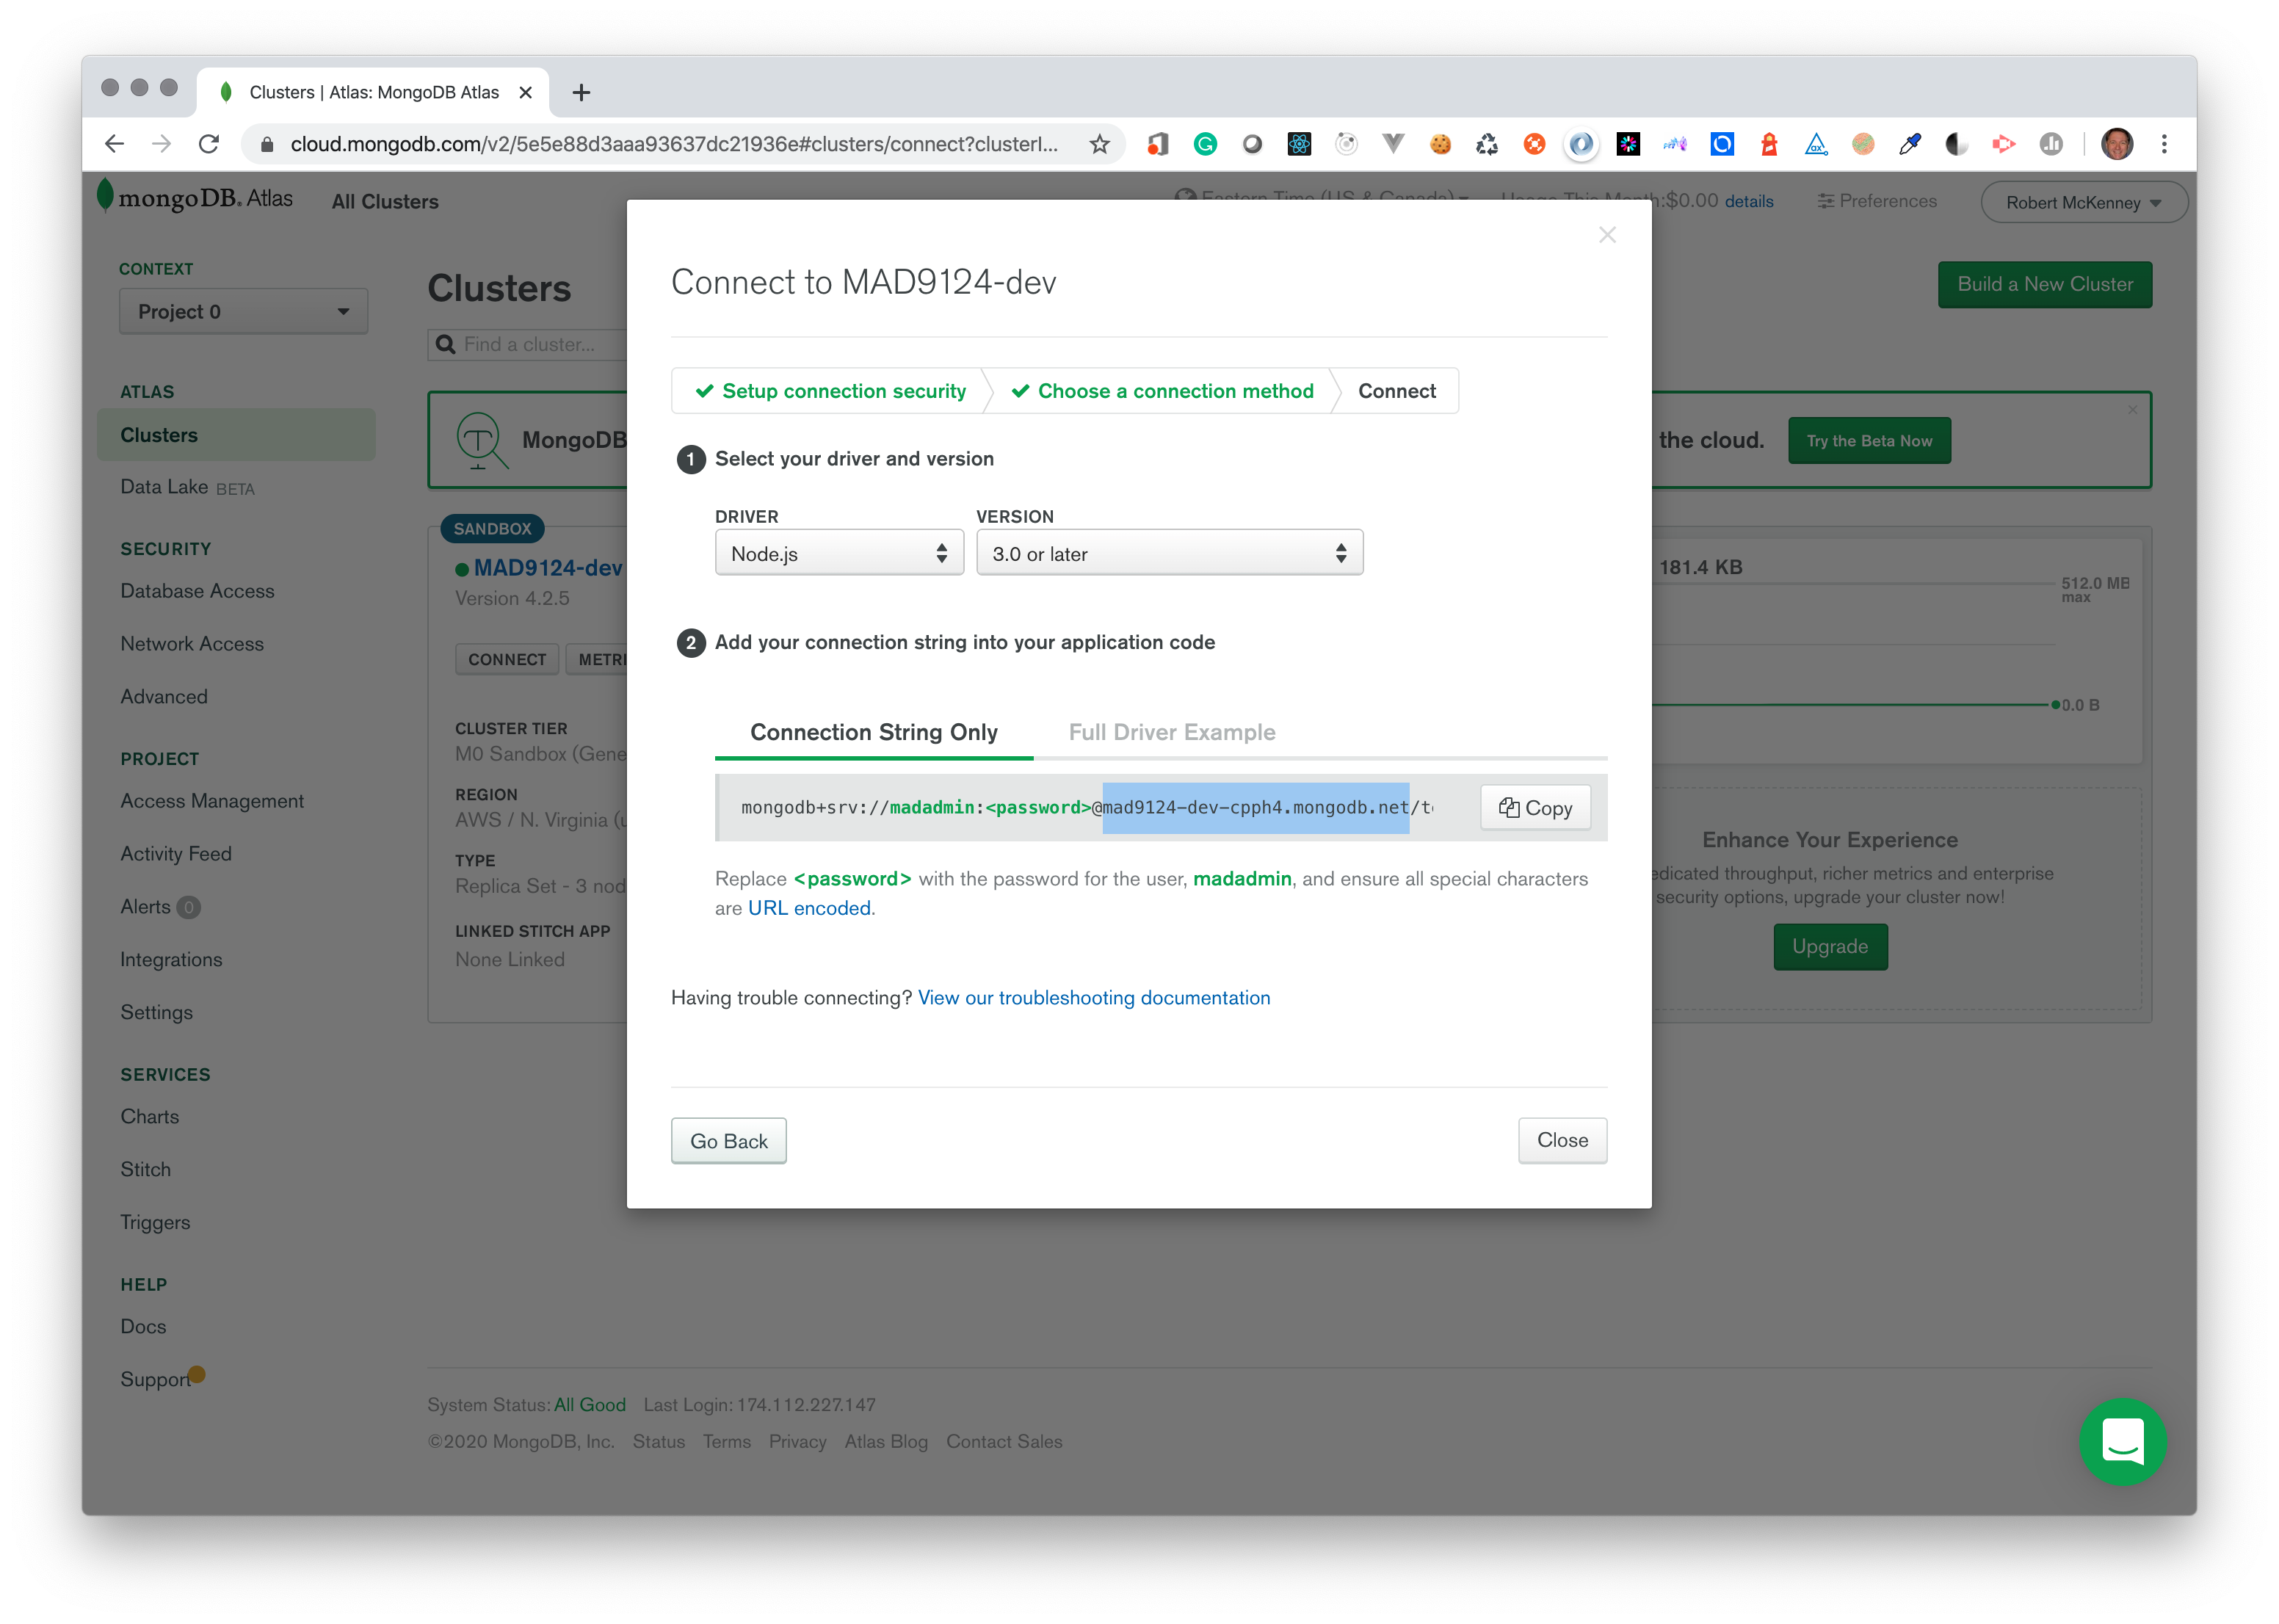
Copy the authentication database name portion of the connection string. You will need that in your config JSON file too.
# Connect Mongoose to the Atlas Cluster
Up until now, the connection string in your Express application code to tell Mongoose how to open a connection to the database took this format:
mongodb://hostname:port/database-name
e.g.
mongodb://localhost:27017/mad9124
# Hosted Atlas Cluster
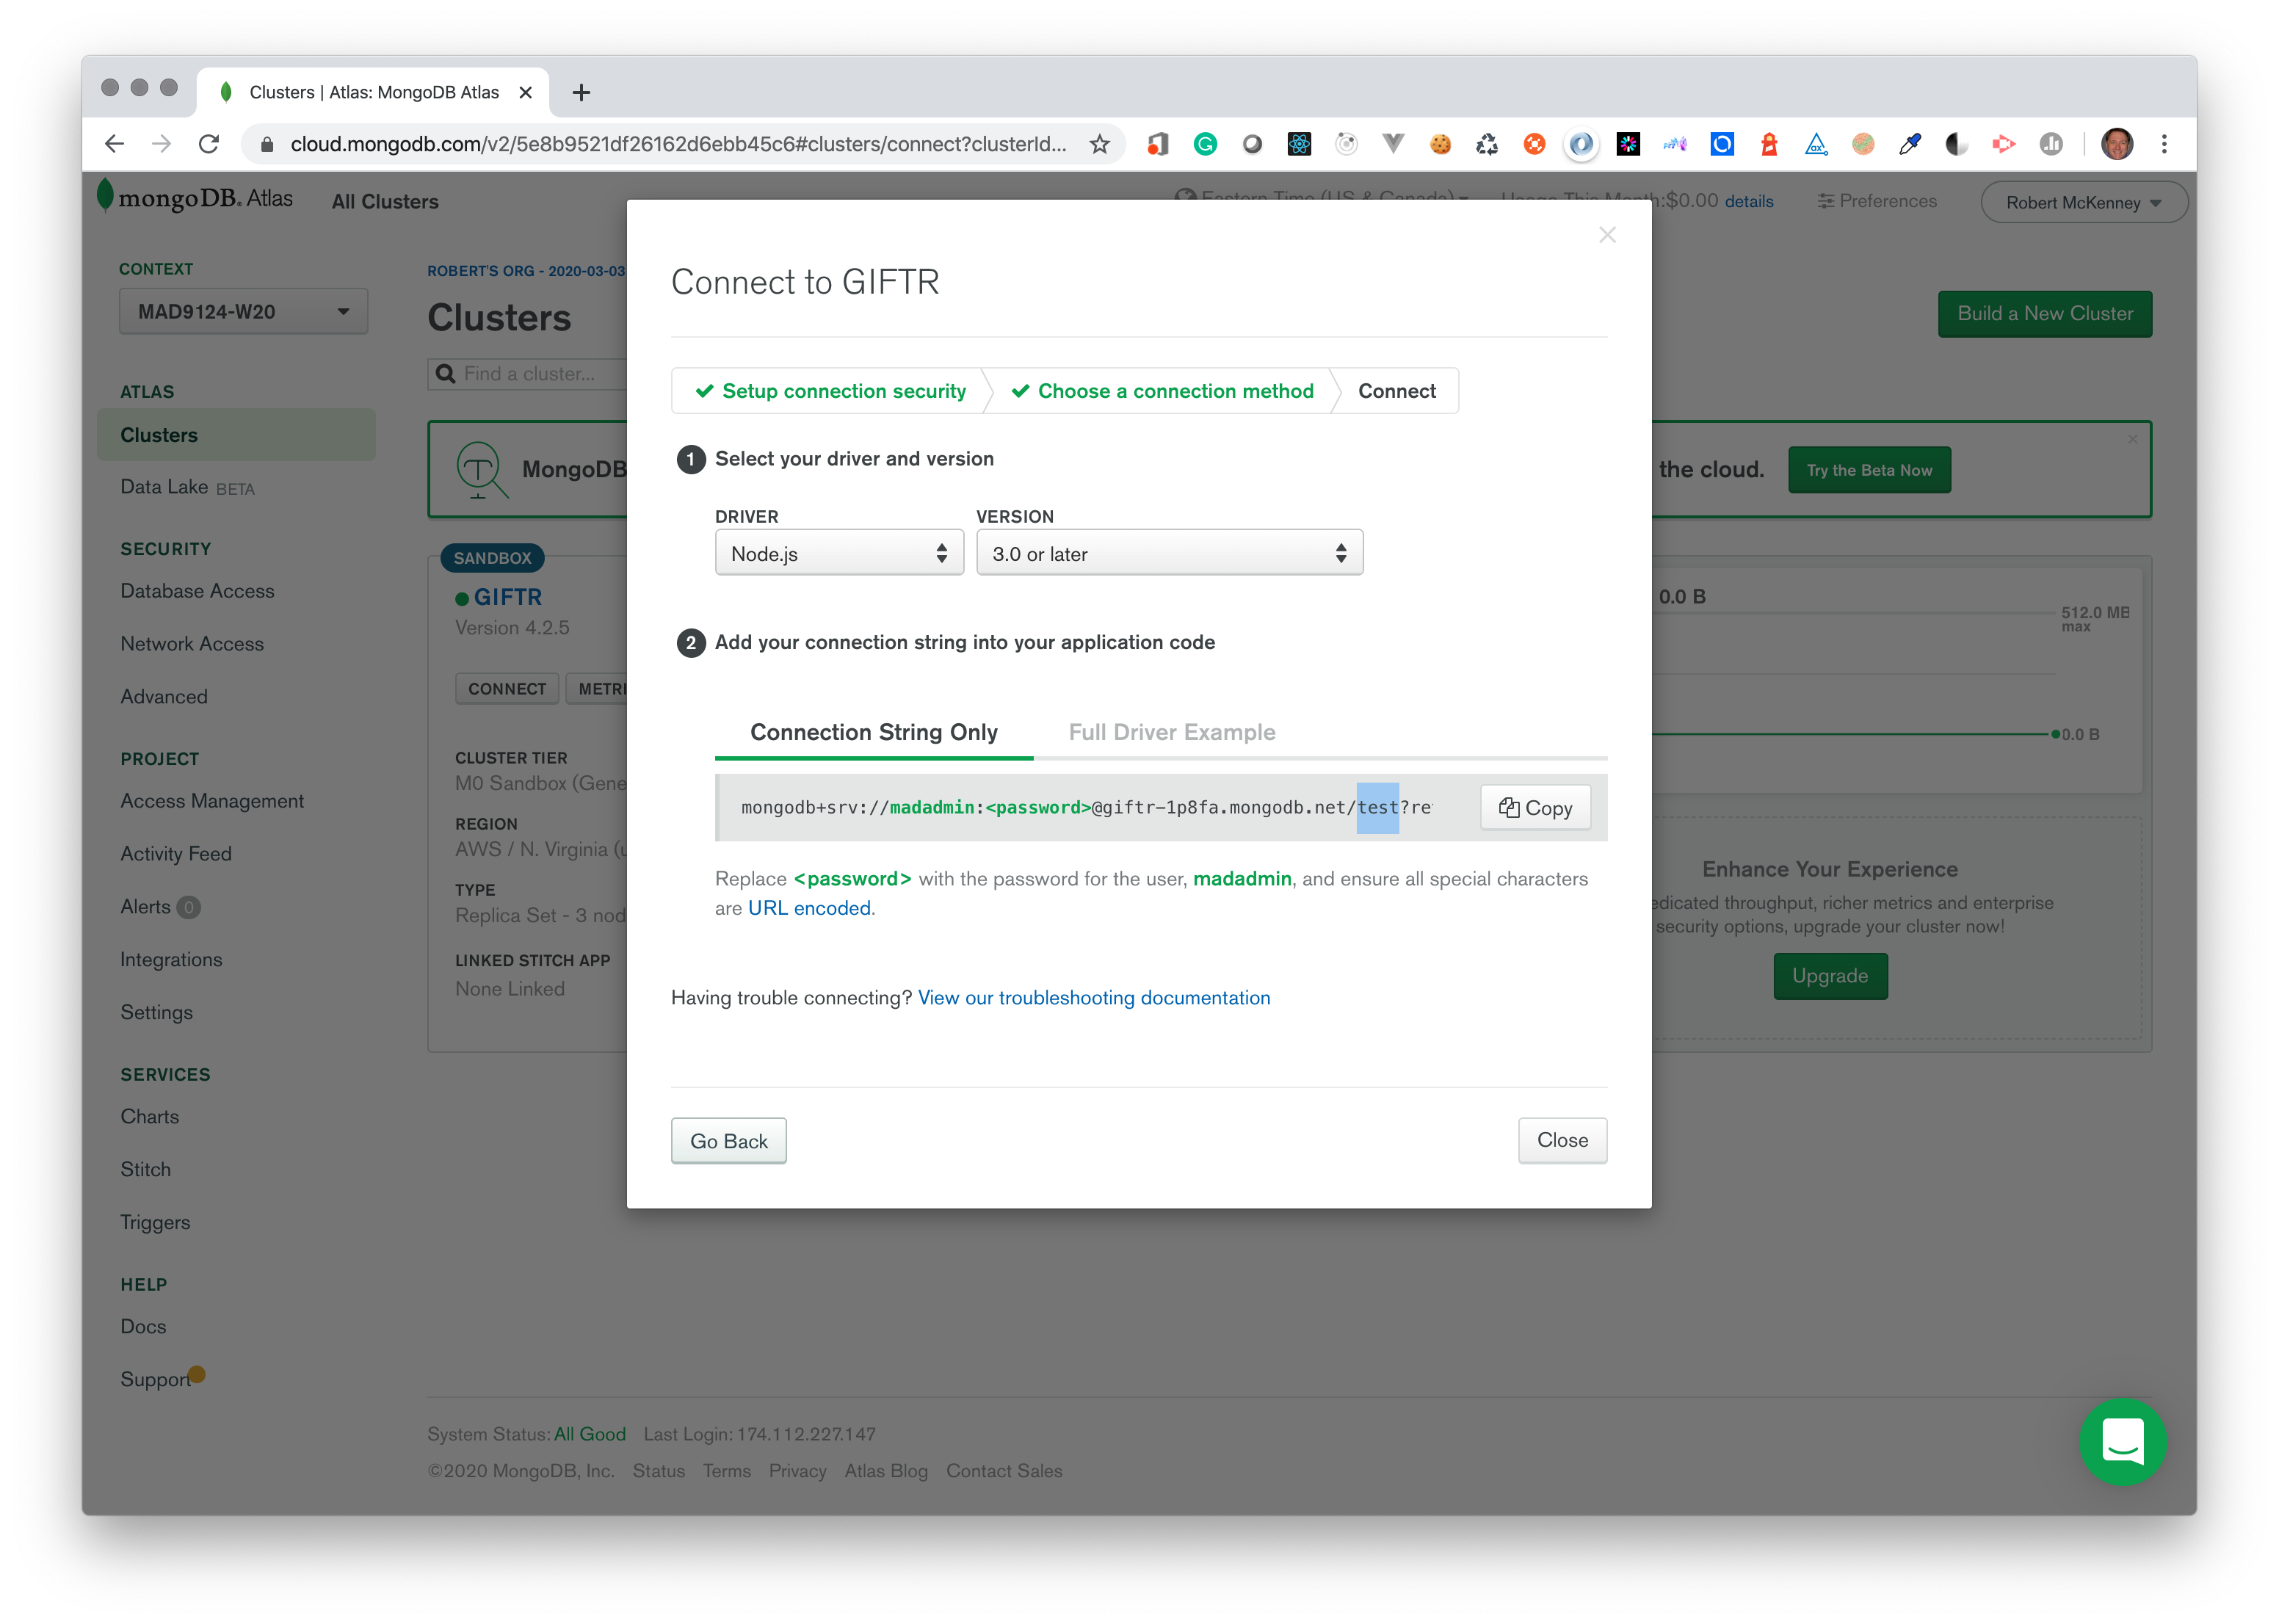
The full connection string for MongoDB databases hosted on an Atlas cluster look a little different. Here is what mine looks like:
mongodb+srv://<username>:<password>@giftr-1p8fa.mongodb.net/test?retryWrites=true&w=majority
(Don't use this one. Go get your own.)
# From the above example
The scheme changes to mongodb+srv://
Database user credentials are inserted: <username>:<password>@
The hostname becomes _something_.mongodb.net
(where something is your unique cluster name)
The default database /test is used to authenticate the db user.
There are some other options set at the end: ?retryWrites=true&w=majority
# Update the connectDatabase.js Module
It is a very common practice to set up a final integration testing or staging environment that very closely mirrors the production environment. That is what we are going to do for the final project. This will simplify some of the deployment details.
Remember the configuration variables are retrieved using the config.get() method. We will set the NODE_ENV environment variable tostage, so you will need to create a new /config/stage.json file with your connection credentials. e.g.
{
  "db": {
    "scheme": "mongodb+srv",
    "username": "madadmin",
    "password": "yourGuessIsAsGoodAsMine",
    "host": "giftr-1p8fa.mongodb.net",
    "authSource": "test",
    "name": "w21-final-giftr"
  }
}
WARNING
In a final production deployment, you would not store the database username and password in this config file. They should be injected into the runtime container using environment variables.
But, this will let me better help you with troubleshooting and help me with grading your assignment.
Then refactor the /startup/connectDatabase.js module, to conditionally construct the connection string based on the target scheme: mongodb v.s. mongodb+srv.
The updated file should look something like this ...
import config from 'config'
import mongoose from 'mongoose'
import logger from './logger.js'

const log = logger.child({module: 'connectDB'})

export default async function connectDatabase () {
  const {scheme, host, port, name, username, password, authSource} = config.get('db')
  const credentials = username && password ? `${username}:${password}@` : ''

  let connectionString = `${scheme}://${credentials}${host}`

  if (scheme === 'mongodb') {
    connectionString += `:${port}/${name}?authSource=${authSource}`
  } else {
    connectionString += `/${authSource}?retryWrites=true&w=majority`
  }

  try {
    await mongoose.connect(
      connectionString,
      {
        useNewUrlParser: true,
        useUnifiedTopology: true,
        useCreateIndex: true,
        useFindAndModify: false,
        dbName: name
      }
    )
    log.info(`Connected to MongoDB @ ${name}...`)
  } catch(err) {
    log.error(`Error connecting to MongoDB ...`, err)
    process.exit(1)
  }
}
OK. LET'S TEST IT!
Update the scripts key of the package.json file to add a stage script. It will be the same as the dev script except the environment variable should be set as NODE_ENV=stage.
"scripts": {
    "test": "echo \"Error: no test specified\" && exit 1",
    "dev": "API_JWTKEY=supersecretkey nodemon server.js",
    "stage": "NODE_ENV=stage API_JWTKEY=supersecretkey nodemon server.js",
    "start": "node server.js"
  },
Start the server using this new script – npm run stage – in the terminal and use Postman to make sure that everything is working.
You can still visually check the contents of the database with MongoDB Compass. Use the full connection string from the Atlas dashboard (third option) to create a new connection in MongoDB Compass.
Don't forget to replace <password> with your real password. e.g.
mongodb+srv://madadmin:yourGuessIsAsGoodAsMine@giftr-1p8fa.mongodb.net/test
Take a short break
If you have everything working, take a short break before tackling the next steps.
# Health Check Route
Most production deployments will have some kind of automated periodic monitoring to see if your deployed service is still up and running. We facilitate this by creating a simple HTTP route handler in the main app.js module. It could be anything that you choose. The AWS Application Load Balancer will default to the root path for your web service, so let's just use that for now.
app.get('/', (req, res) => res.send({data: {healthStatus: 'UP'}}))
Amazon's Elastic Container Service (ECS) will regularly poll this route looking for a 200 response code. You will be able to see the health status in the AWS CloudWatch console.
# Publish a Docker Image
In most development teams these days, everyone needs to know a little about DevOps (opens new window). You could do a whole course on Docker, containers, and Kubernetes, but for now we are going to simulate a scenario that you are very like to encounter. As a junior developer, a more senior developer on the team has already designed the correct procedure to bundle and deploy your application, and they will give you some key files and instructions.
Starting in module 5, you have been using Docker as an easy way to run MongoDB in your local development environment. You used a pre-made Docker Image definition (mongo:bionic) that was pulled from the public Docker Hub repository.
You can create and publish your own Docker Image to bundle your Express web service application. This image can then be use to deploy one or more copies of your application on a cloud hosting service like AWS, Azure, or Google Cloud.
If you haven't already ...
Create a free Docker Hub (opens new window) account.
Download Docker Desktop and run the installer.
# Create a Dockerfile
The Dockerfile is the recipe for creating a Docker Image. It should be placed in the top level of your project folders. Note the capitalization and there is no extension - just Dockerfile.
This will use the official node version 14 image (opens new window) from Docker Hub as the starting point. It then creates the directory structure that your project requires and copies your code from your development project folder into the container image.
Check the names of your folders
Make sure that your project folder structure matches the Dockerfile.
FROM node:14-slim

ENV API_PORT="80"
ENV DEBUG="api:*"

RUN mkdir -p /app /app/config /app/exceptions /app/logs /app/middleware /app/models /app/public /app/routes /app/startup

COPY config/ /app/config/
COPY exceptions/ /app/exceptions/
COPY middleware/ /app/middleware/
COPY models/ /app/models/
COPY public/ /app/public/
COPY routes/ /app/routes/
COPY startup/ /app/startup/
COPY server.js app.js package.json /app/

WORKDIR /app
RUN npm install --unsafe-perm

EXPOSE 80
CMD node server.js
# Split server.js and app.js
That final line in the Dockerfile, CMD node server.js. That is the command that will be invoked when the deployed container is started. If you have all of your Express application defined in app.js, then you could change the last line of the Dockerfile to be CMD node app.js.
Or, as we did in an earlier module, you might want to create both a server.js file and an app.js file. This is a quite common practice as it separates the code for defining the Express routing application in the app.js file from the server.js module which only holds the instructions spinning up the Node.js HTTP server, and passing in the app.js module as a configuration object to the server.
Here is an example server.js file serving only HTTP.
This is what you should use for your final project.
import http from 'http'
import logger from './startup/logger.js'
import app from './app.js'

/**
 * Create HTTP server.
 * HTTP server listen on provided port, on all network interfaces.
 */
const server = http.createServer(app)
const port = process.env.API_PORT || 3030
server.listen(port)
server.on('error', onError)
server.on('listening', onListening)

/**
 * Common listener callback functions
 */
function onError(err) {
  logger.log('error', `Express failed to listen on port ${this.address().port} ...`, err.stack)
}
function onListening() {
  logger.log('info', `Express is listening on port ${this.address().port} ...`)
}
TIP
If you are going to be running your Node.js server with HTTPS, you must set it up this way.
Here is how it would look if we set it up to use HTTPS with a "let's encrypt" certificate.
This is for your future reference only. DO NOT use this for your final project.
'use strict'

import http from 'http'
import https from 'https'
import fs from 'fs'
import logger from './startup/logger.js'
import app from './app.js'

/**
 * Create HTTP server.
 * HTTP server listen on provided port, on all network interfaces.
 */
const server = http.createServer(app)
const port = process.env.API_PORT || 3030
server.listen(port)
server.on('error', onError)
server.on('listening', onListening)

/**
 * Create HTTPS server.
 * HTTPS server listen on standard port, on all network interfaces.
 */
if (process.env.NODE_ENV === 'production') {
  const options = {
    key: fs.readFileSync('/etc/letsencrypt/live/mad9124.rocks/privkey.pem'),
    cert: fs.readFileSync('/etc/letsencrypt/live/mad9124.rocks/fullchain.pem'),
    ca: fs.readFileSync('/etc/letsencrypt/live/mad9124.rocks/chain.pem')
  }
  const serverSSL = https.createServer(options, app)
  const TLSPort = process.env.APP_TLSPORT || 443
  serverSSL.listen(TLSPort)
  serverSSL.on('error', onError)
  serverSSL.on('listening', onListening)
}

/**
 * Common listener callback functions
 */
function onError(err) {
  logger.log('error', `Express failed to listen on port ${this.address().port} ...`, err.stack)
}
function onListening() {
  logger.log('info', `Express is listening on port ${this.address().port} ...`)
}
# Simplified app.js
Now that the app.js module doesn't need any code for creating the HTTP server, it can be simplified to something like this ...
import express from 'express'
import connectDB from './startup/connectDatabase'
connectDB()

const app = express()

// Apply global middleware with app.use()

// Add the health check route
app.get('/', (req, res) => res.send({data: {healthStatus: 'UP'}}))

// Link the auth and api route handler modules

// Apply the global error handler middleware

// Export the `app` object
export default app
# Build a local Docker image
We have created the Dockerfile and refactored our code. It is time to build the container image with the docker build (opens new window) command. Use the --tag= command option to set the name of the local Docker Image file that will be created. The :latest suffix is the version label.
docker build --tag=giftr-api-w21:latest .
This will create an Ubuntu Linux container with Node v14 pre configured and then copy in your project files as defined in the Dockerfile. Then it will run npm install in your container image's project root folder (/app) to ensure that all required dependencies are correctly installed.
When this process is complete you will have a new Docker Image that you can use to create an isolated runtime copy of your Express web service application. You can run it with Docker locally to test it.
Here is an updated docker-compose.yml file that will use the image you just created to spin up a new container on your local machine for testing.
First, make sure that you stop any other Express server that you might have running.
version: '3.8'
services:
  express:
    image: giftr-api-w21
    container_name: giftr-api-w21
    environment:
      API_JWTKEY: keur0uhwg802fkzh6e72lw0m69g3xv
      API_PORT: 80
      NODE_ENV: 'stage'
    ports:
      - 3030:80
    command: node server.js
Now run docker-compose up -d express. If everything is configured correctly, your new API server container will spin up and try to authenticate with the MongoDB Atlas server that you set up earlier.
Try sending some test requests from Postman to localhost:3030. Then check the MongoDB Atlas database with MongoDB Compass to visually verify the requests went to the correct database.
If everything looks good you can publish the Docker Image to Docker Hub.
# Tag the image
Before you can push the image up to Docker Hub, you need to tag the local image with your Docker Hub username prefix. Replace <username> with your Docker Hub username.
docker tag giftr-api-w21 <username>/giftr-api-w21
# Push the image to Docker Hub
Make sure that you are logged into Docker Hub. This command will prompt you for your Docker Hub username and password.
docker login docker.io
Now you can push it. Replace <username> with your Docker Hub username.
docker push <username>/giftr-api-w21
Congratulations!
You have successfully published your first Docker Image.
Take a short break
If you have everything working, take a short break before tackling the next steps.
# Deploying to AWS
Now it is time to set up the hosting environment on AWS for your Docker container to run.
# AWS Classroom Account
By now you should have received an email invitation to join our AWS Classroom and sign-up for a free AWS Educate - Student Account. There are many benefits (opens new window) attached to the free student account which you can use to continue your learning over the summer.
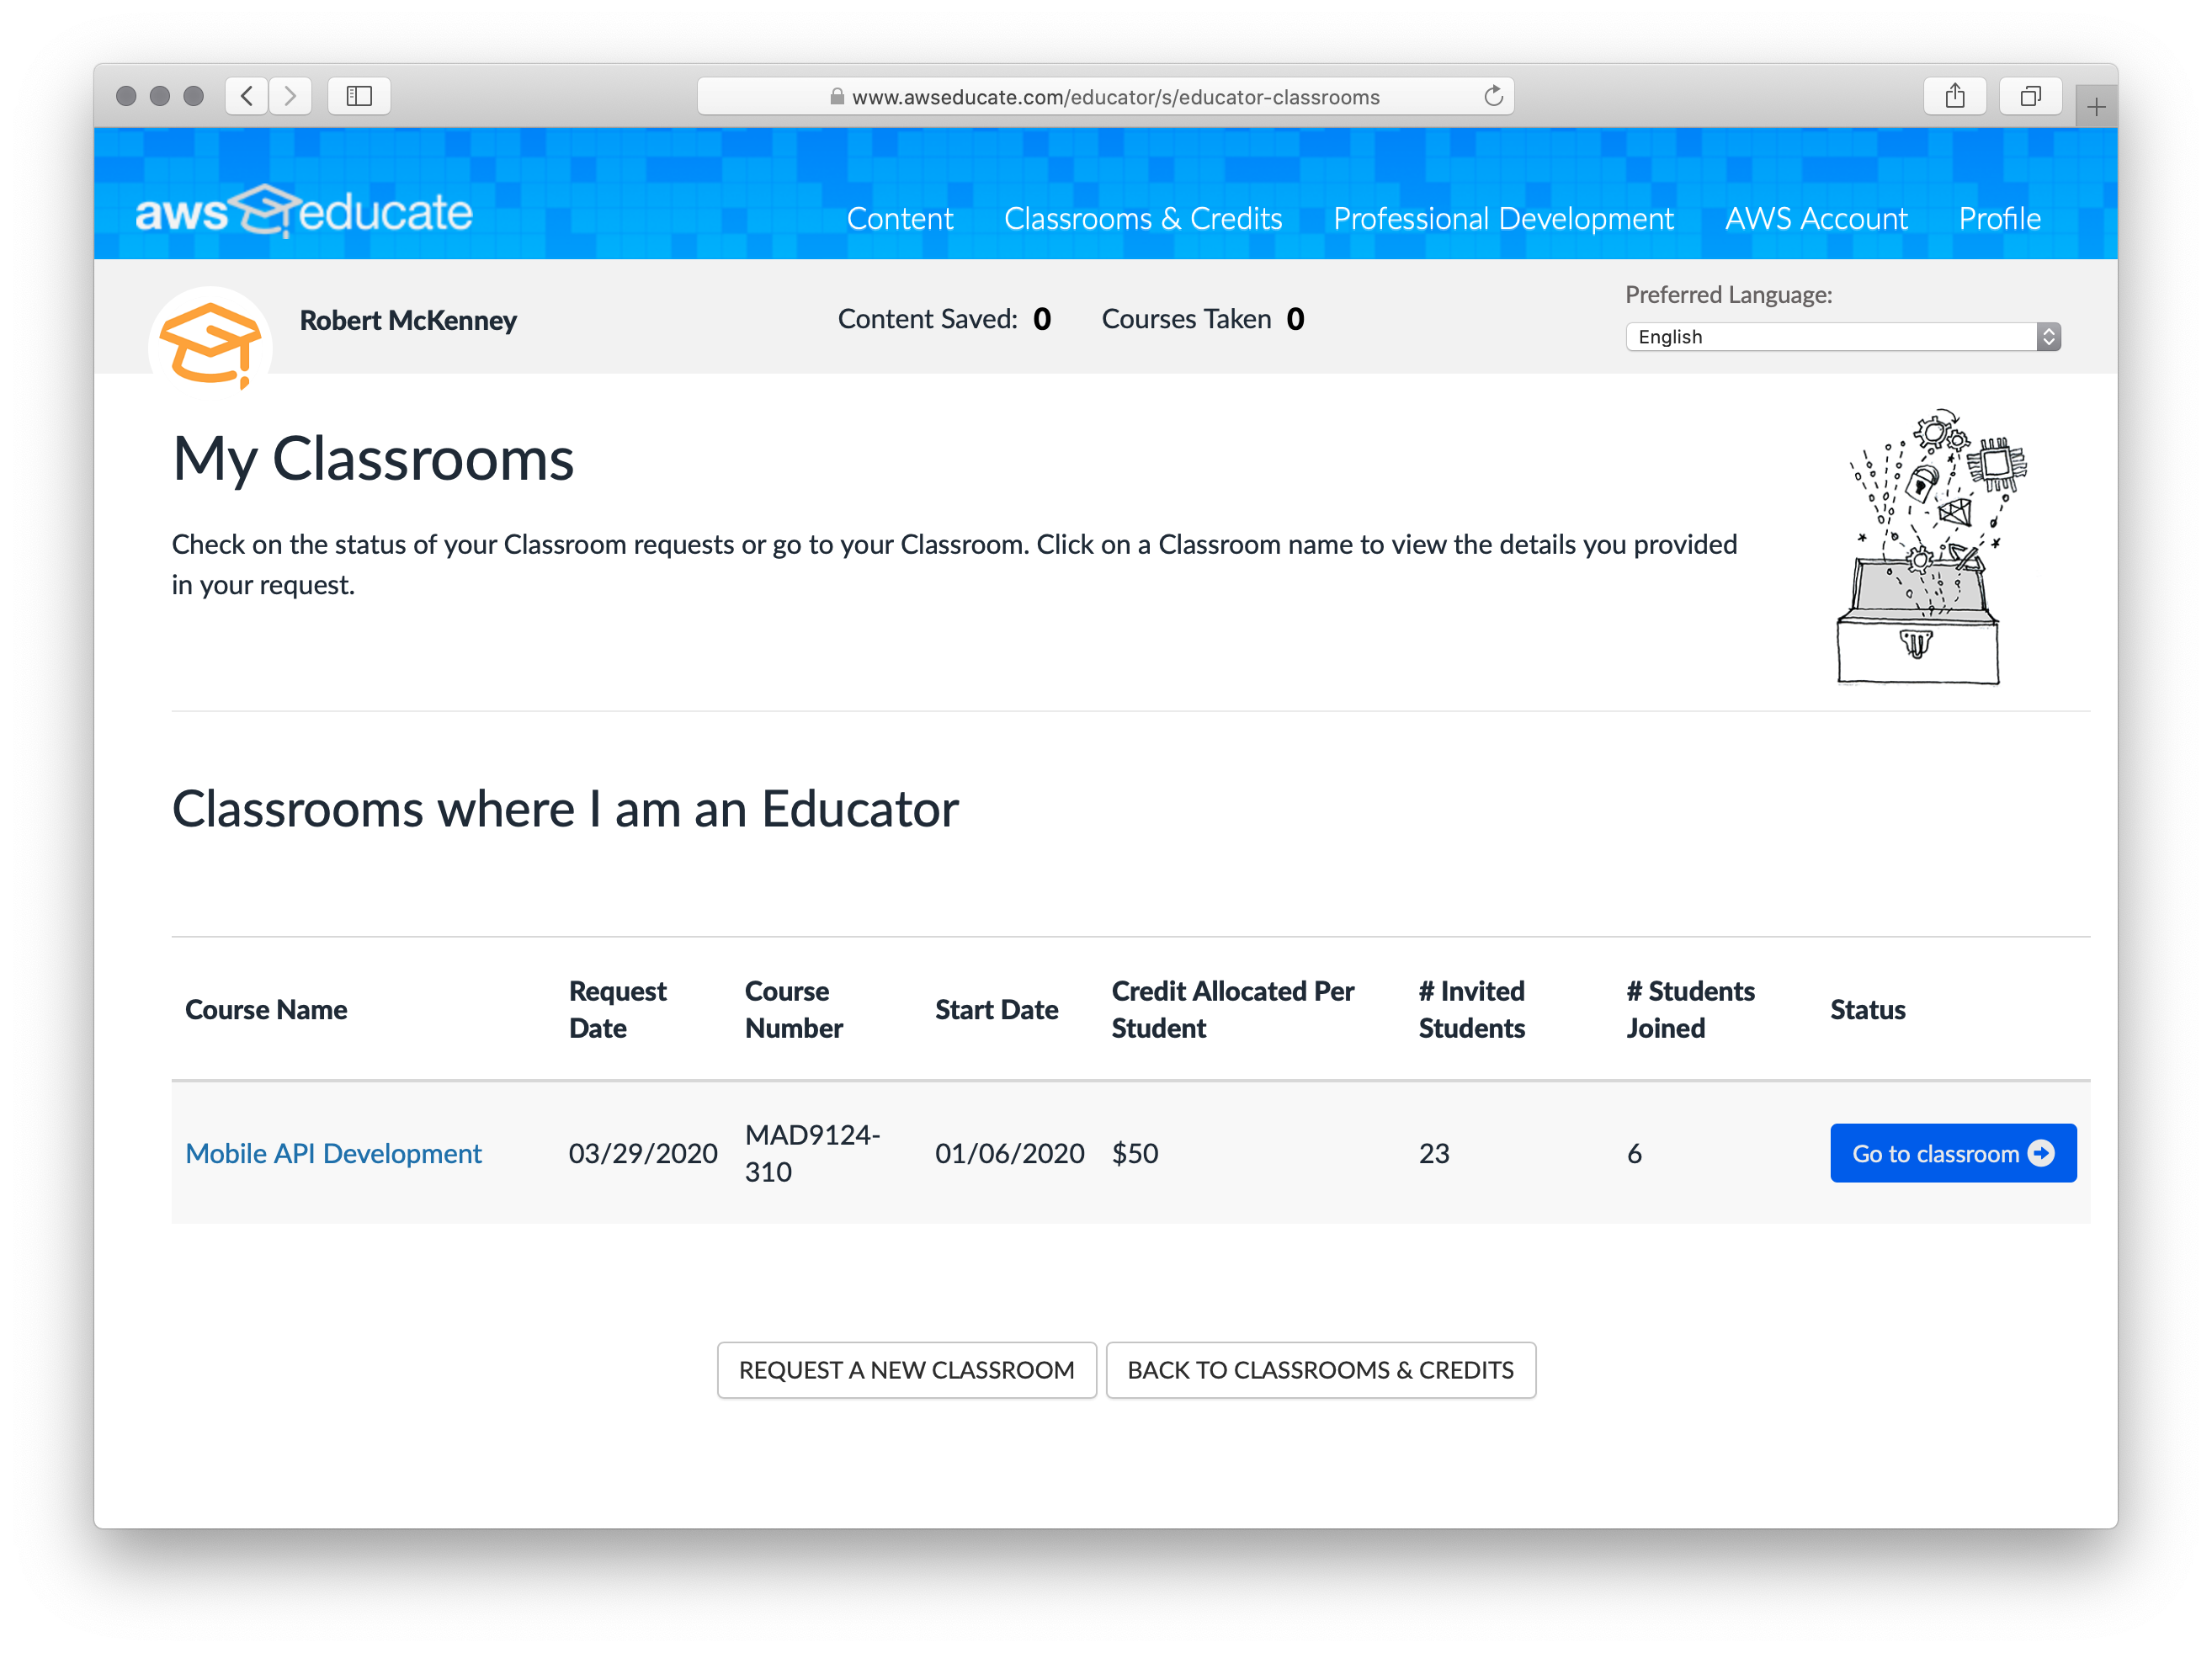
Once you have accepted the invitation and logged into the AWS Educate portal, find the link to "My Classrooms". You should see one listed for "Mobile API Development - W21". Click the blue "Go to classroom" button on the right.
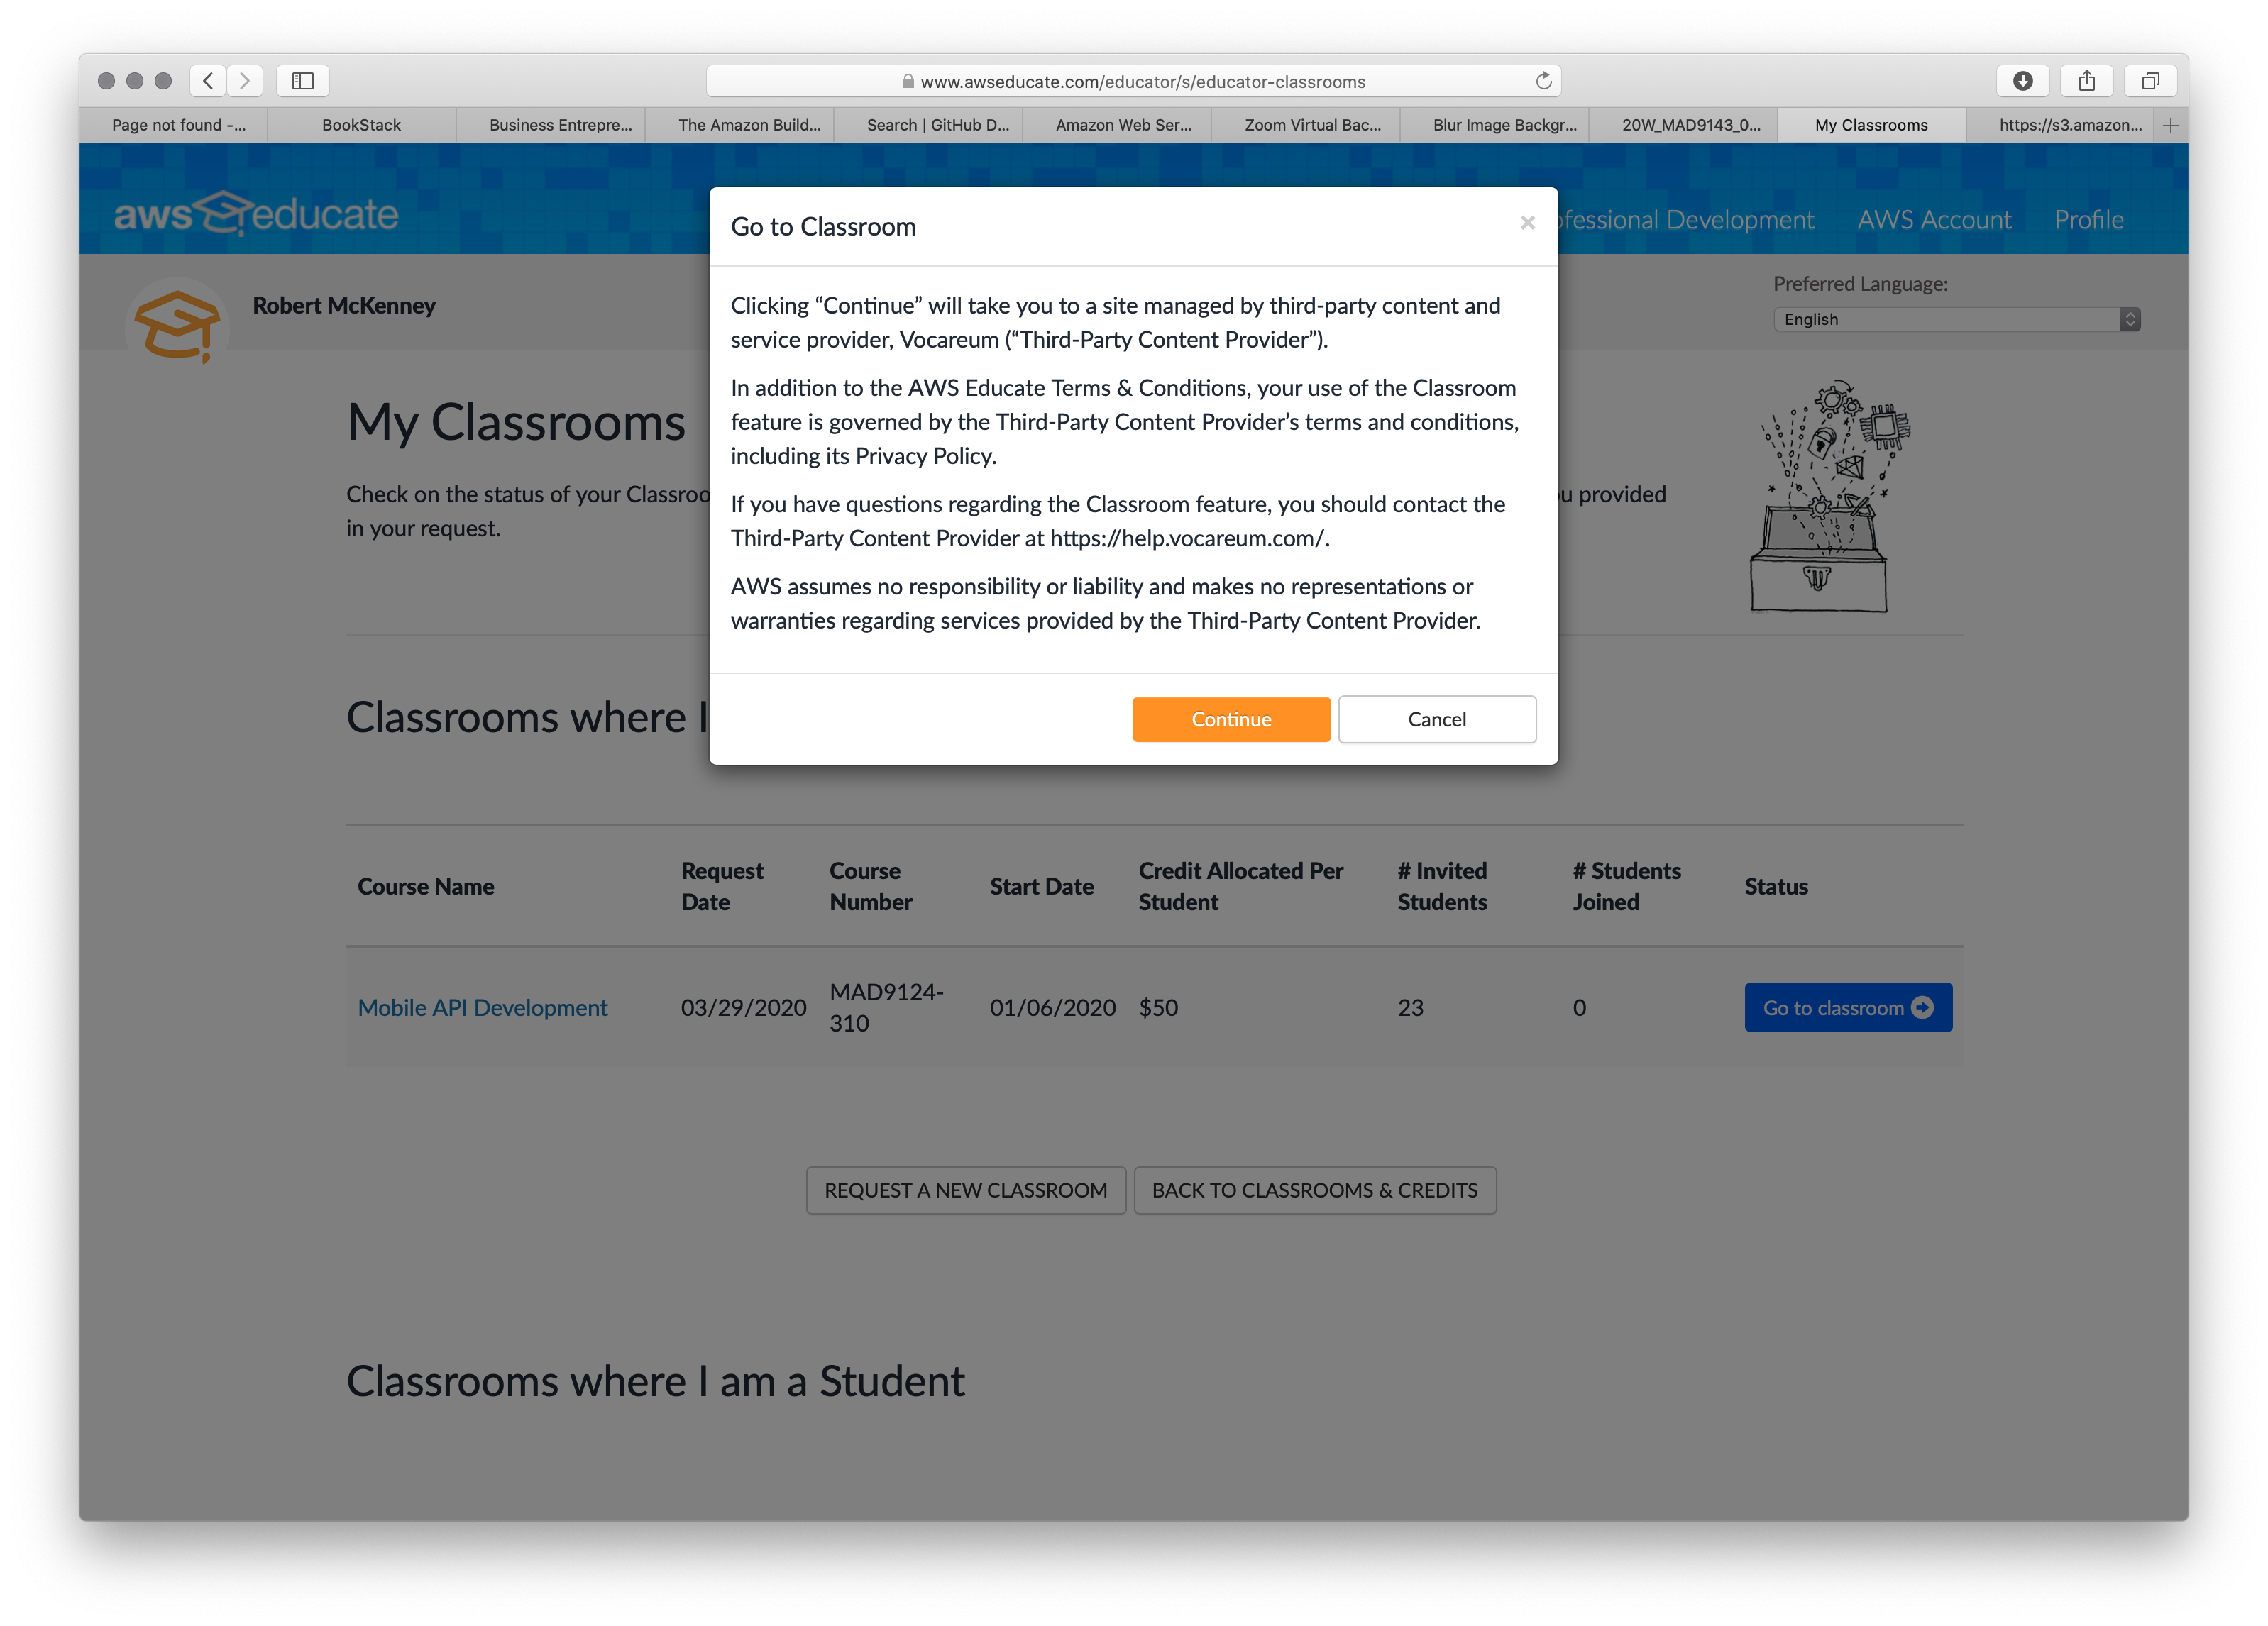
You will now be prompted to agree to the terms and conditions for using the service.
Your browser should be redirected to the Vocareum Dashboard. Click on the card for Mobile API Development. This will open a summary page for your AWS Educate Classroom Account. It has some helpful FAQs and you can see your remaining credit balance for AWS services. You have been given a $50 for this classroom, which is more than enough to cover what we will do, and give you some credits to play with over the summer.
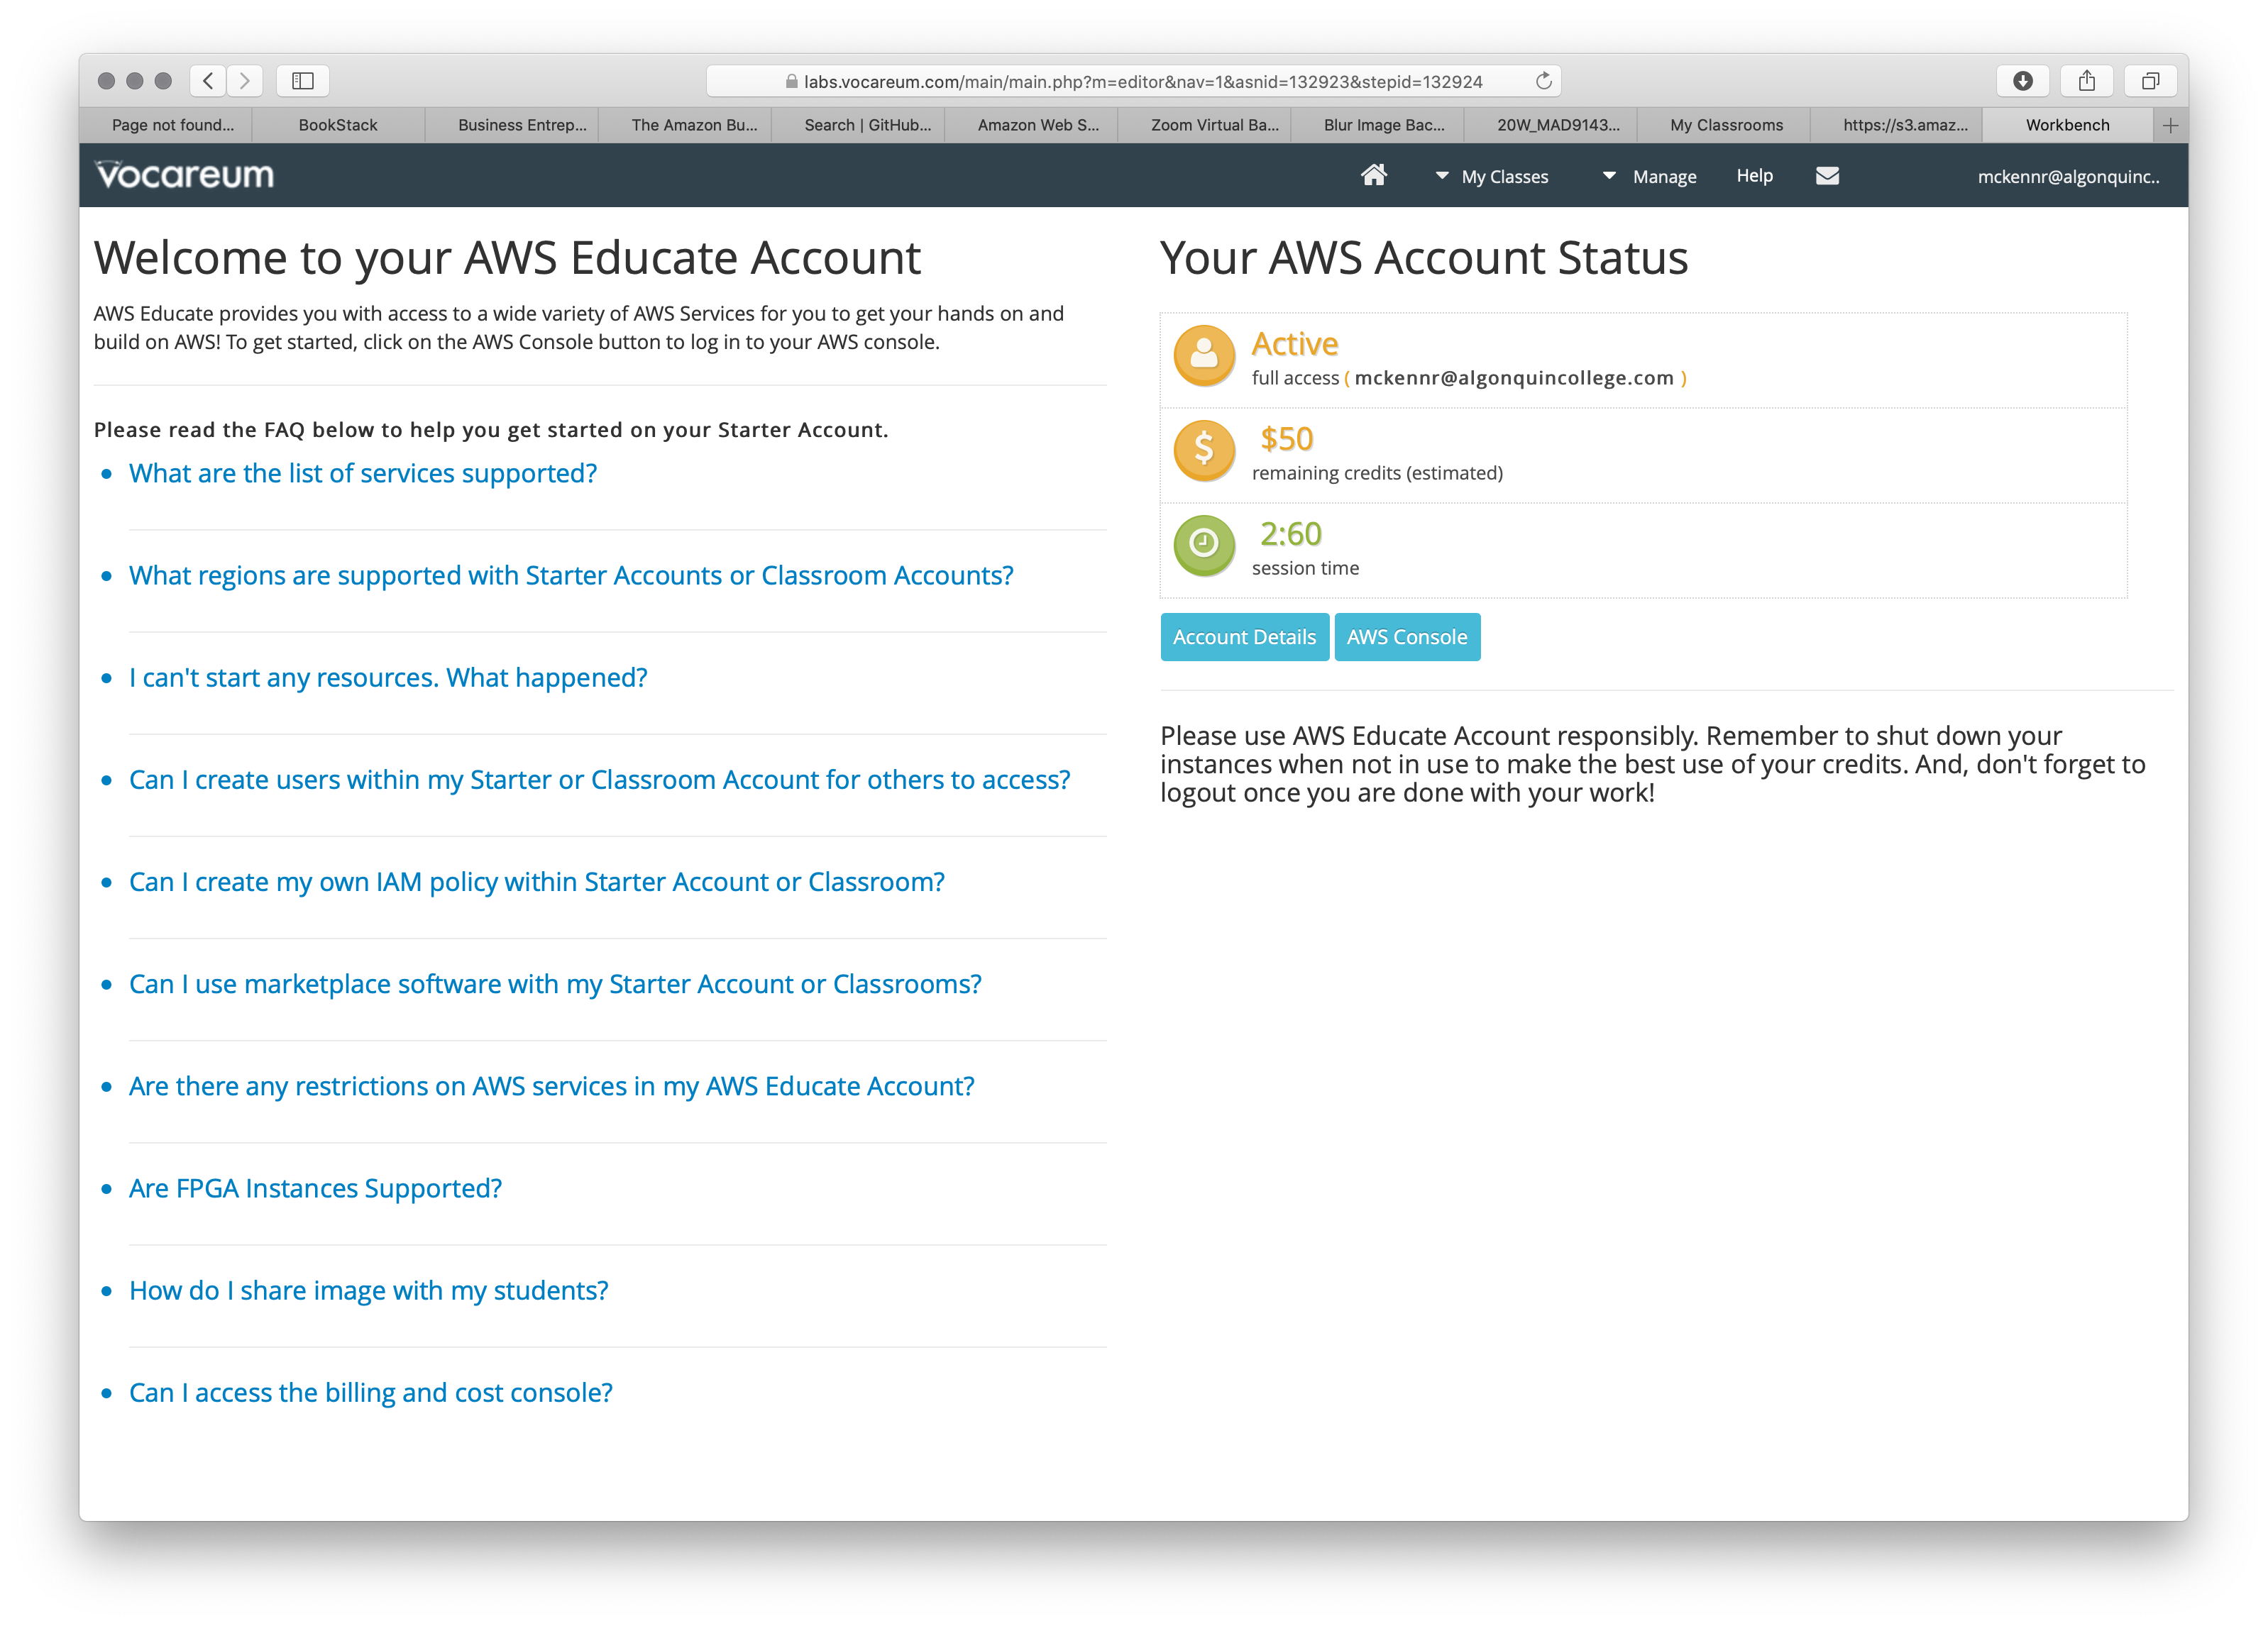
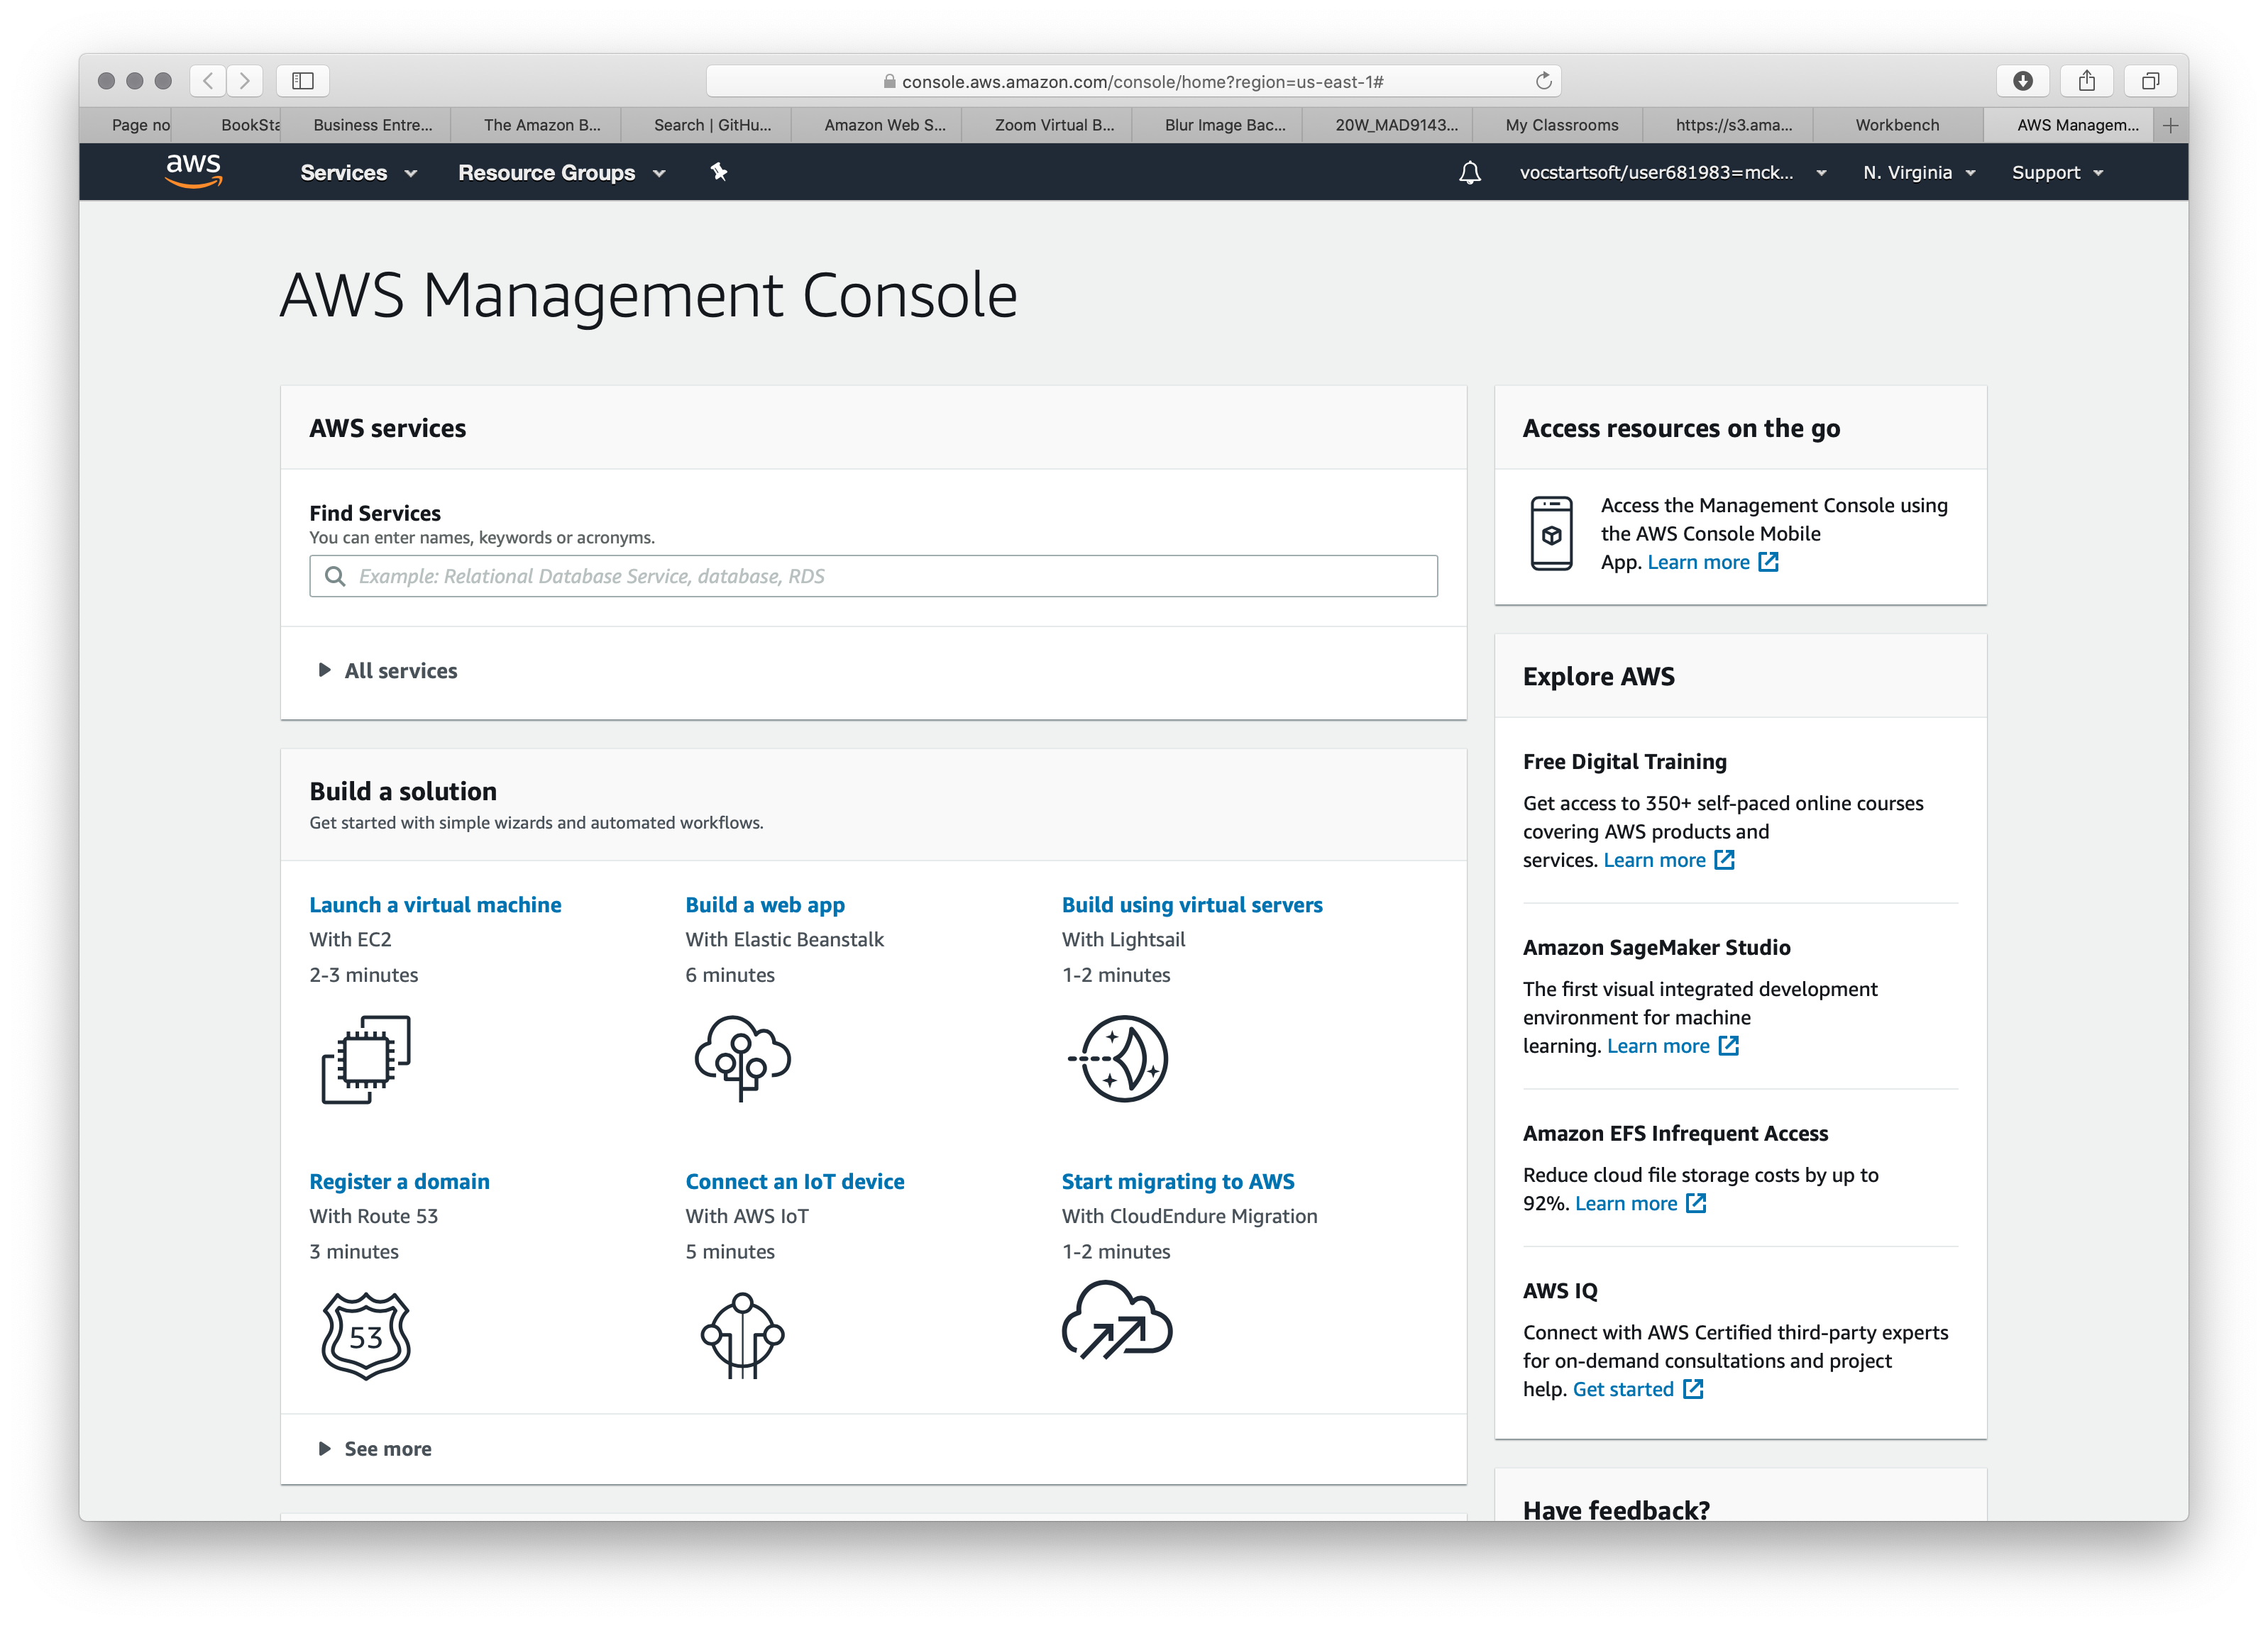
Click on the AWS Console button and you will be automatically logged into the AWS Console with your AWS Educate Classroom account.
WARNING
This may trigger the "pop-up blocker" in your browser. You will need to grant permission for this site. Look for the warning notice in the URL bar.
Now you know how to get logged in. We can start doing real work!
# Configure the Elastic Container Service
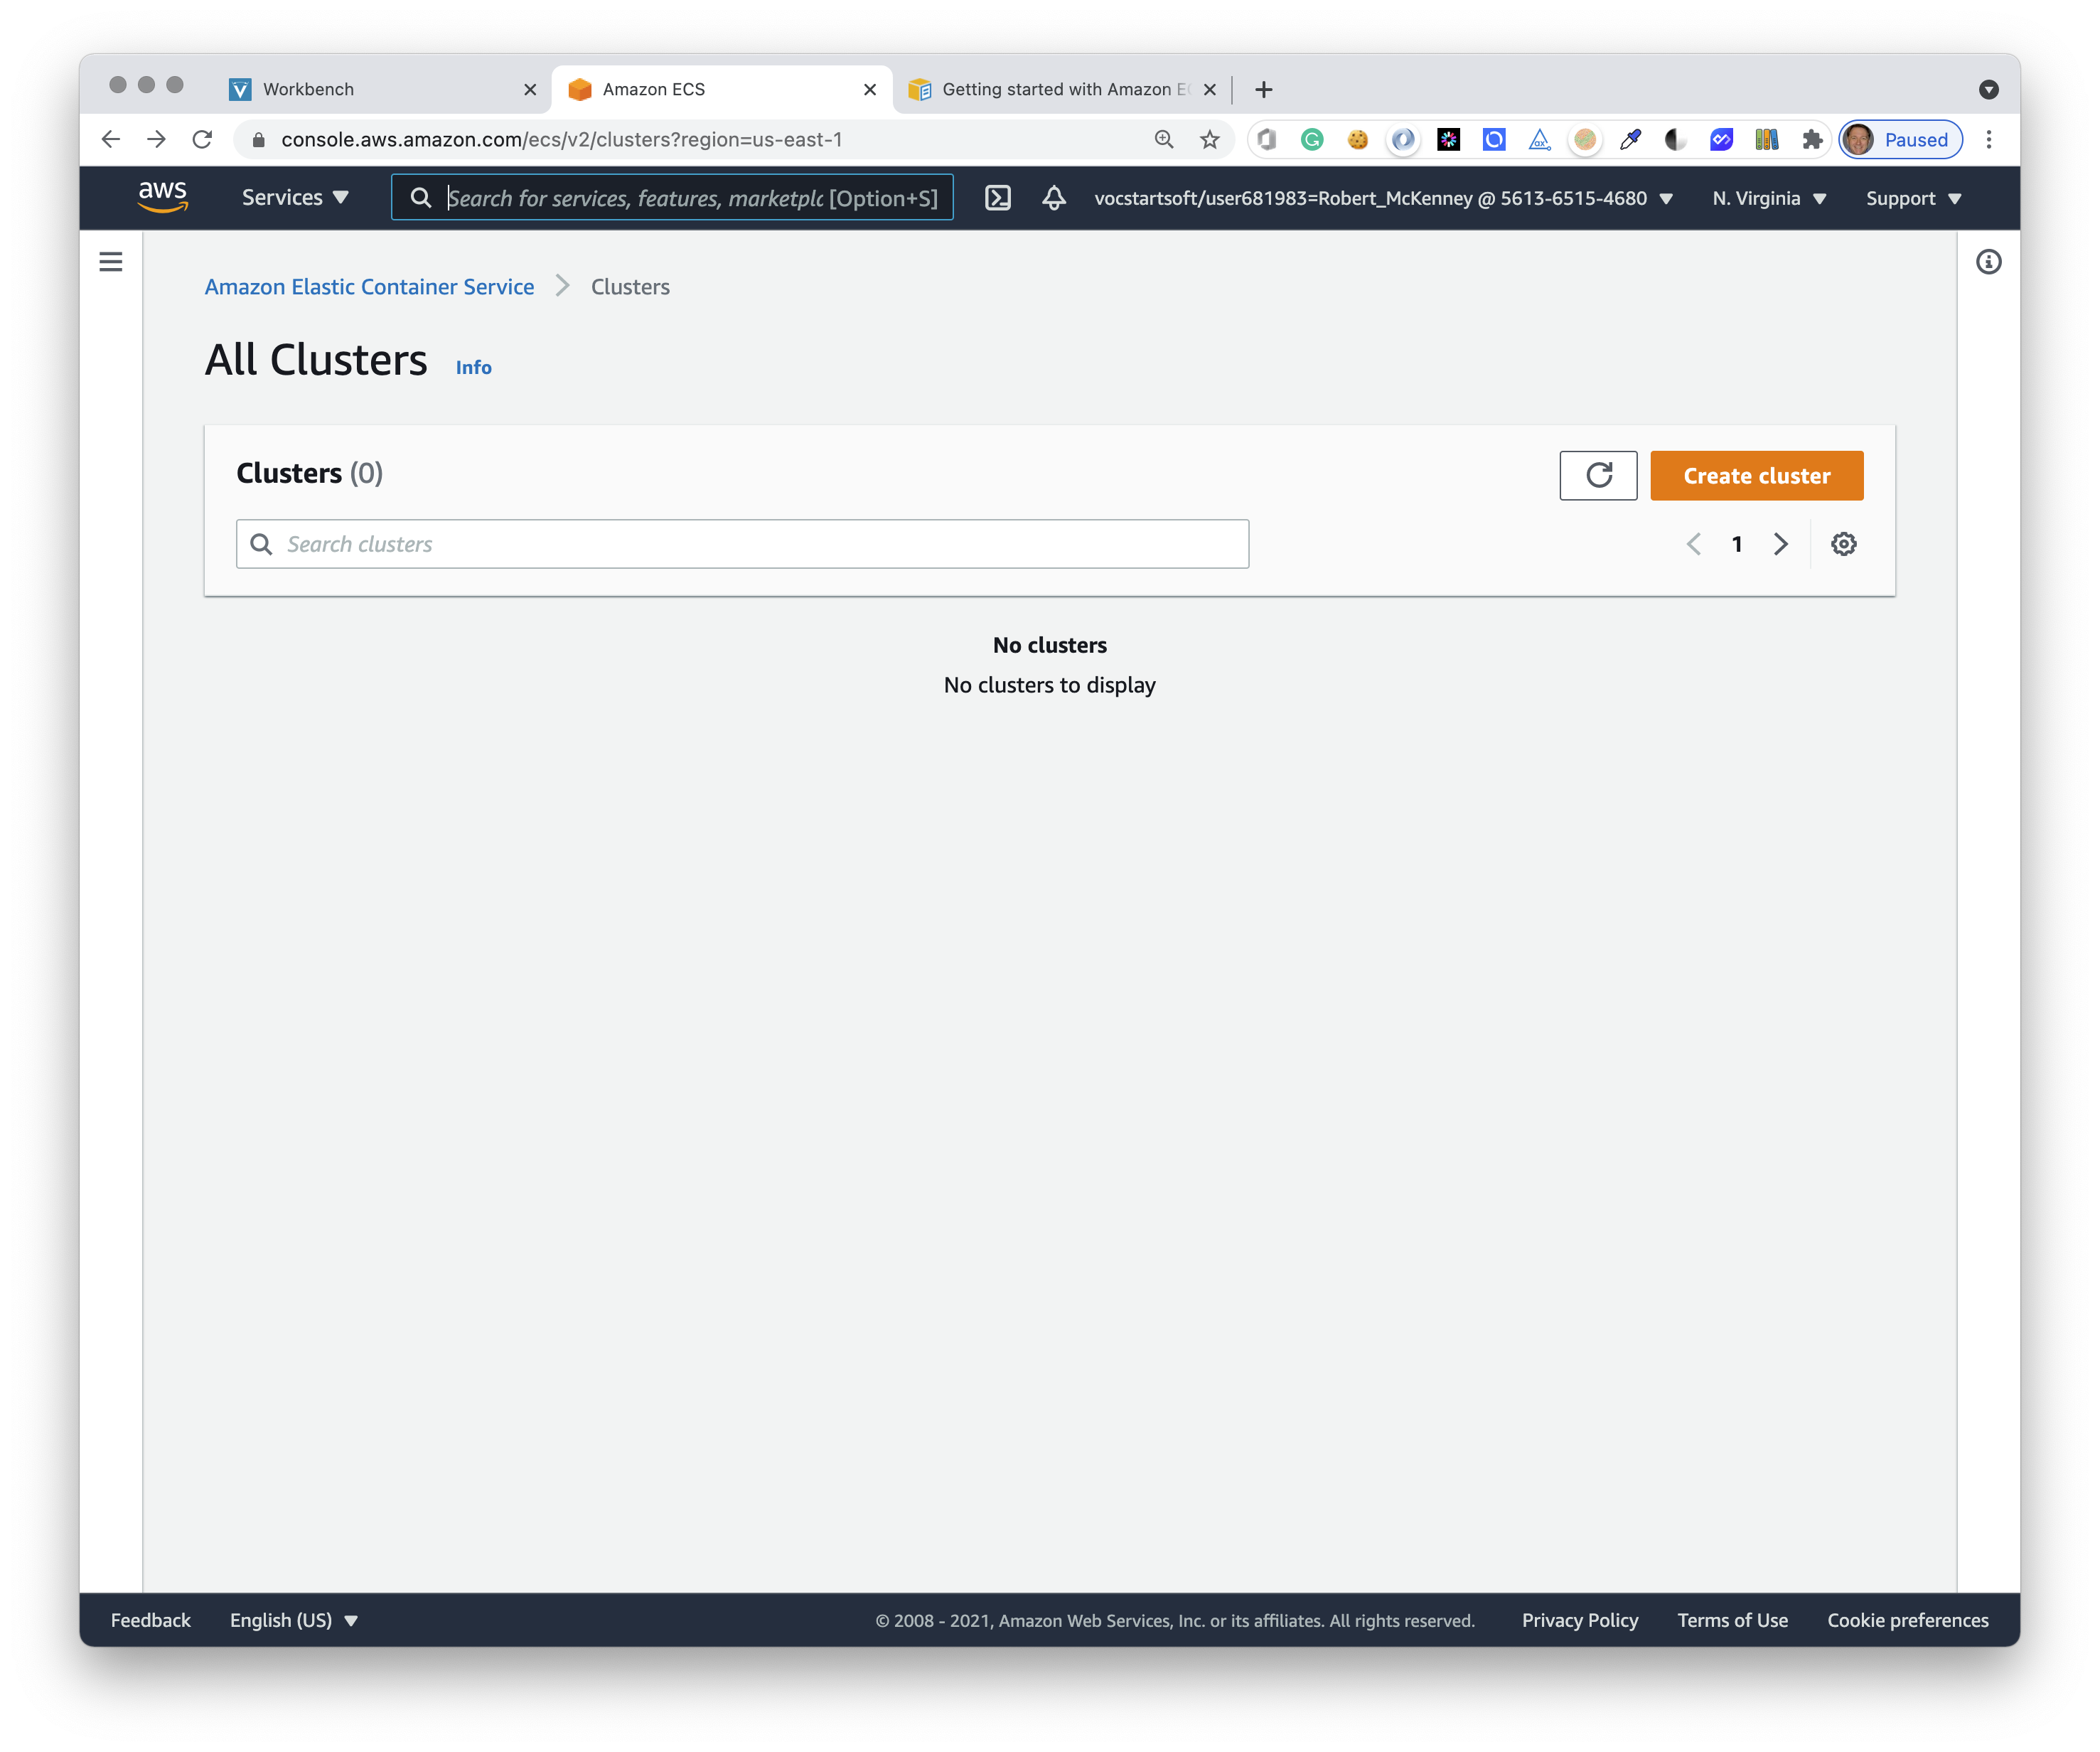
# 1. Go to the ECS console
Type ECS into the Find Services search box on the AWS Console and then select the Elastic Container Service 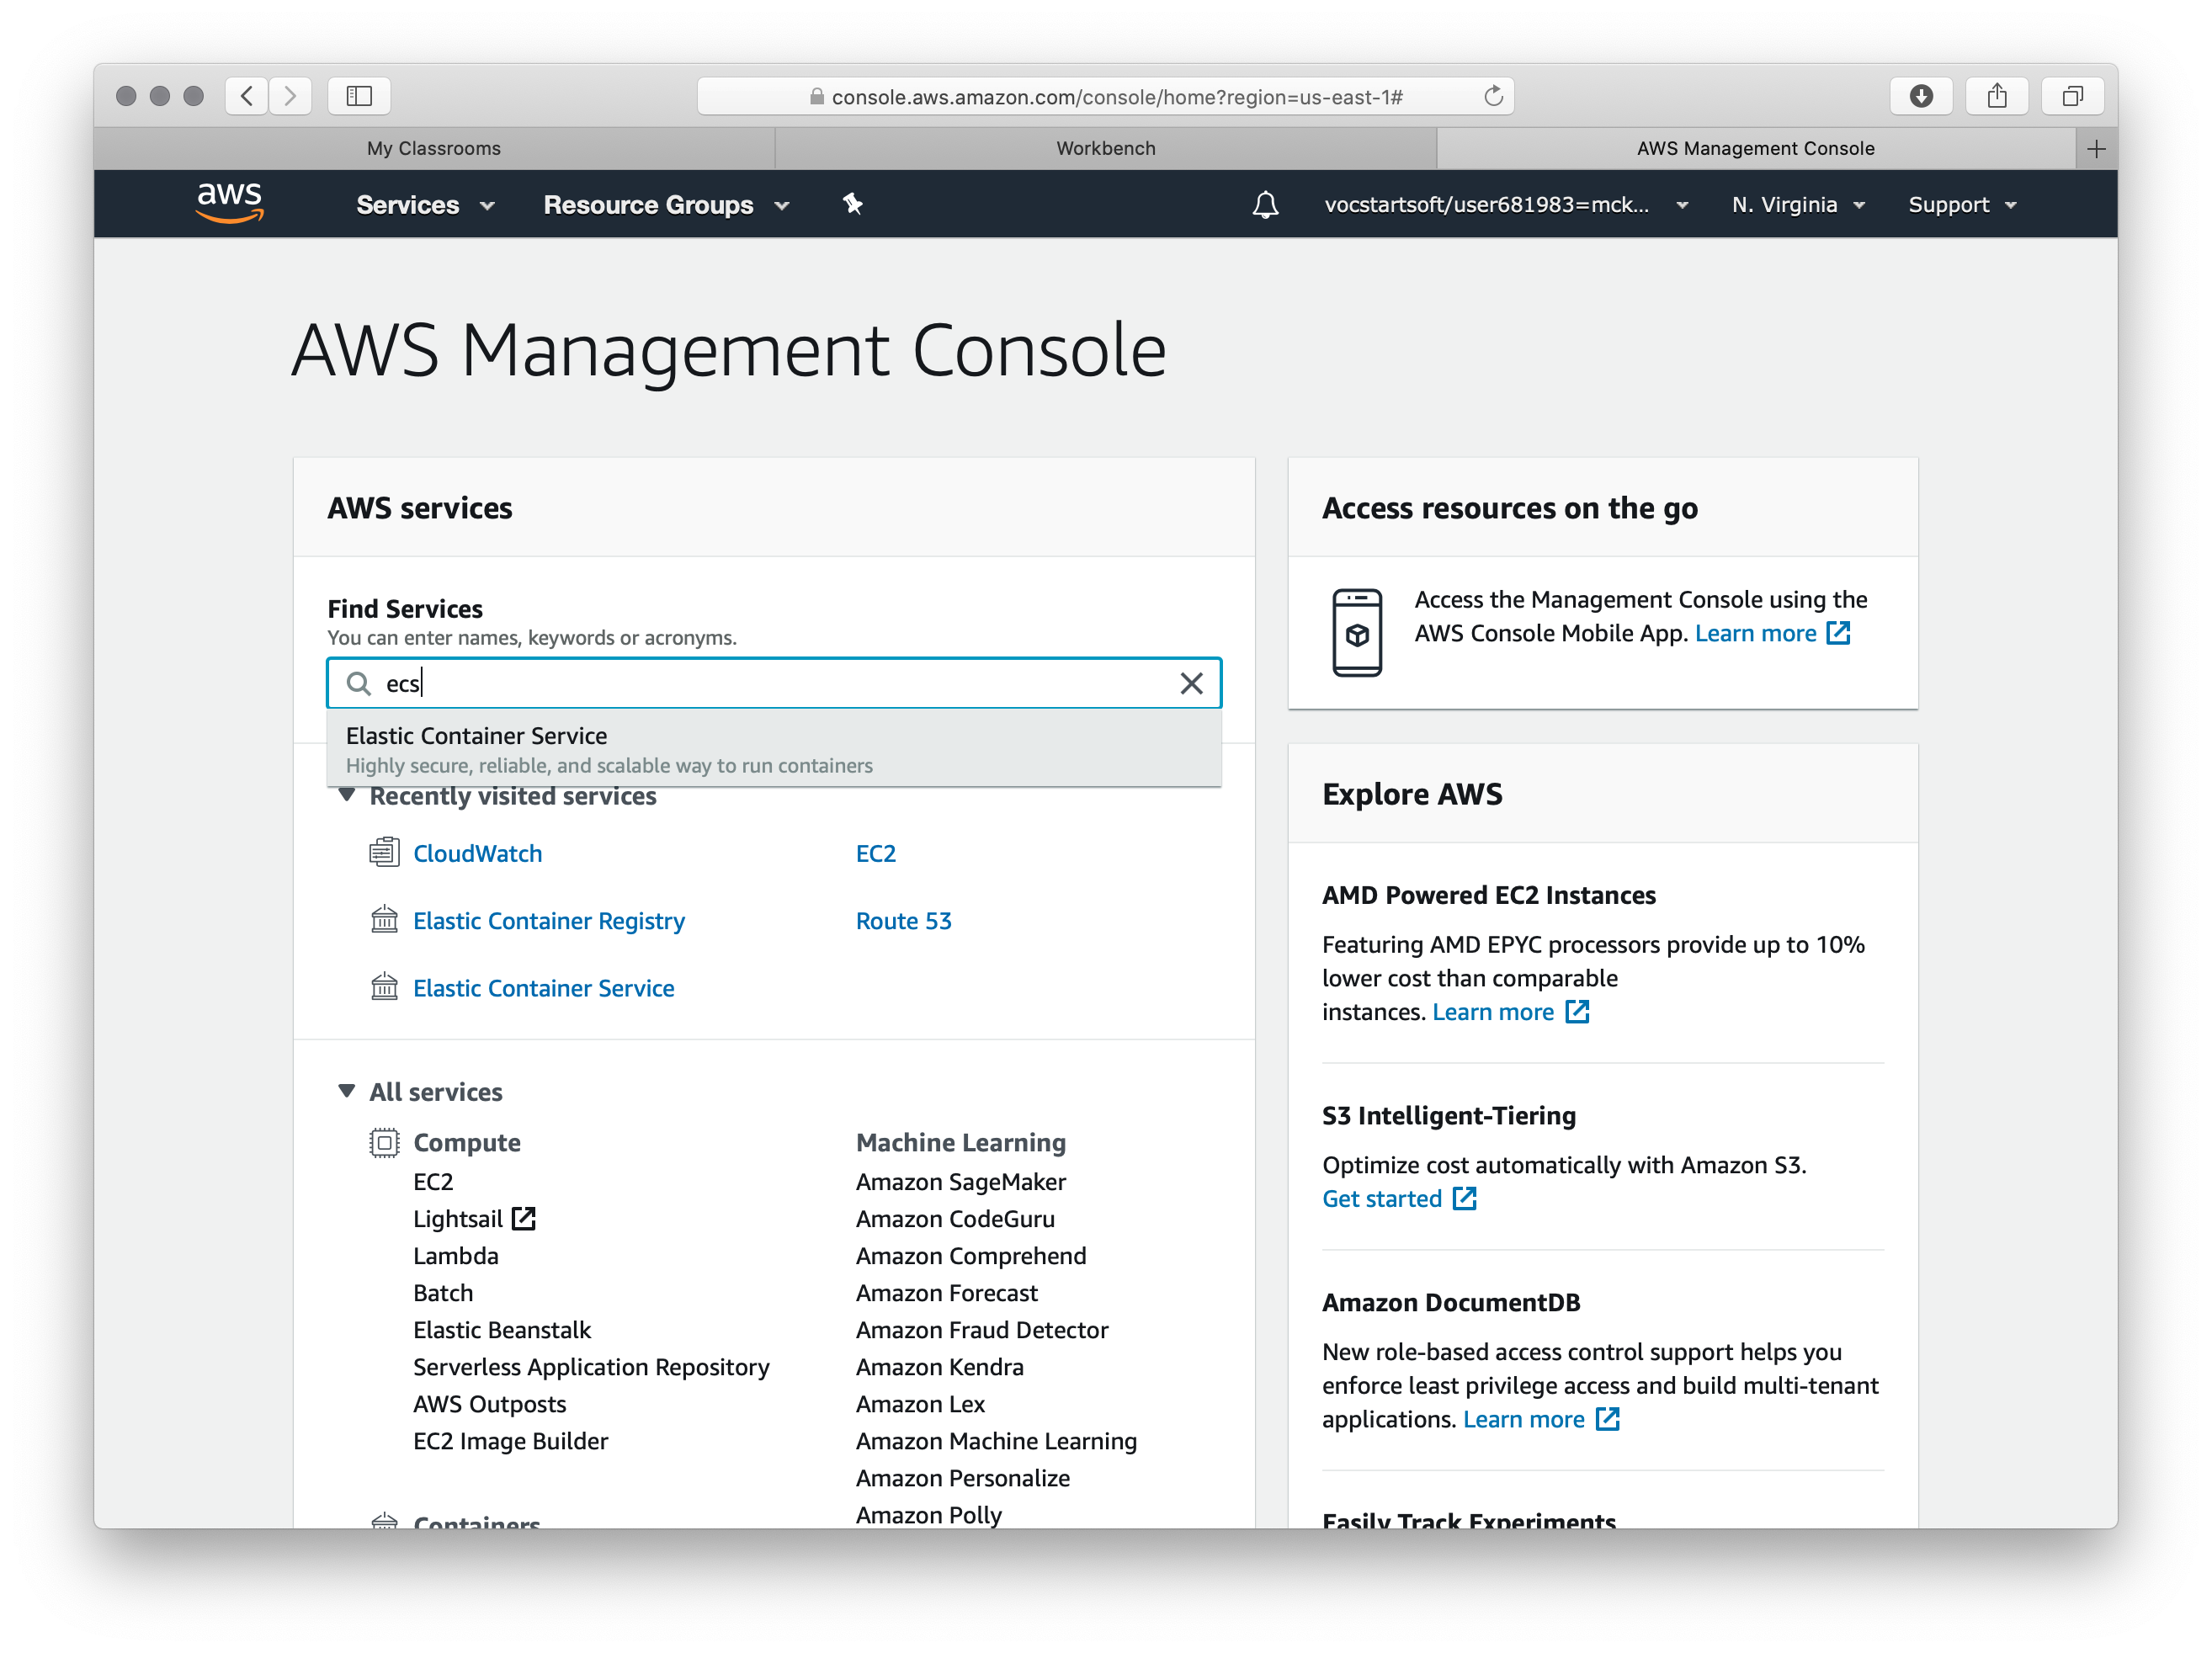
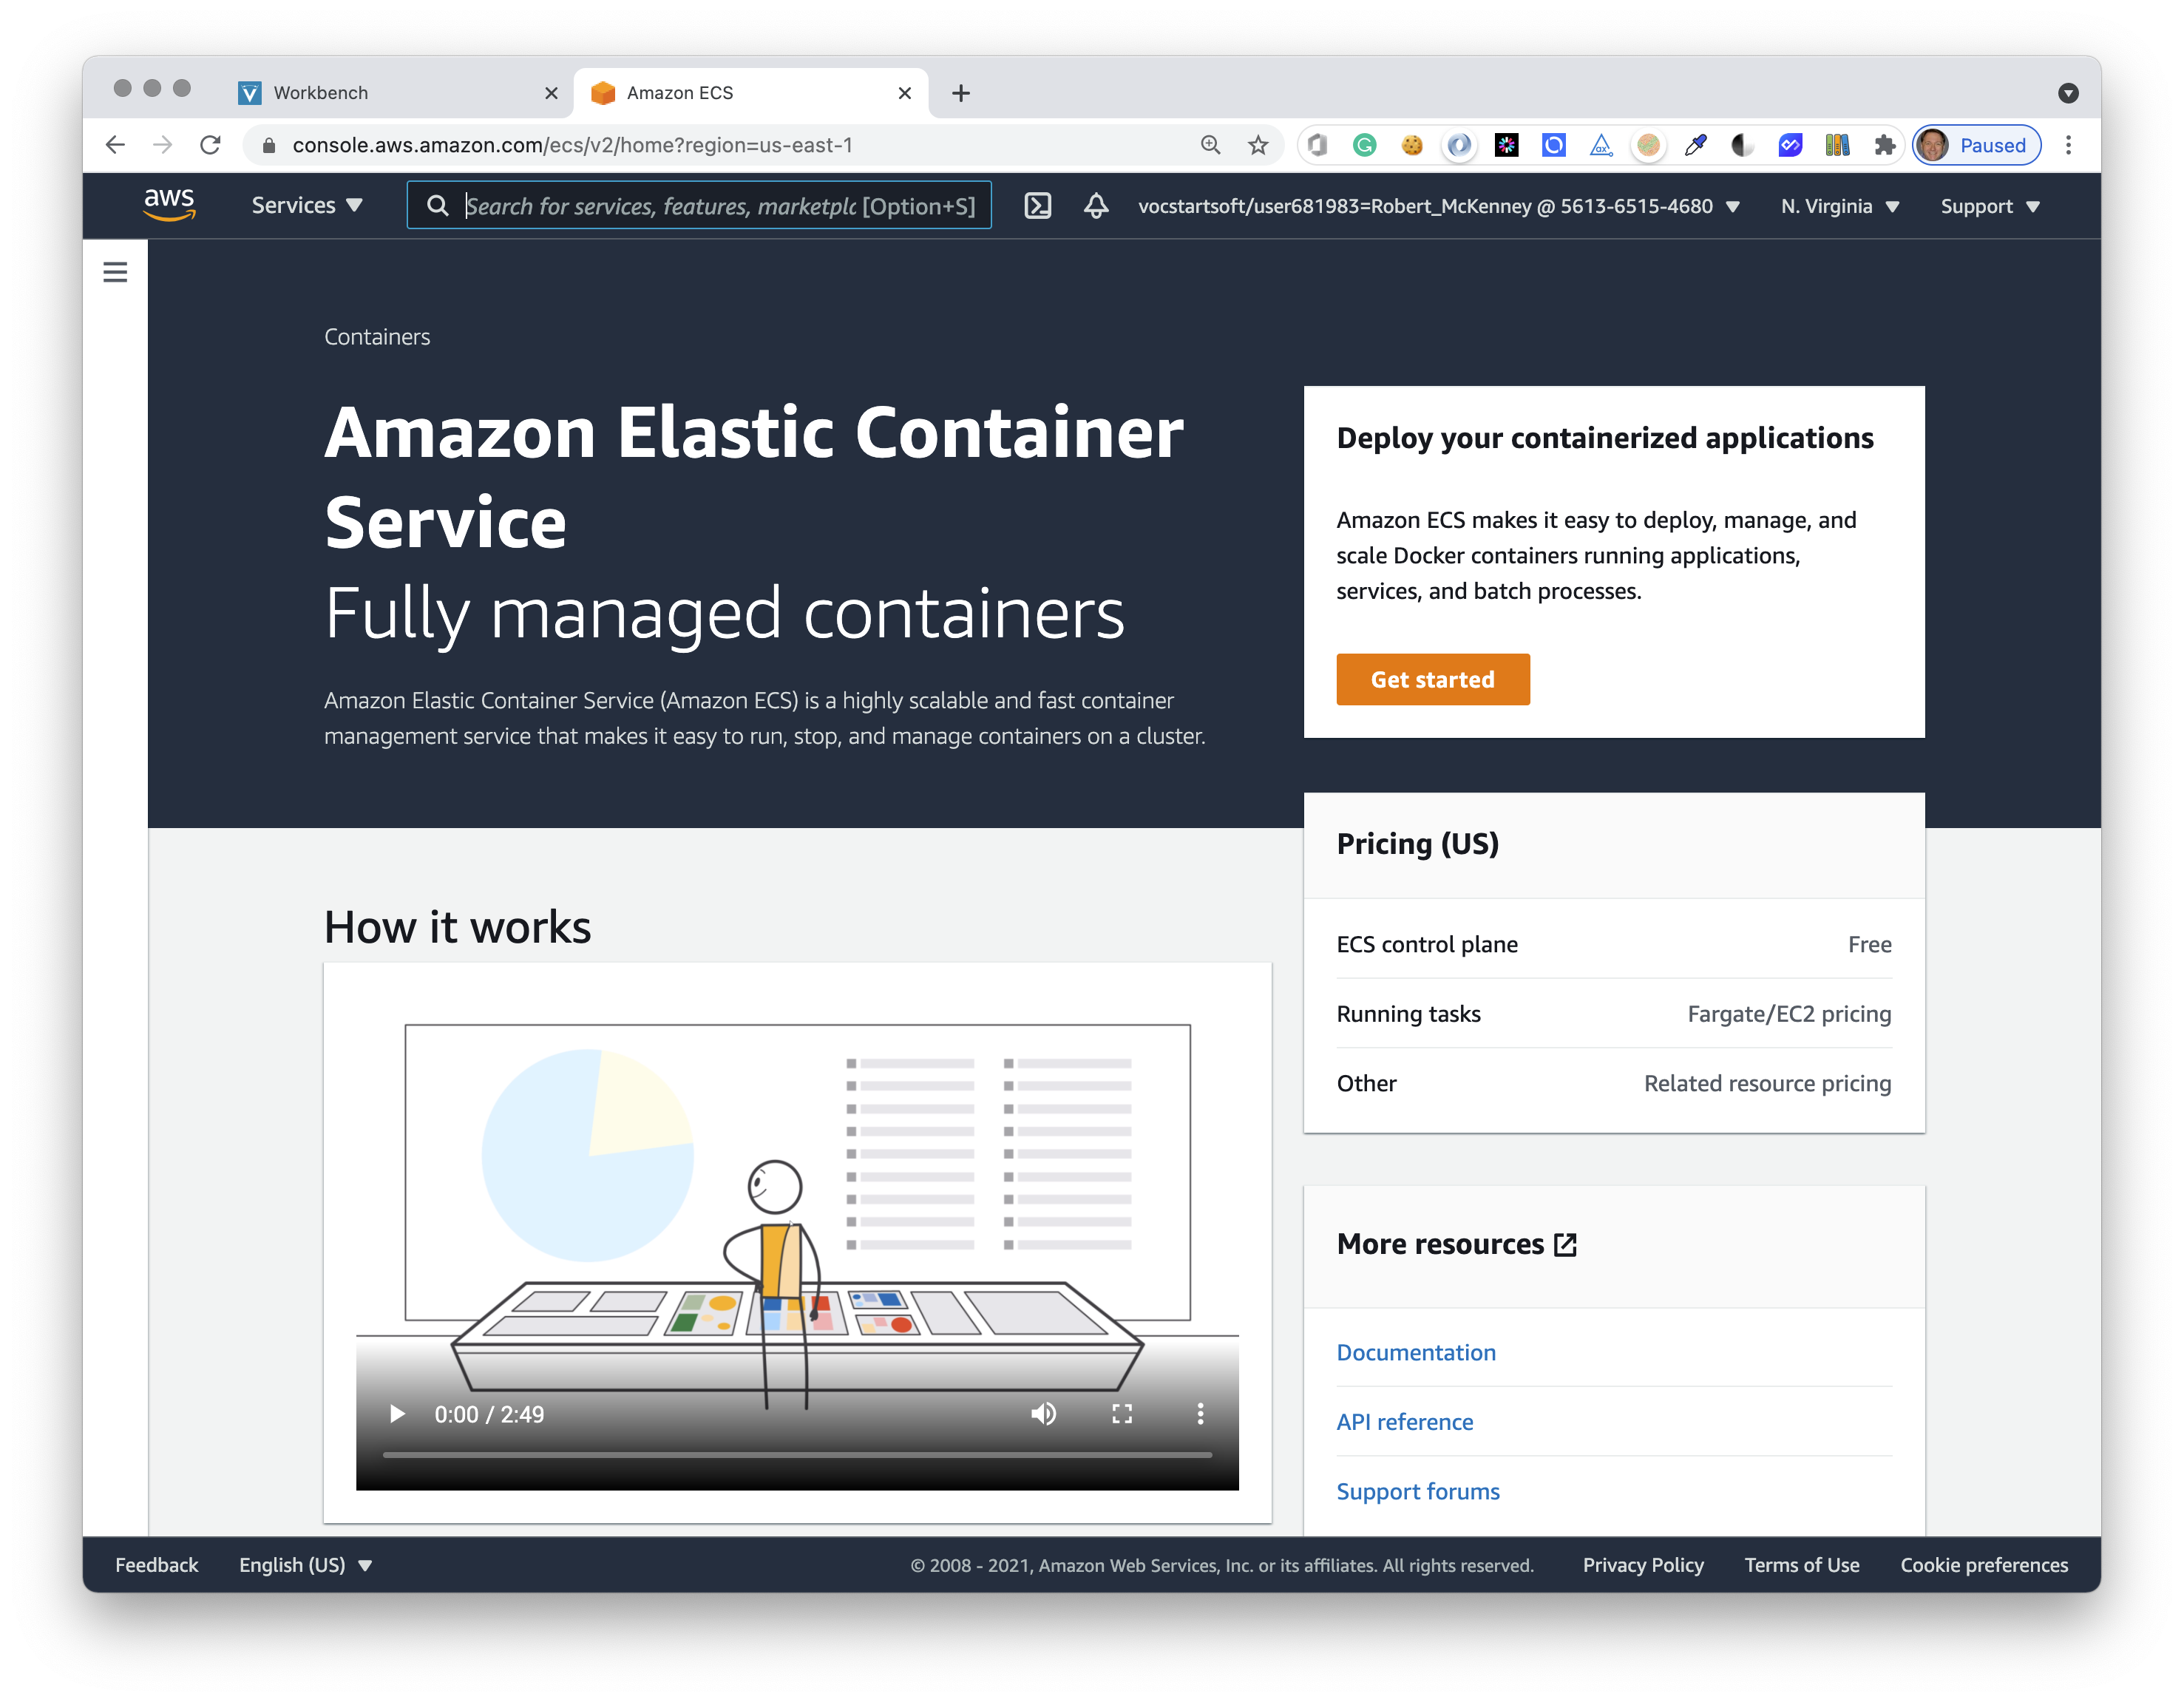
# 2. ECS - Get Started
On the next screen you should see an orange Get Started button. Click that to begin the configuration process.
# 3. Define AWS ECS Container/Task/Service
Now define the runtime parameters for your container service. There are several related parts and they fit together like Russian nesting dolls.
- A container definition links to the Docker image that you pushed to DockerHub.
- A task sets the resources (vCPU, RAM) for a container definition.
- A service may include one or more related tasks, and defines scaling rules.
- A cluster hosts one or more services and defines the general network settings.
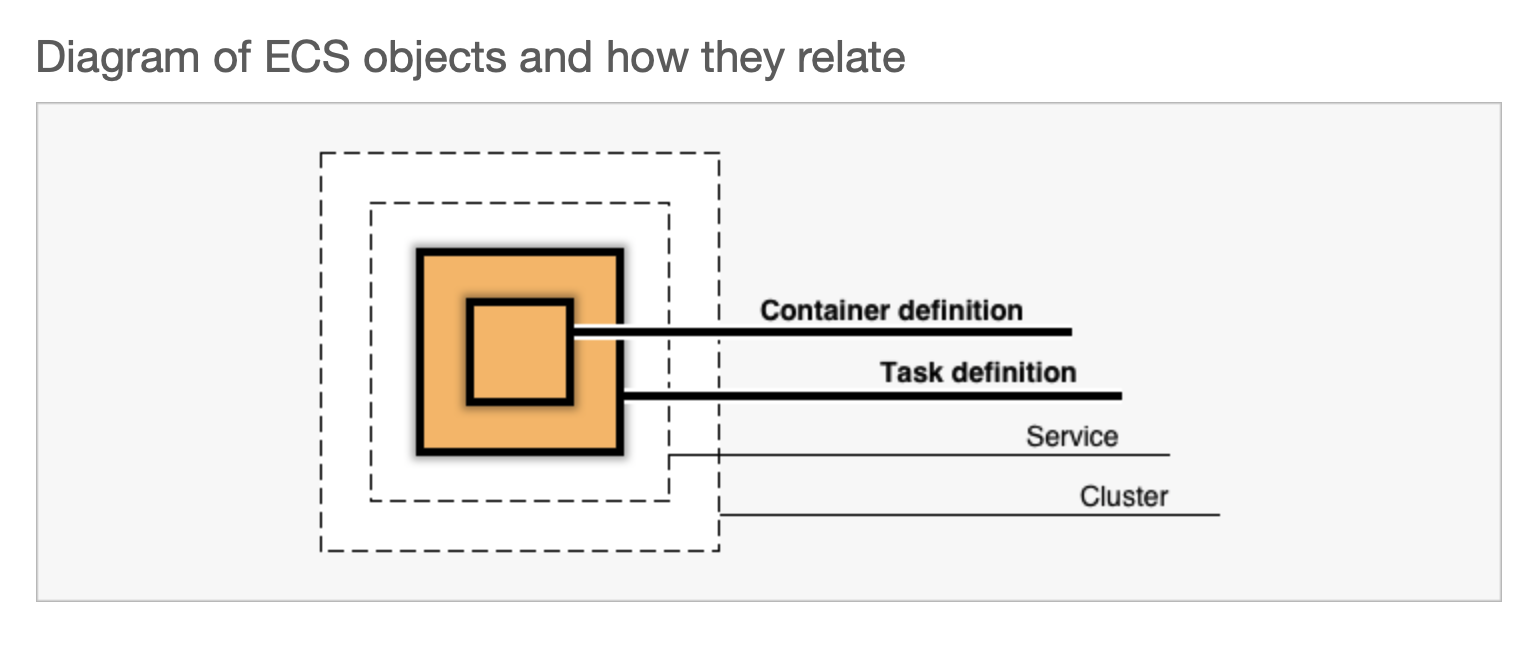
# Cluster Definition
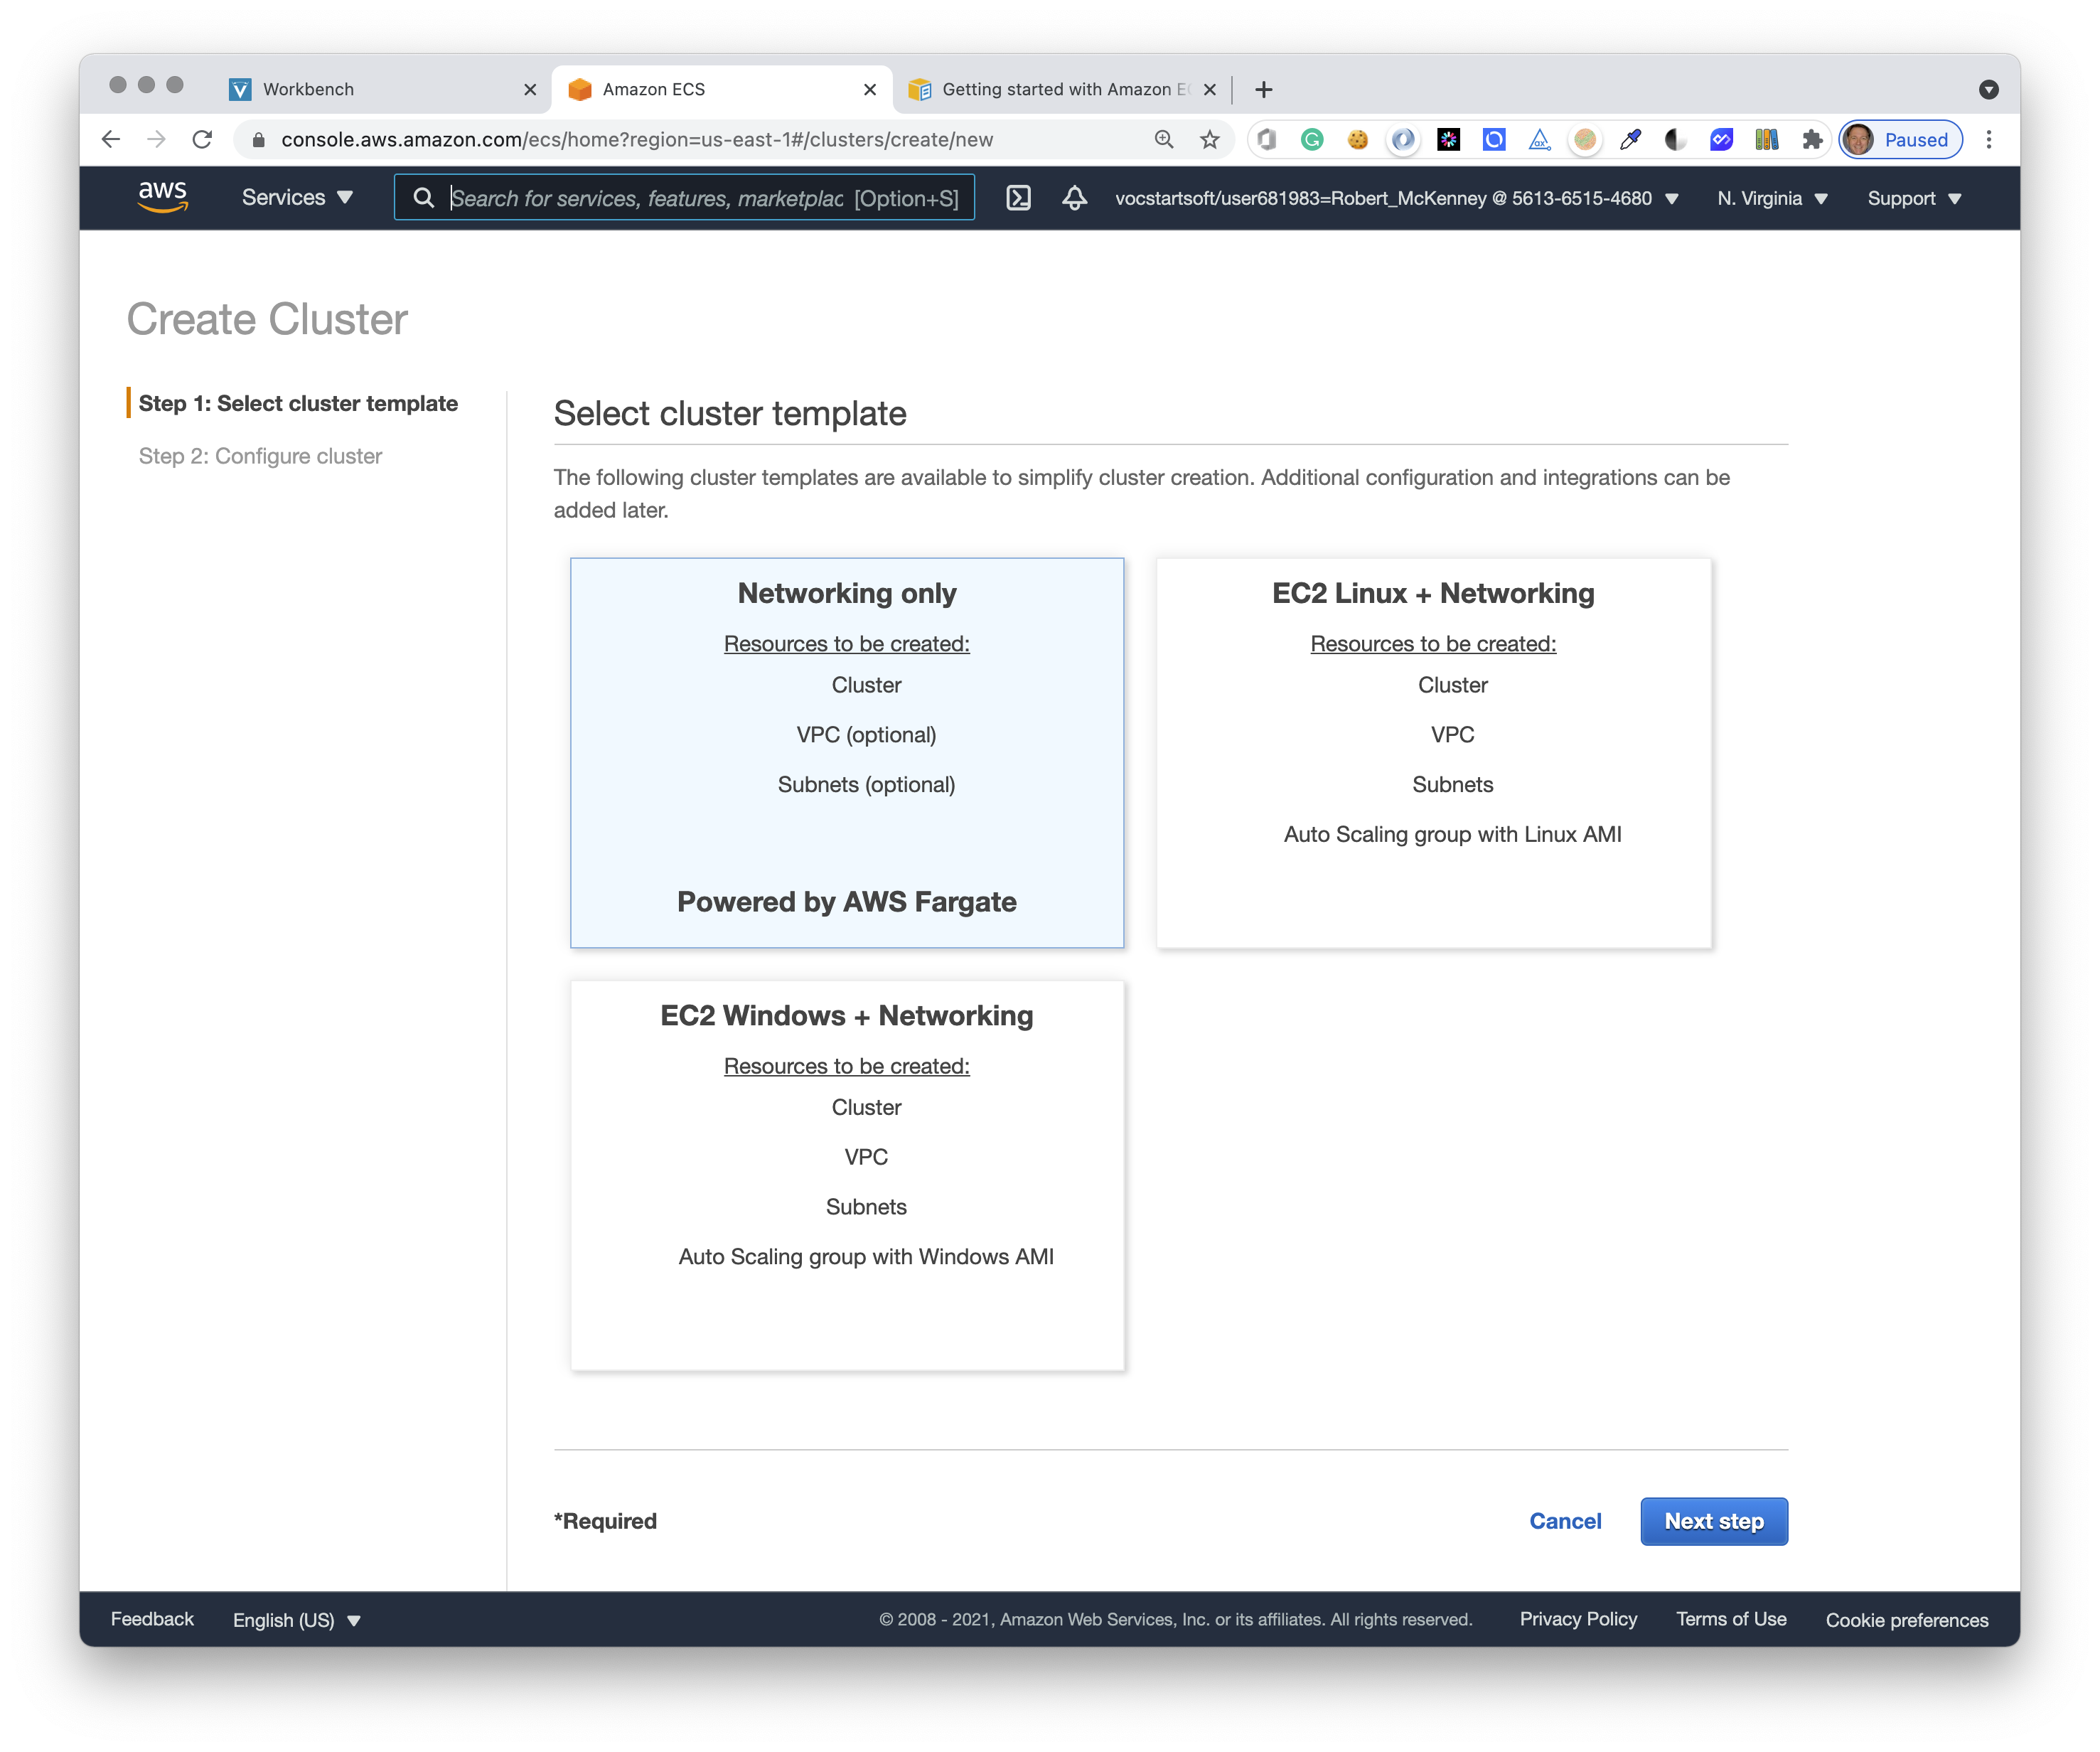
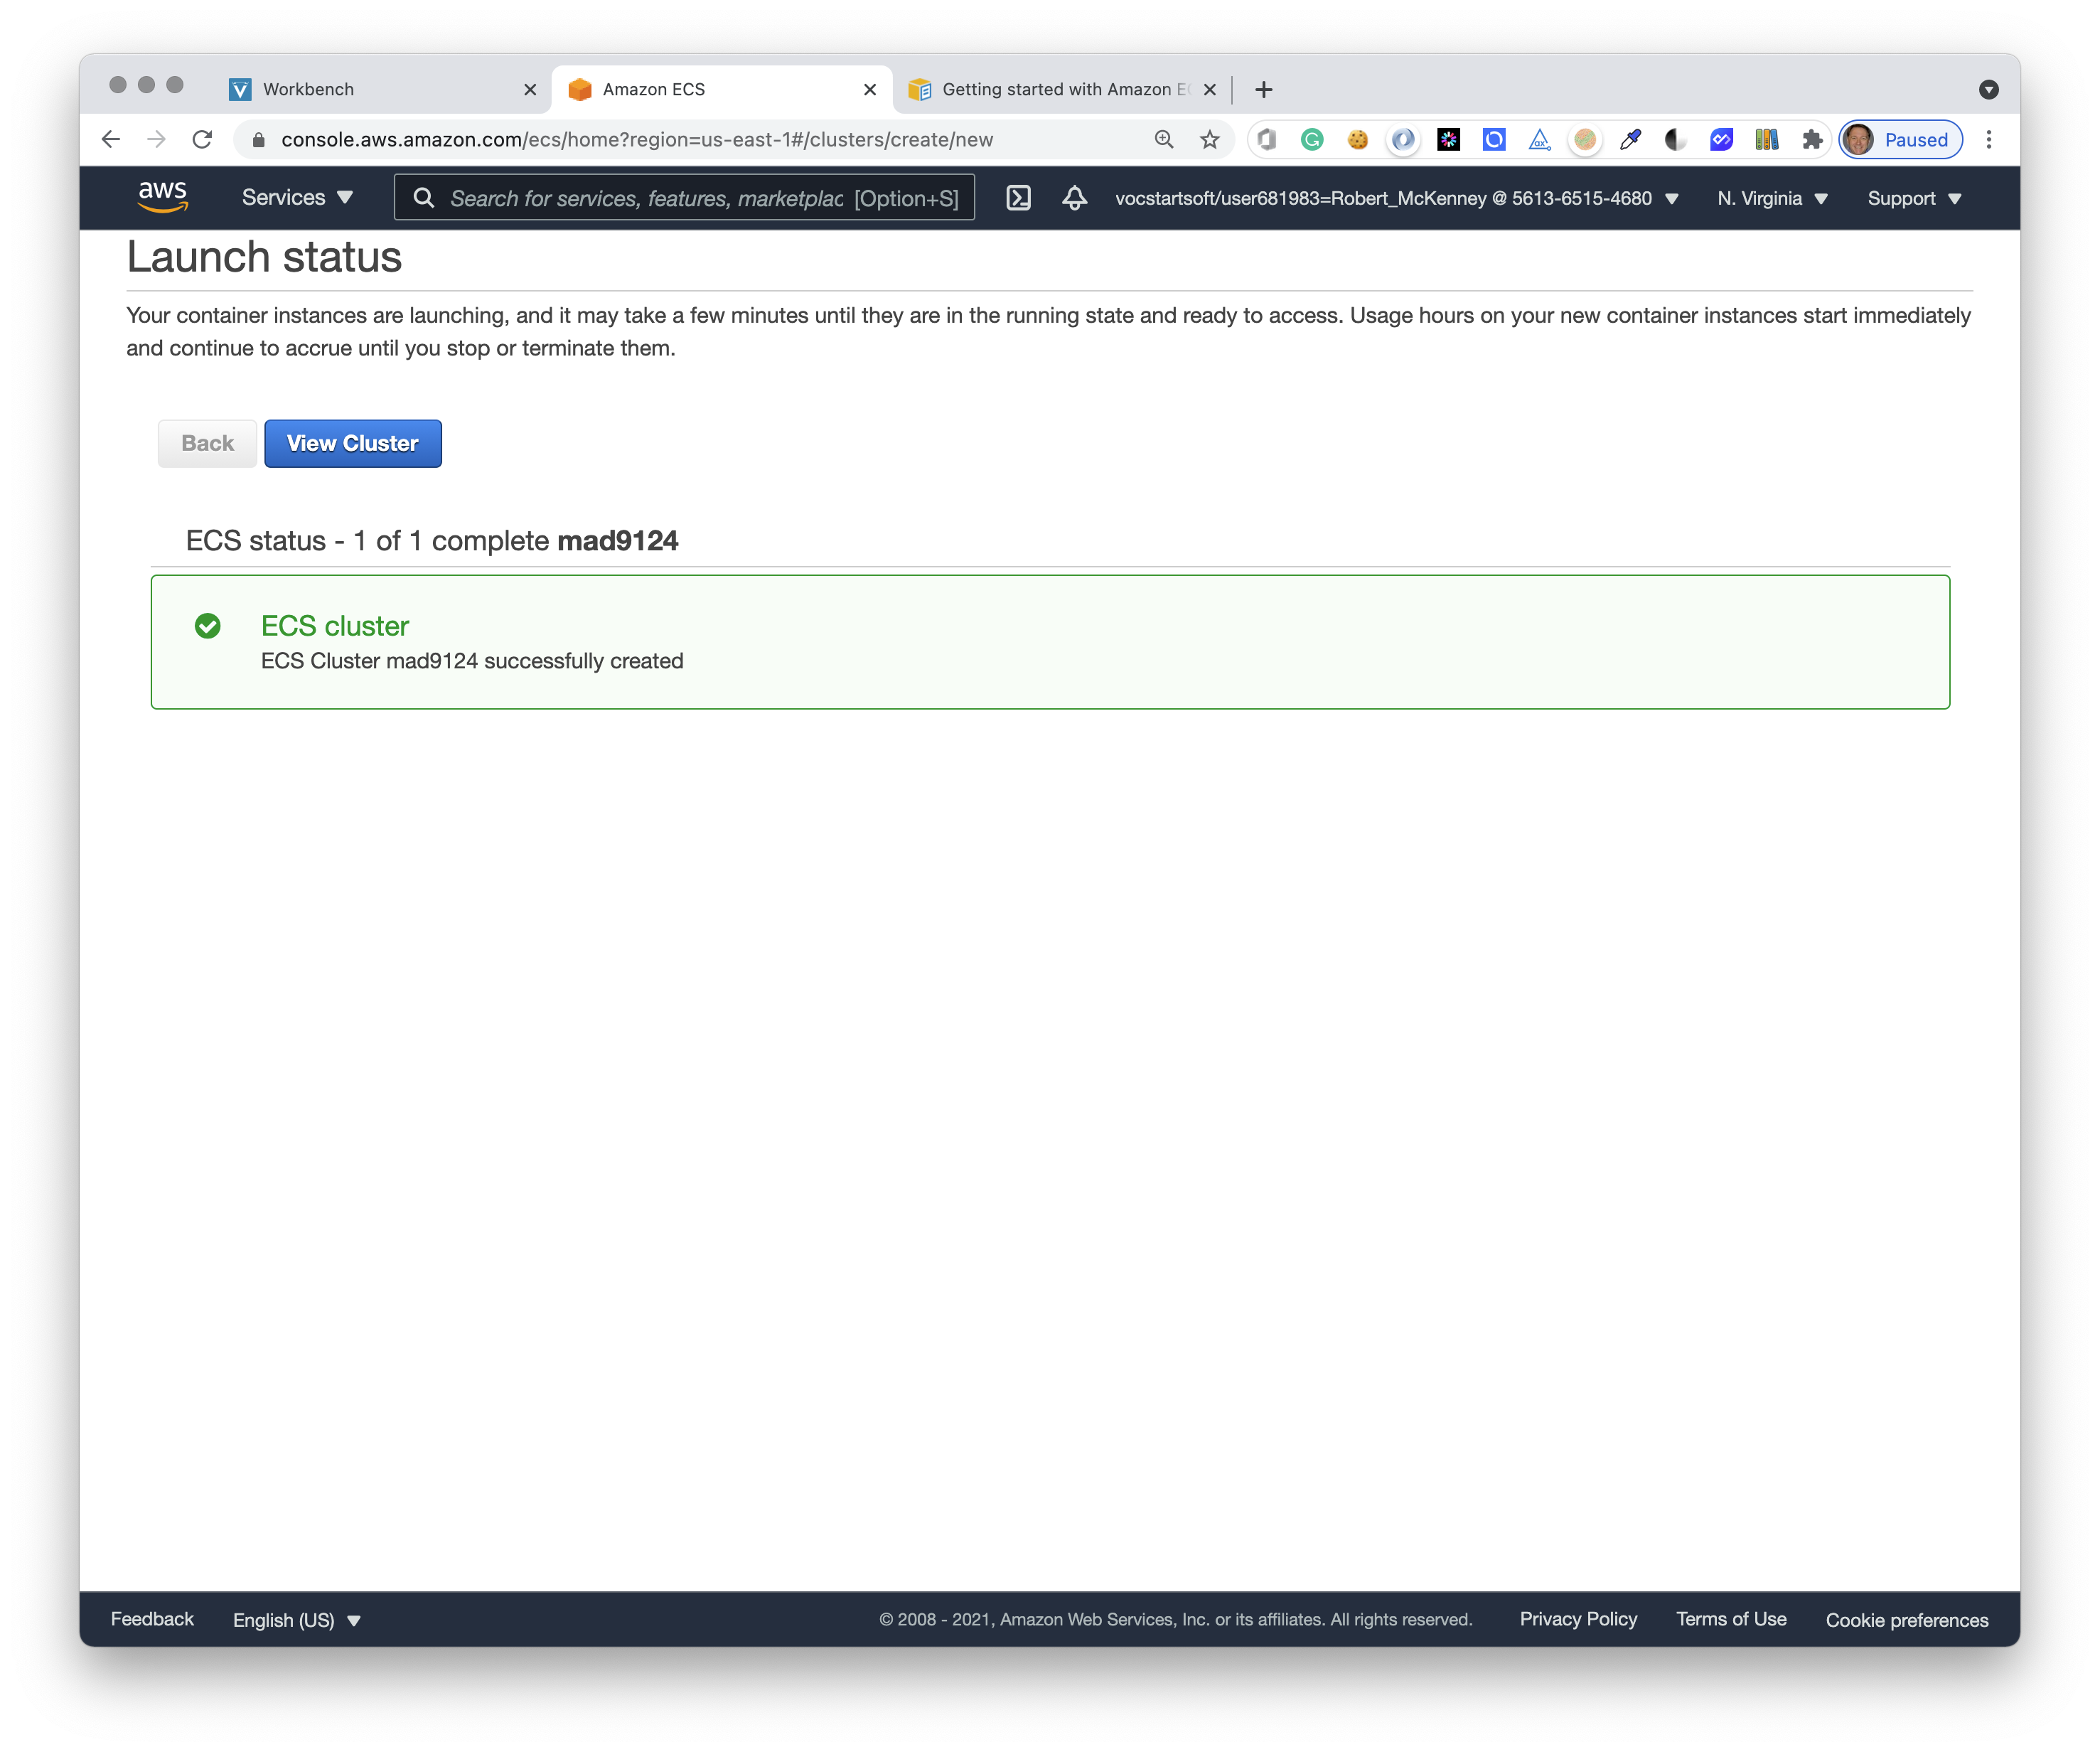
Click the orange Create Cluster button.
Choose Networking only and then click the blue Next step button at the bottom of the page.
Set the cluster name to mad9124, and click the blue Create button at the bottom of the page.
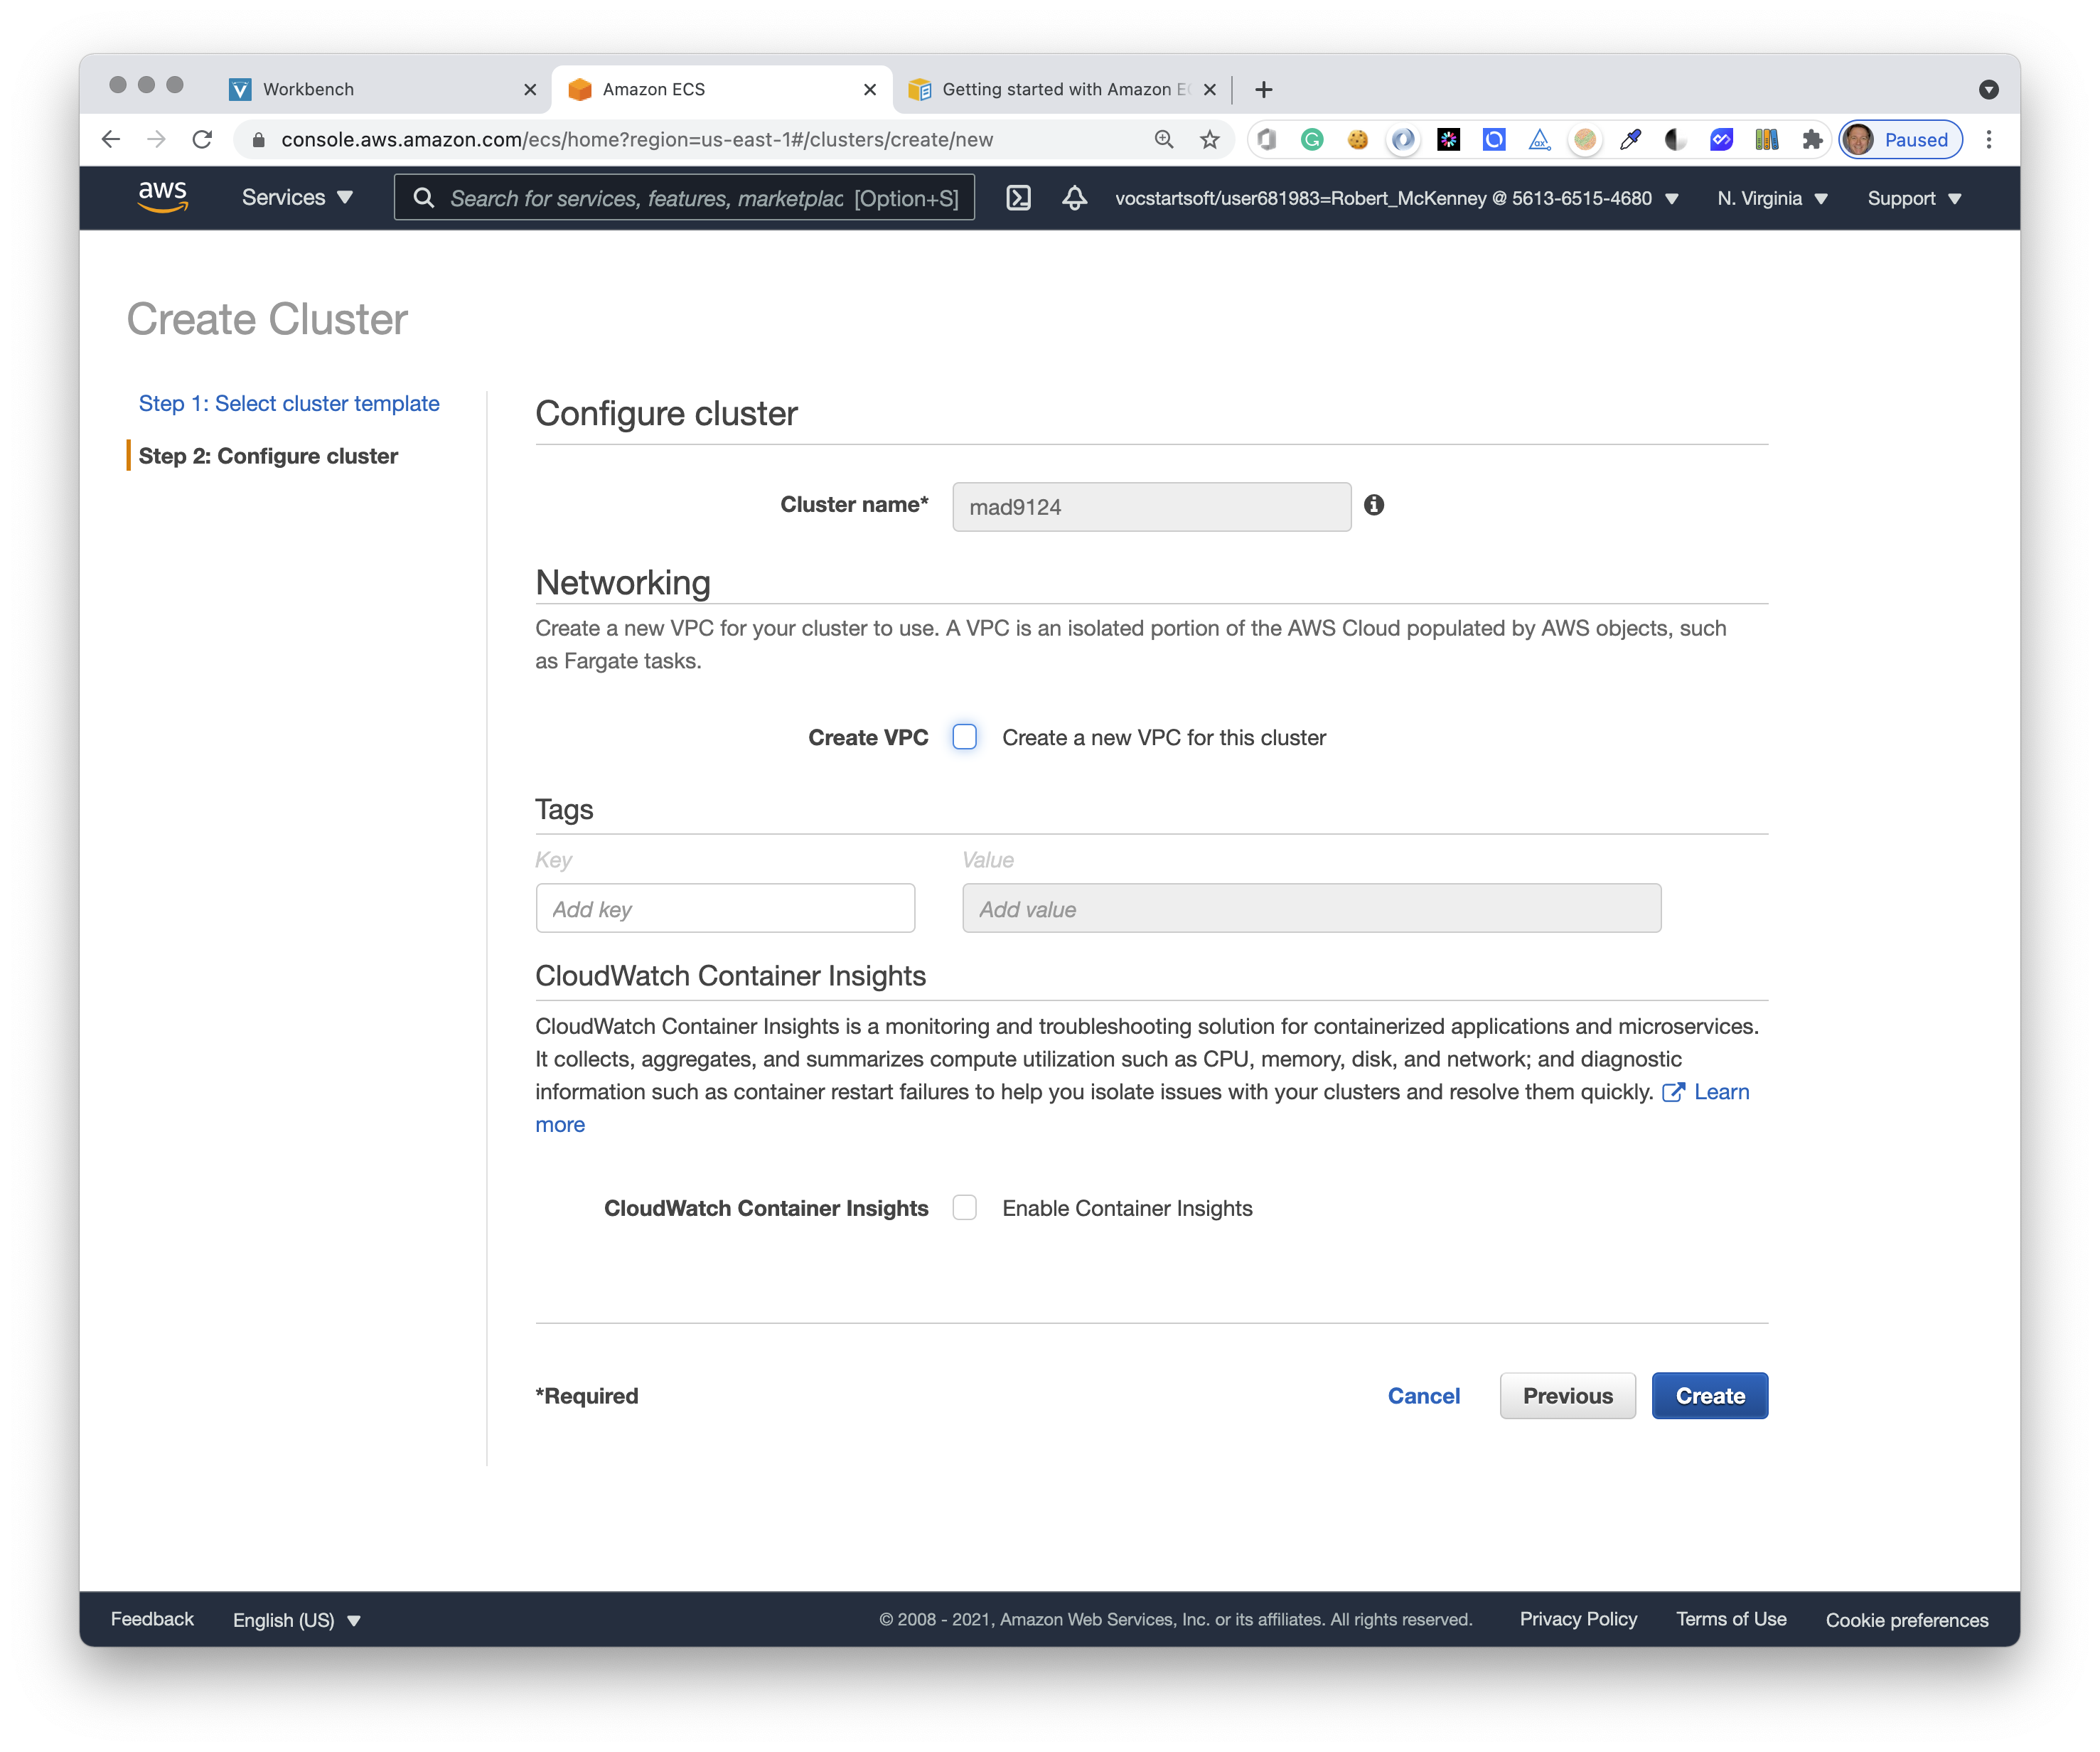
You should see a confirmation page.
# Task Definition
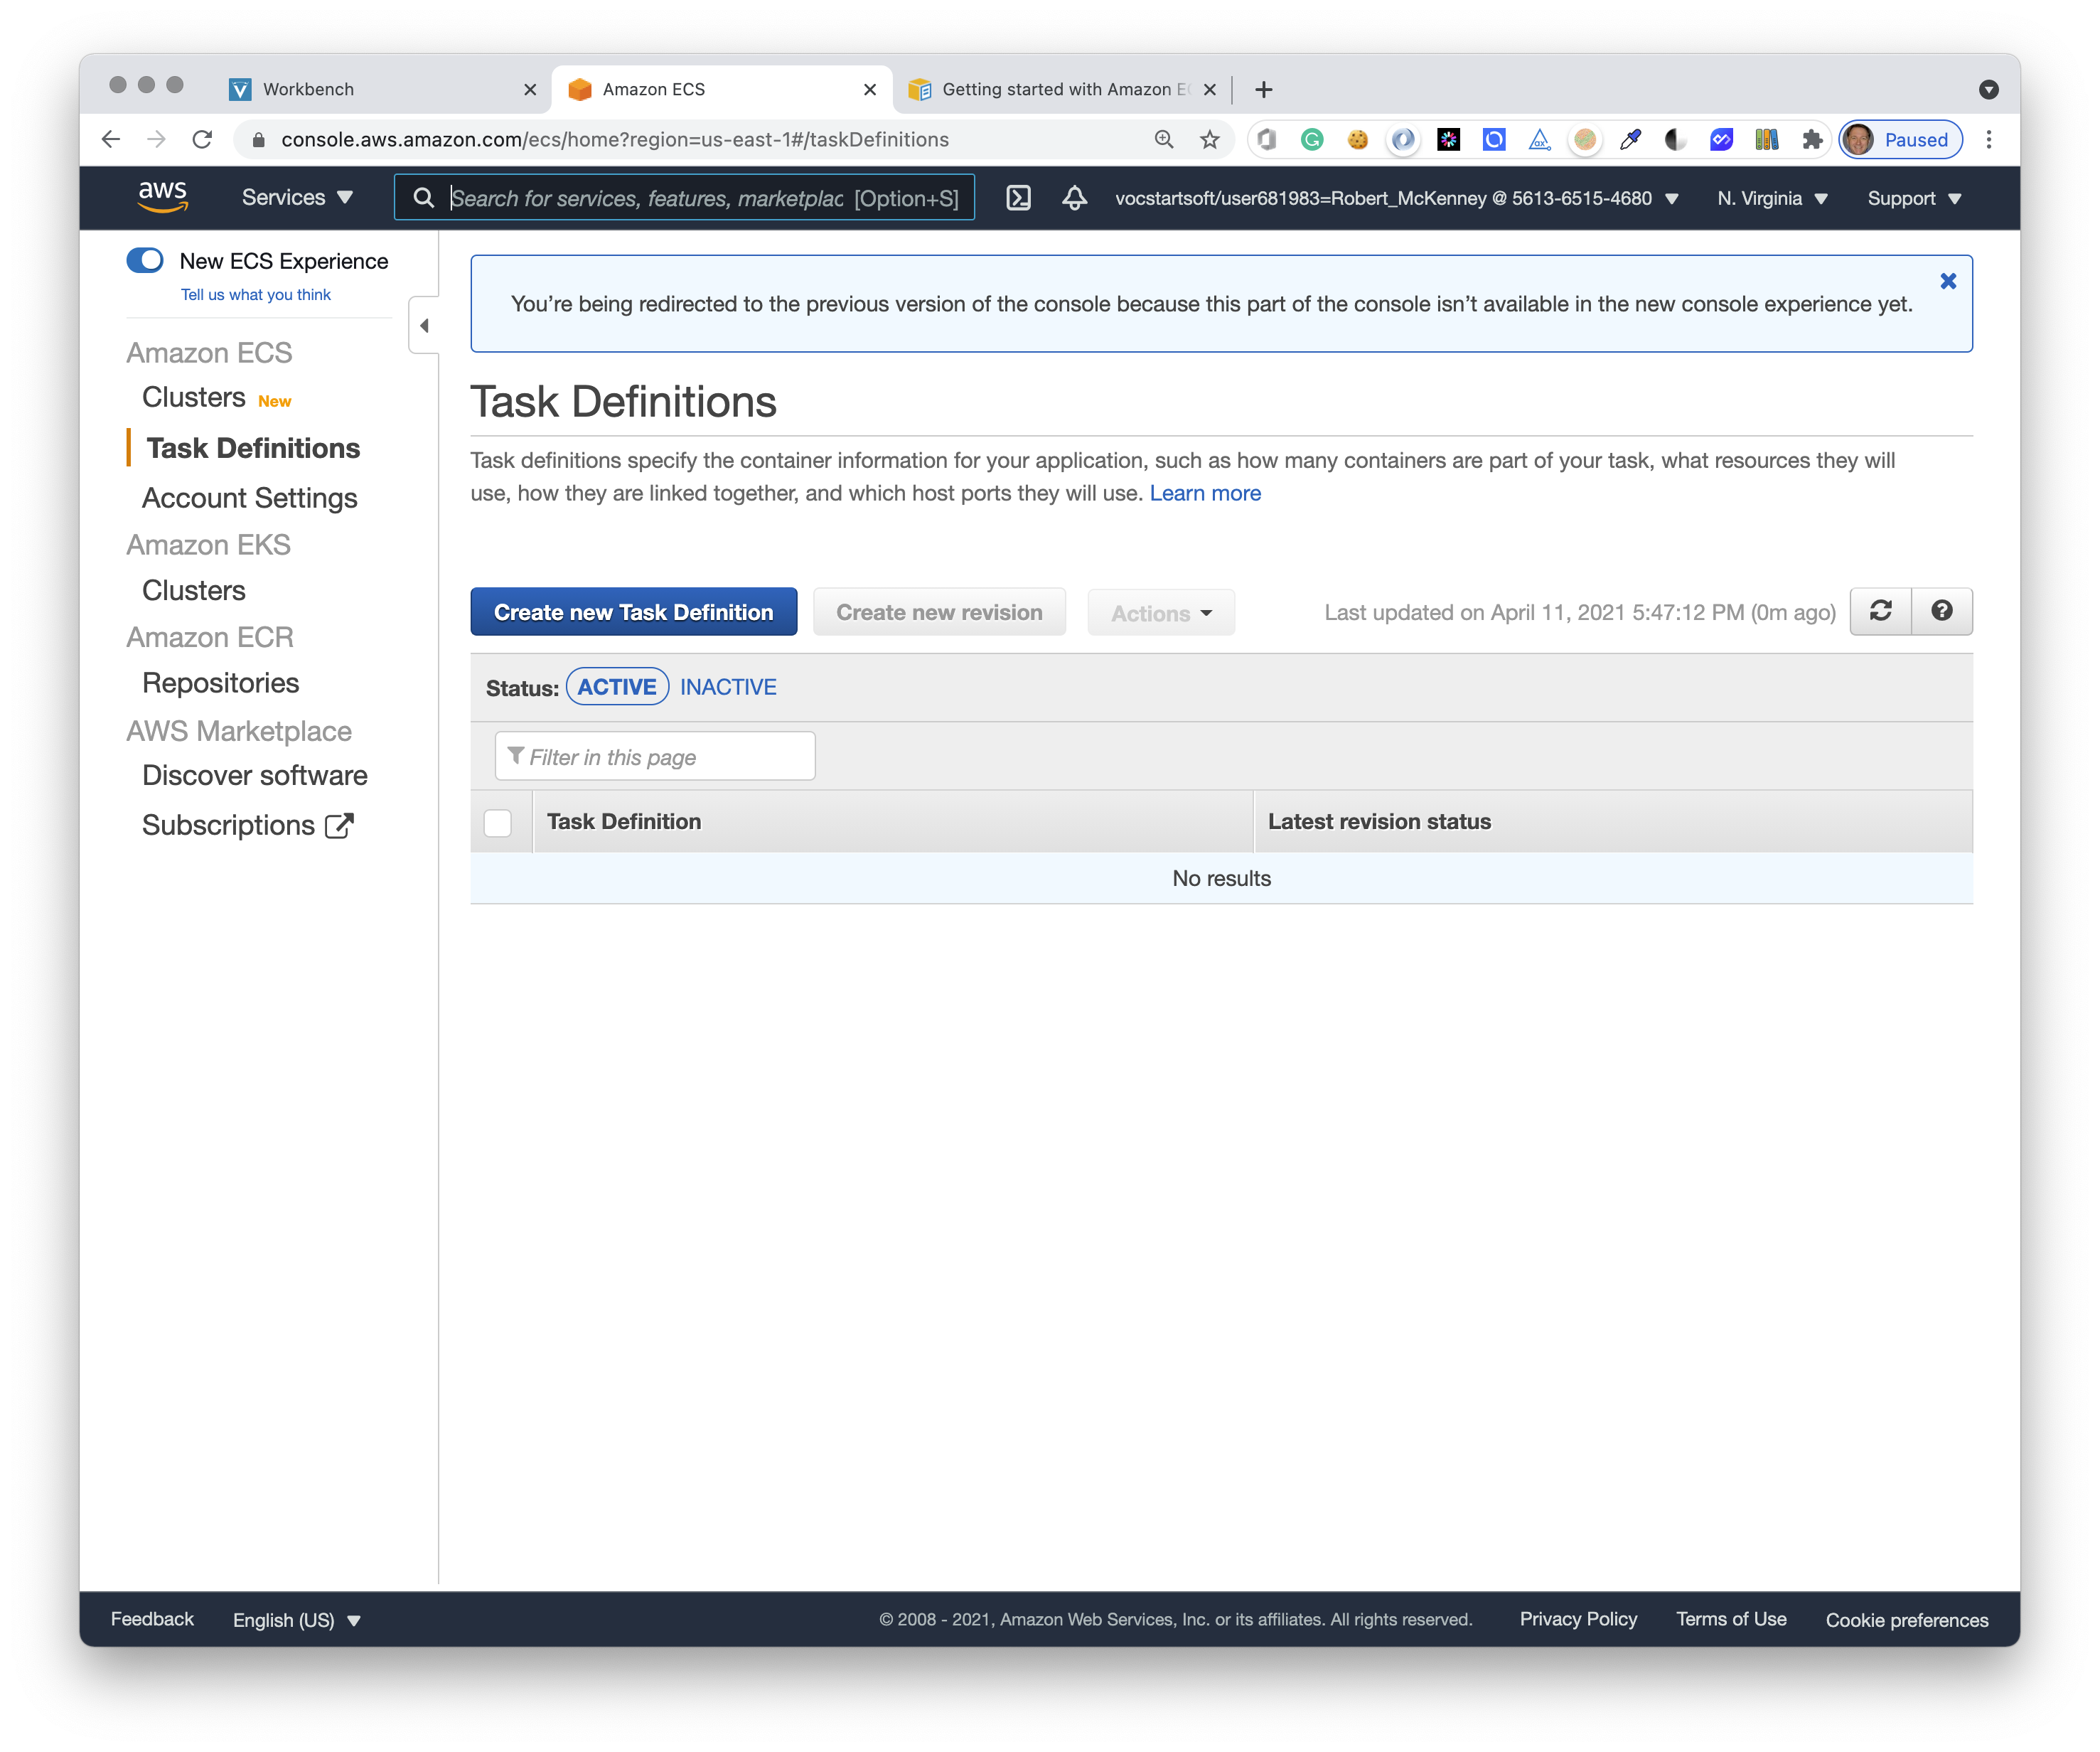
Expand the left-hand menu and click on Task Definitions. Then click the blue Create new Task Definition button.
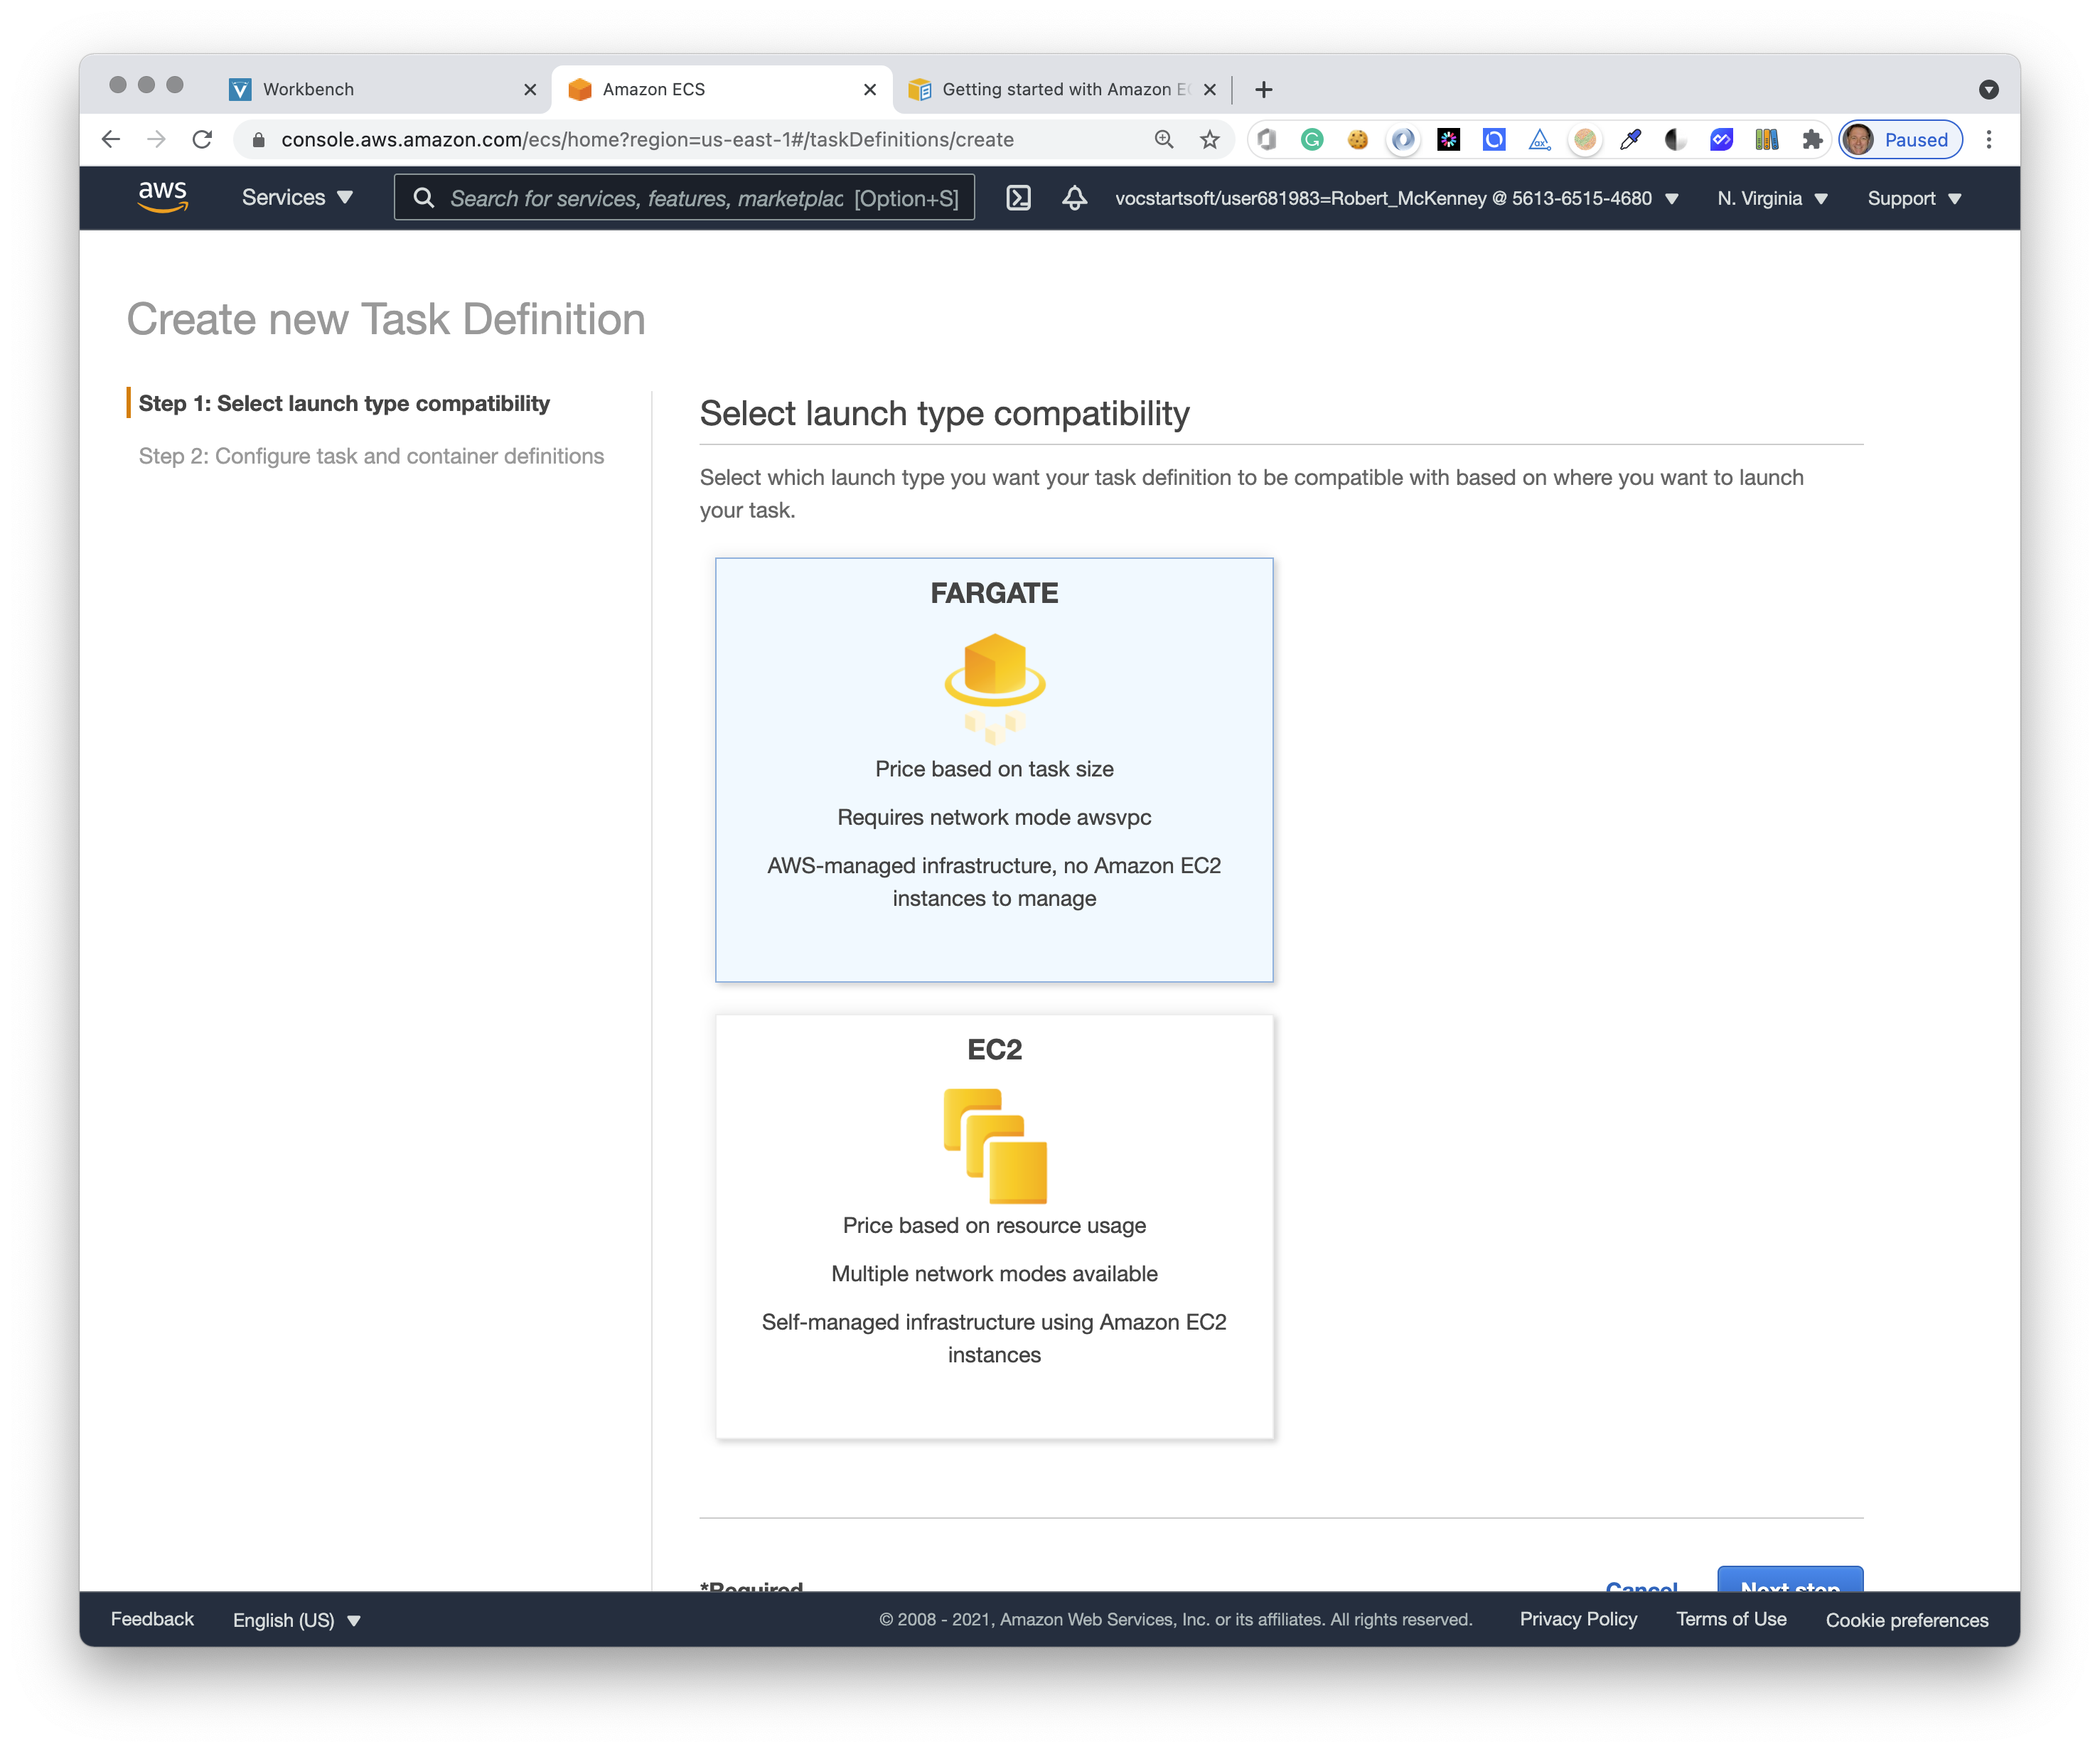
Choose Fargate and click the blue next button at the bottom of the page.
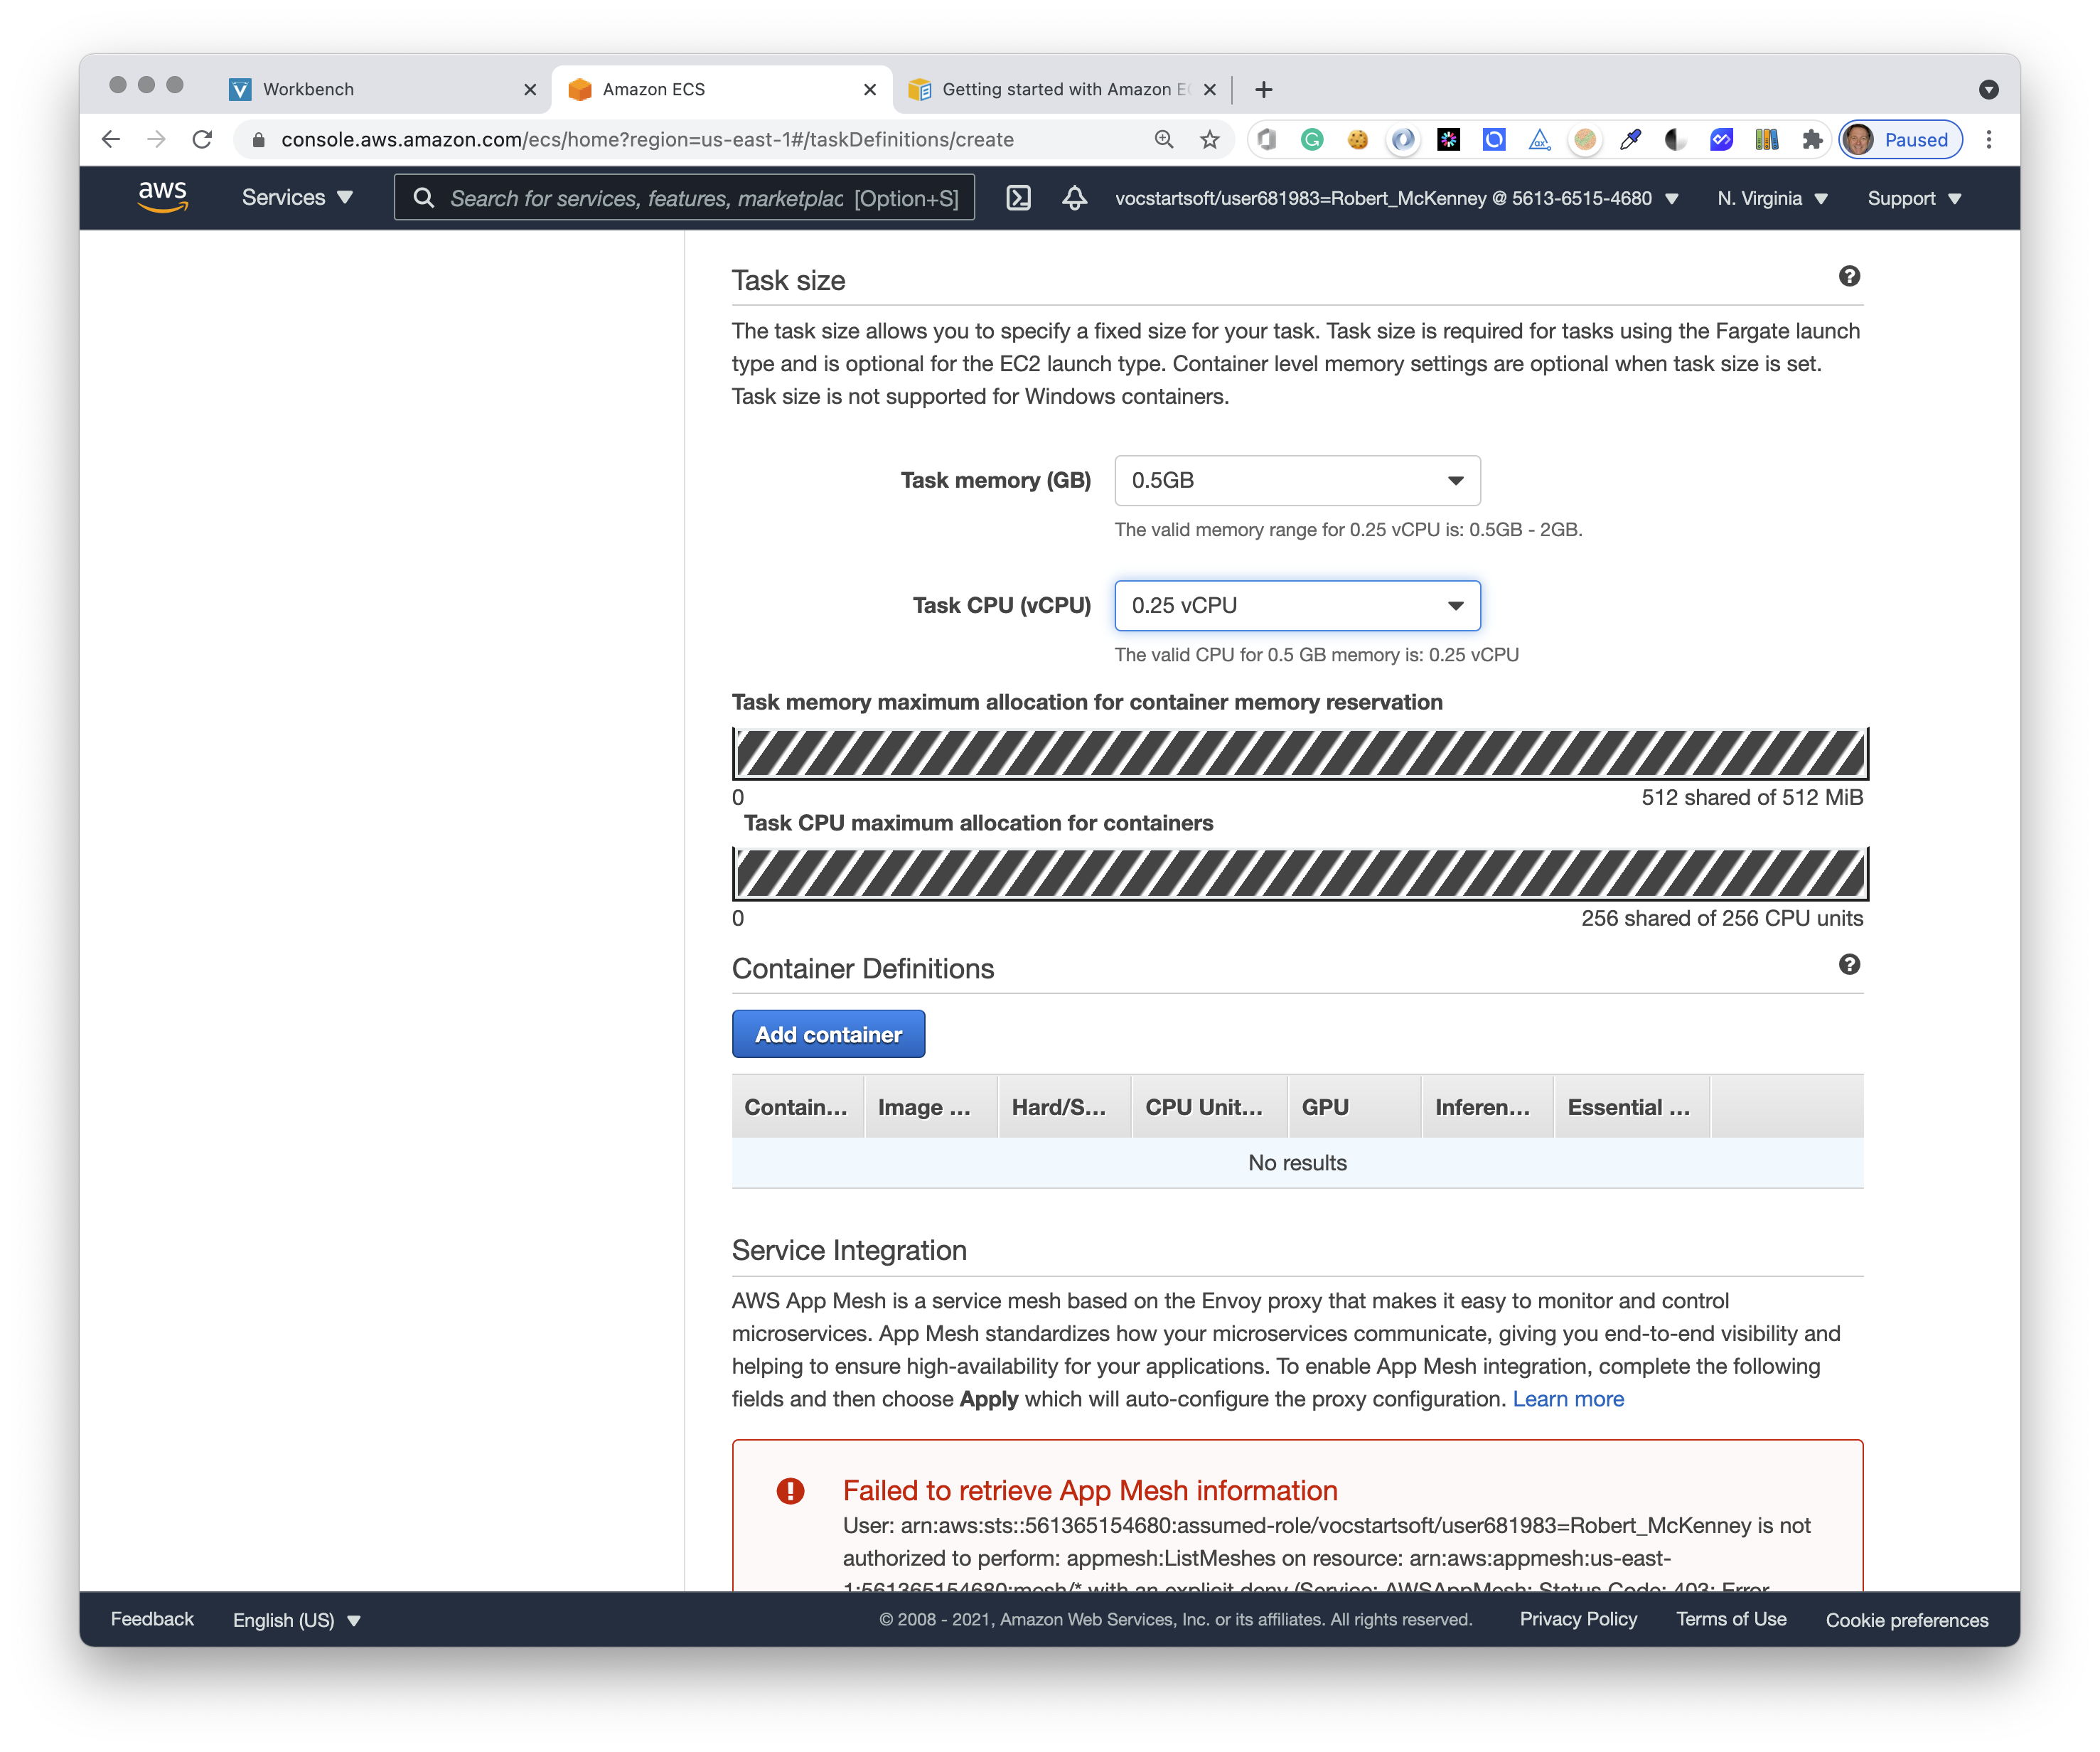
Set the Task Definition Name to giftr-api-task then scroll down to the Task size section.
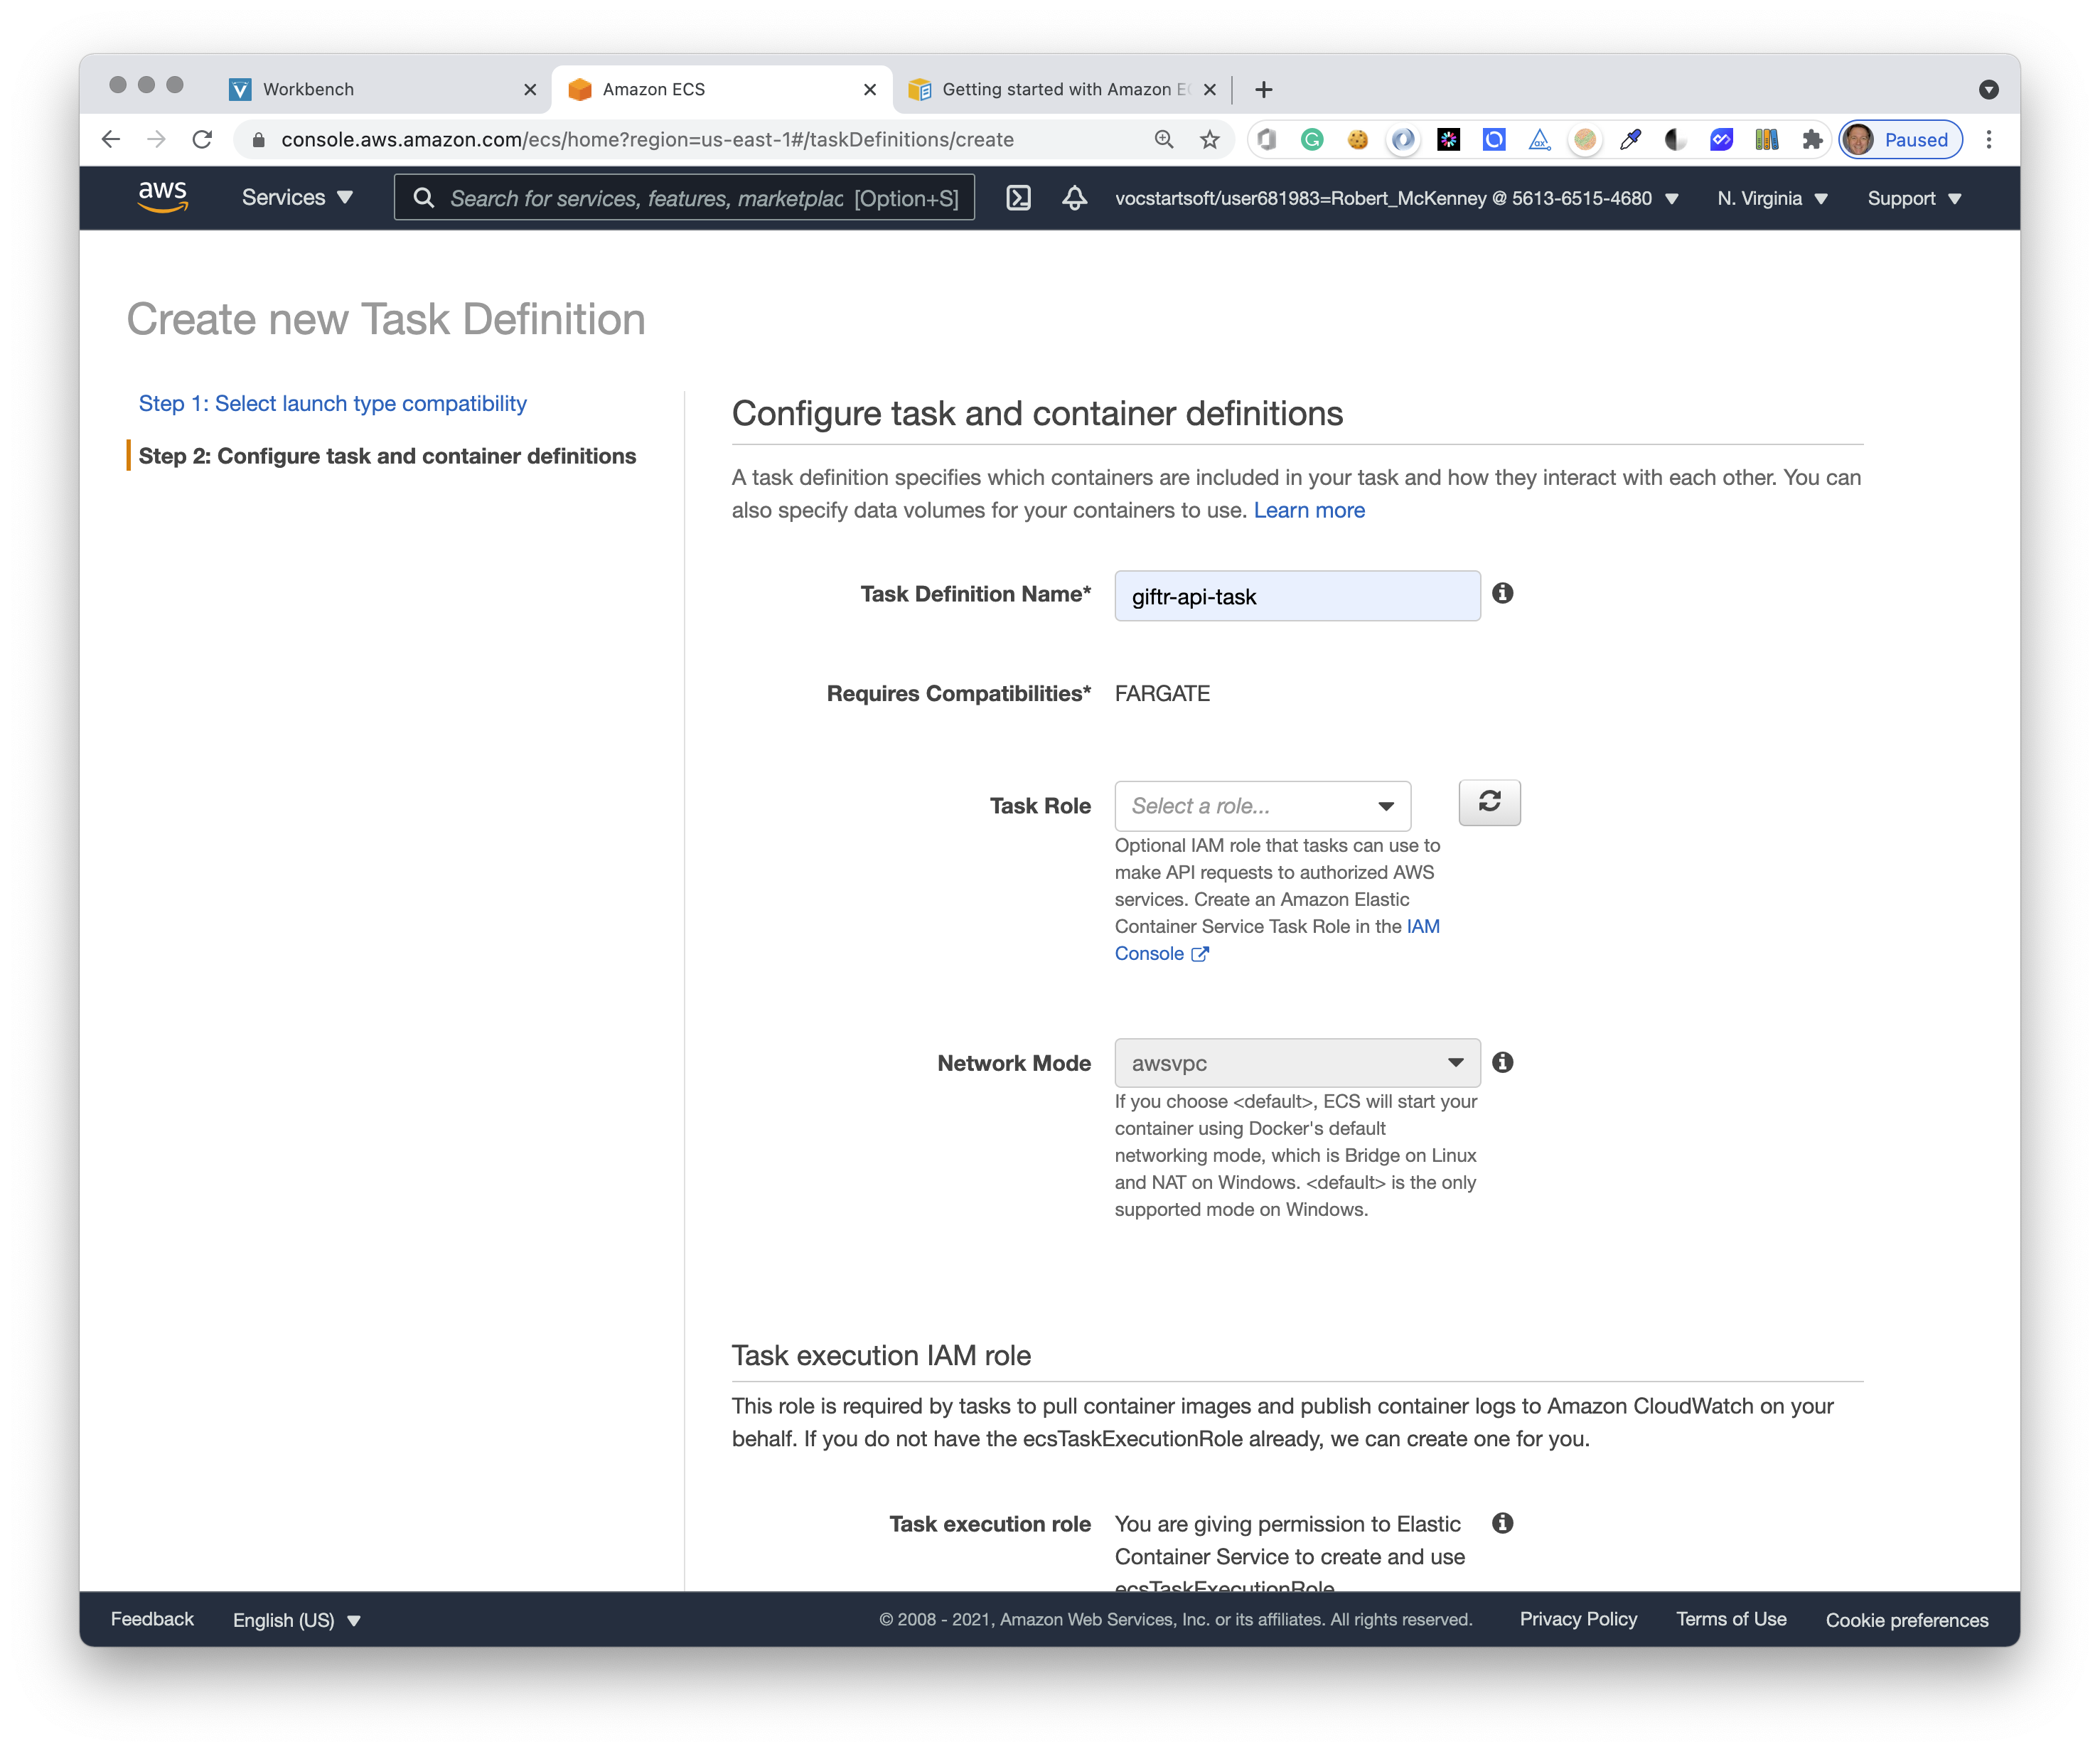
Set the Task memory (GB) to 0.5GB.
Set the Task CPU (vCPU) to 0.25 vCPU.
Click the blue Add container button.
# Container Definition
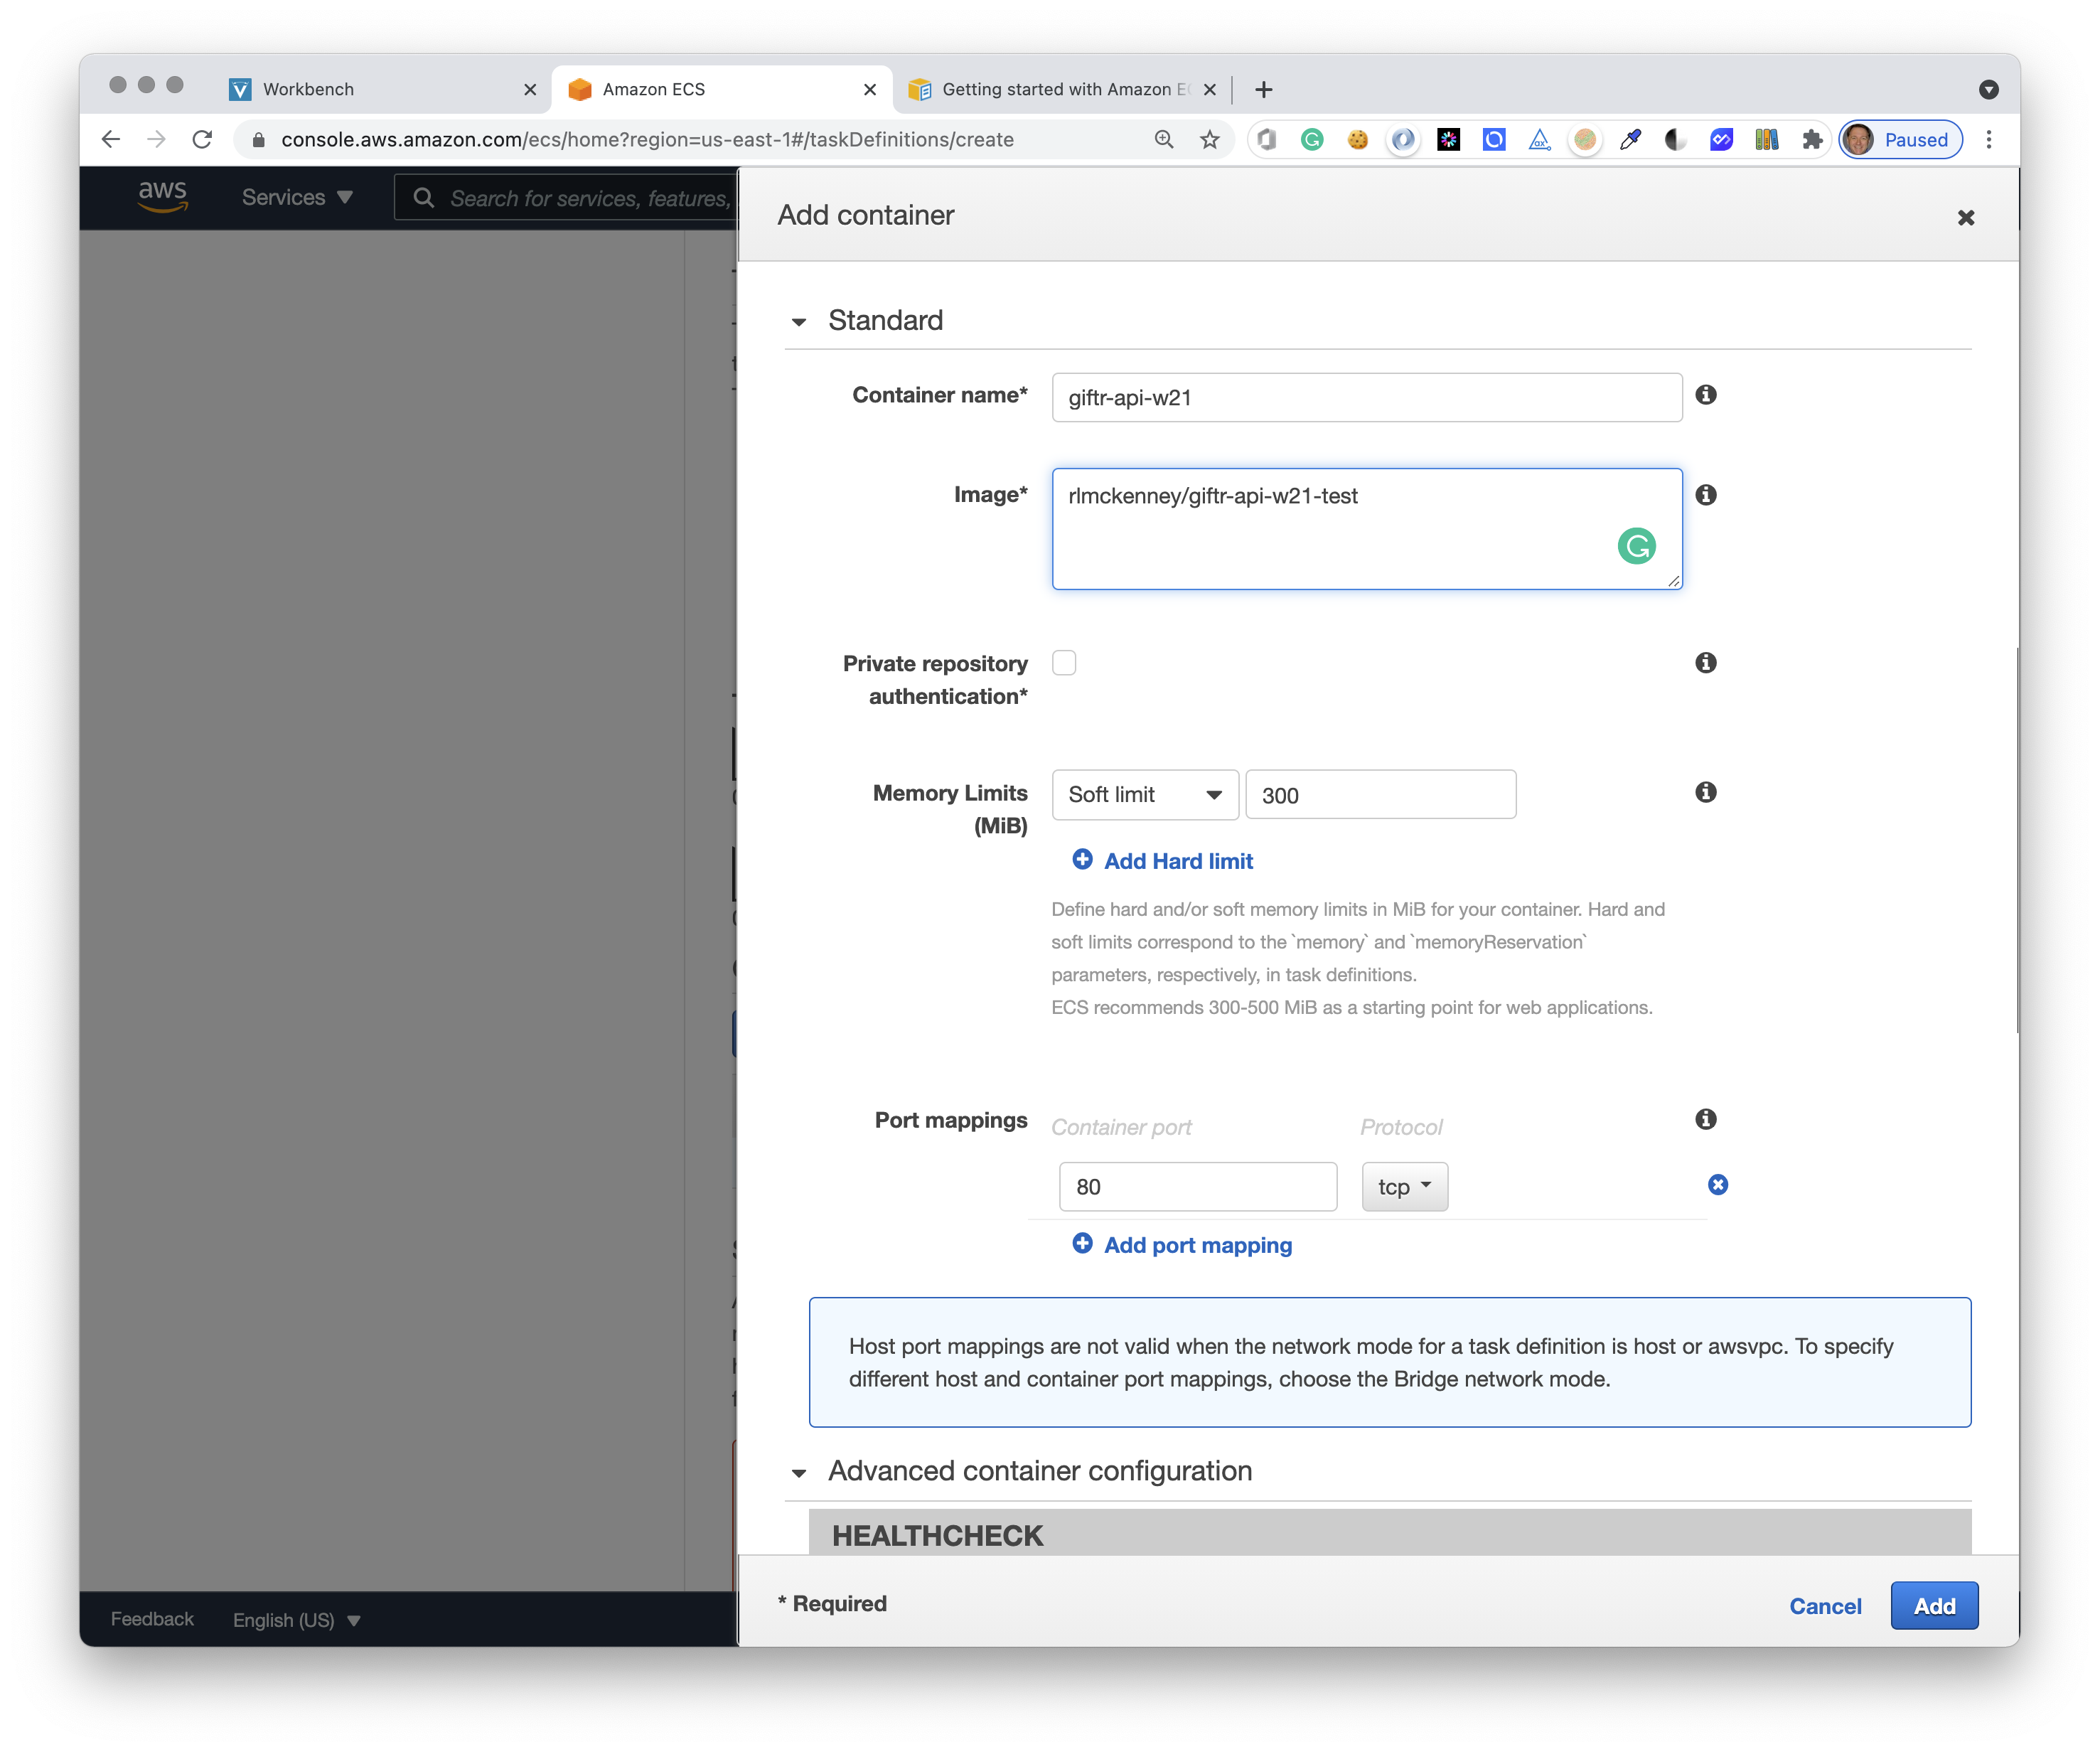
Set these settings in the Standard section of the configuration form:
- Container name:
giftr-api-w21 - Image:
<Docker-Hub-username>/giftr-api-w21 - Soft limit:
300 - Port mapping:
80
Scroll down to the Environment Variables section.
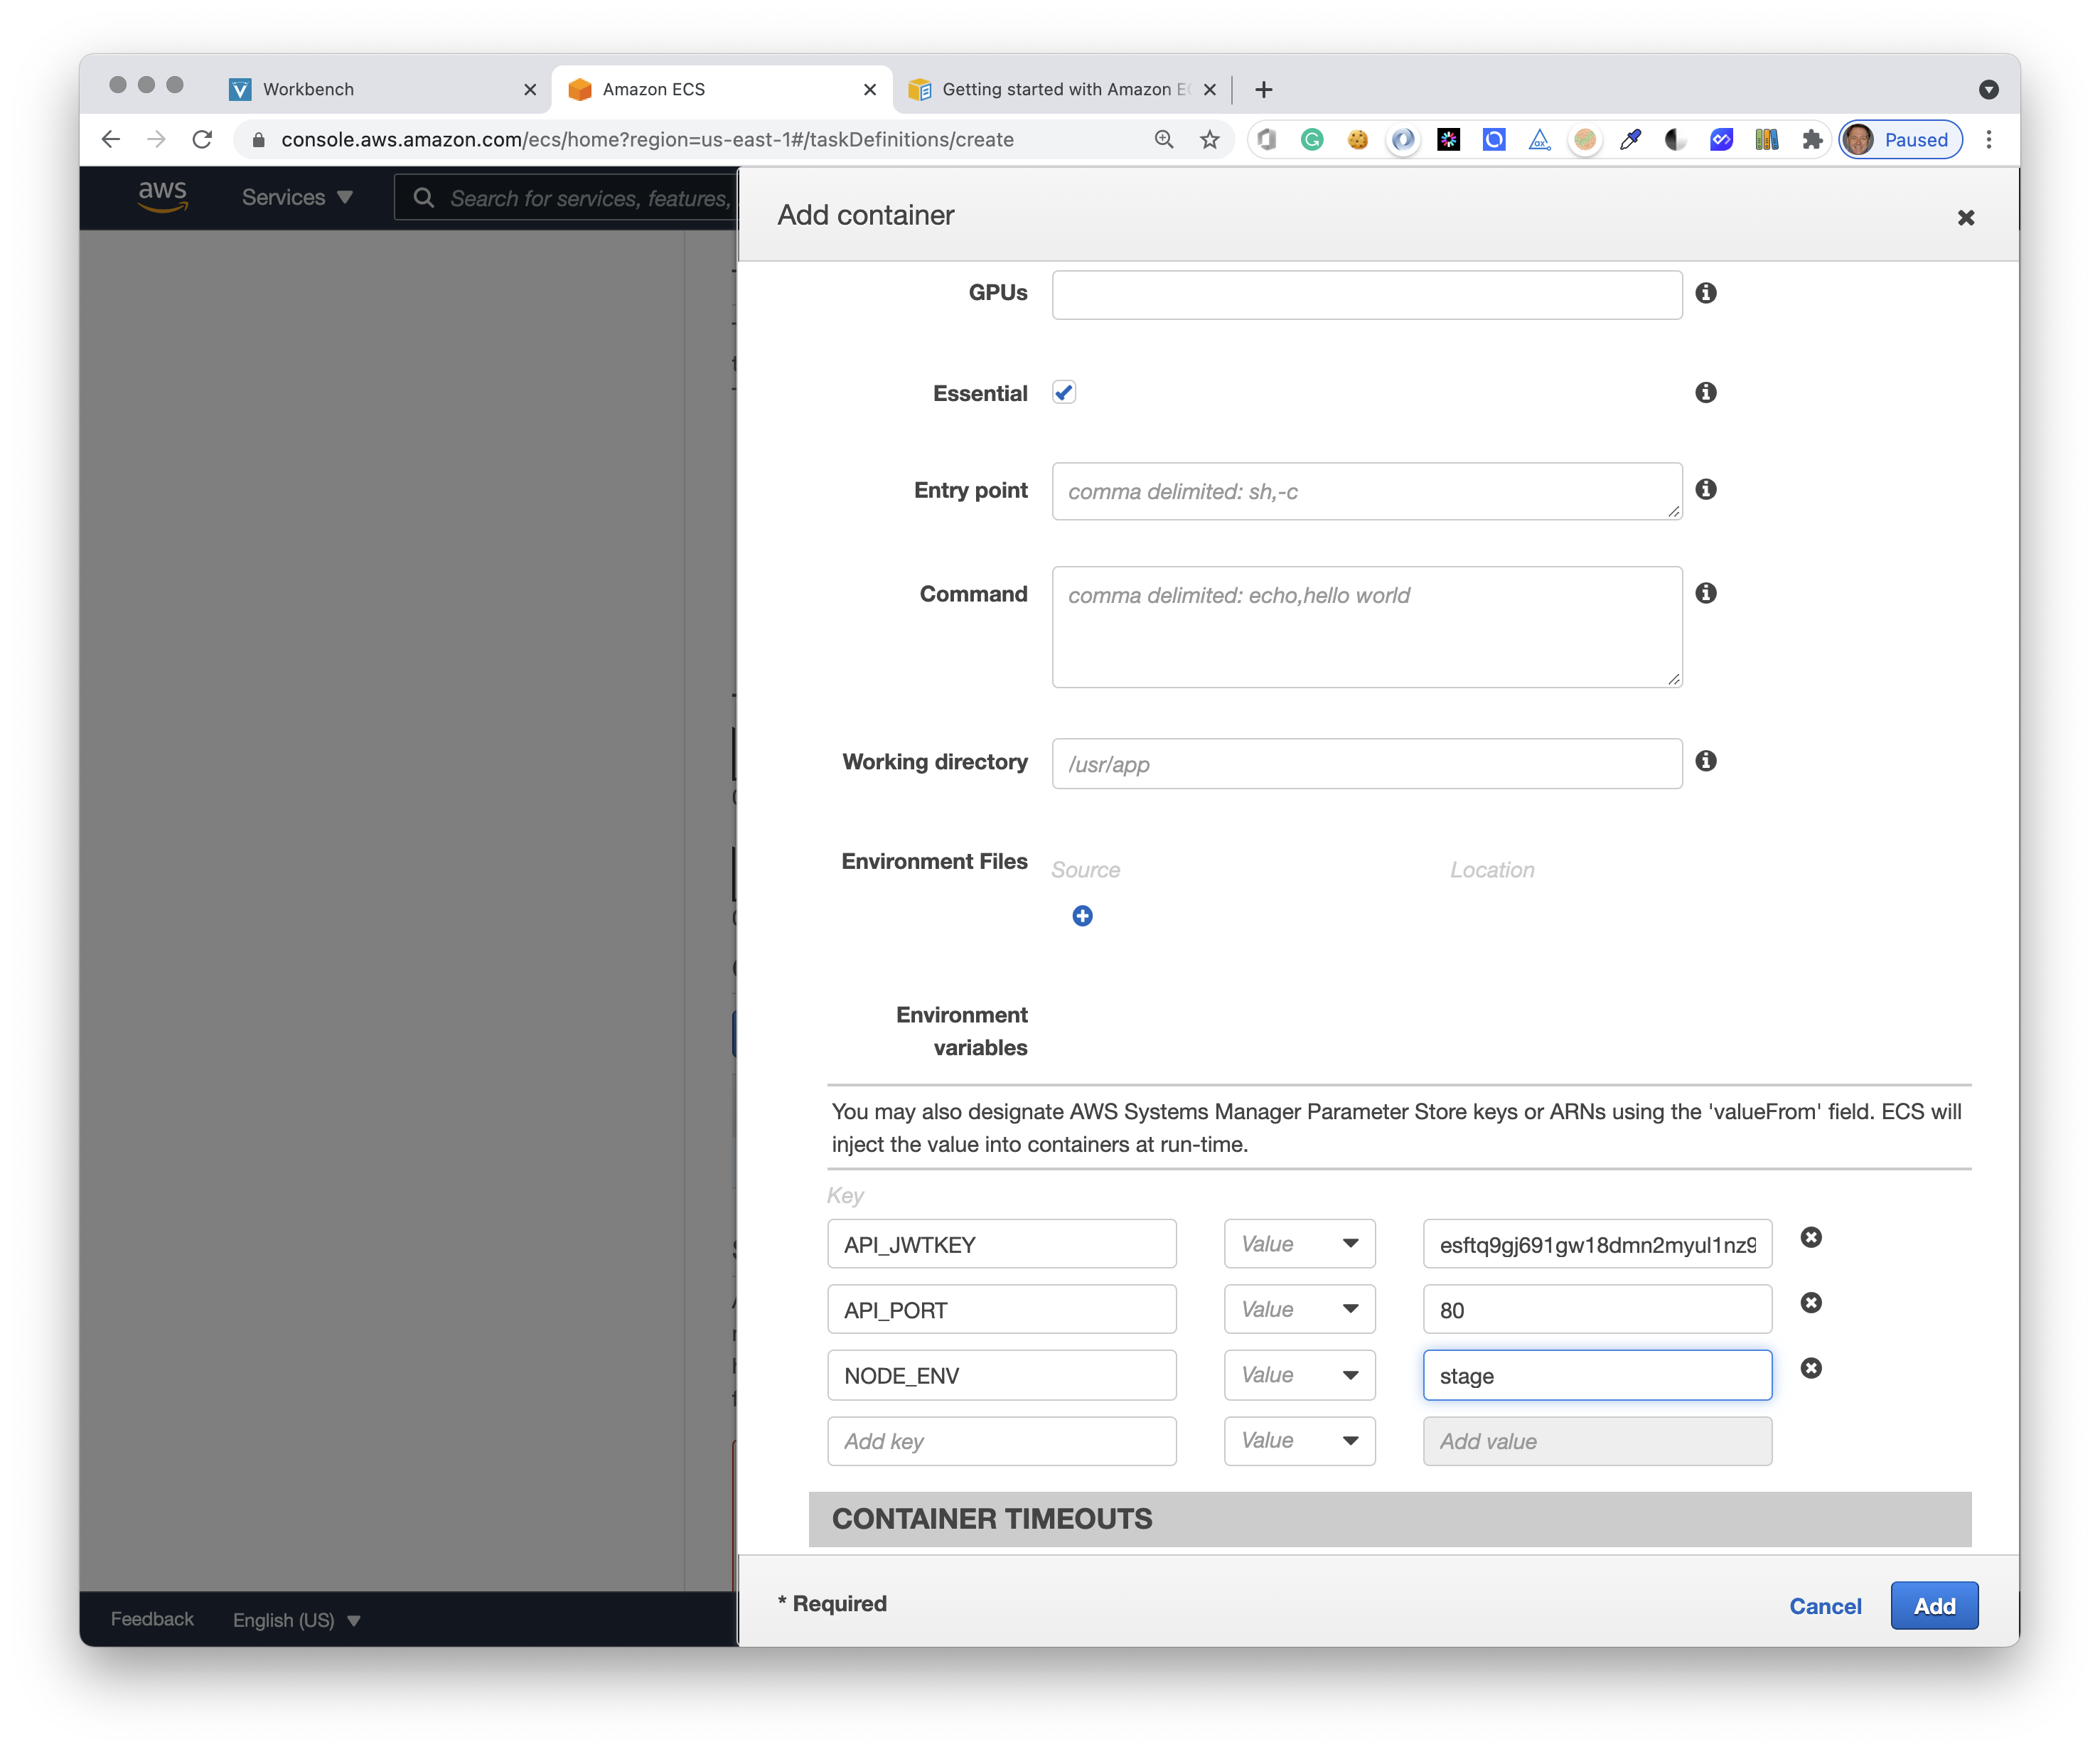
Add the following key=value pairs:
- NODE_ENV =
stage - API_PORT =
80 - API_JWTKEY =
<your-secret-random-key>
TIP
Use the genKey.js script from week 11 to generate a new random key.
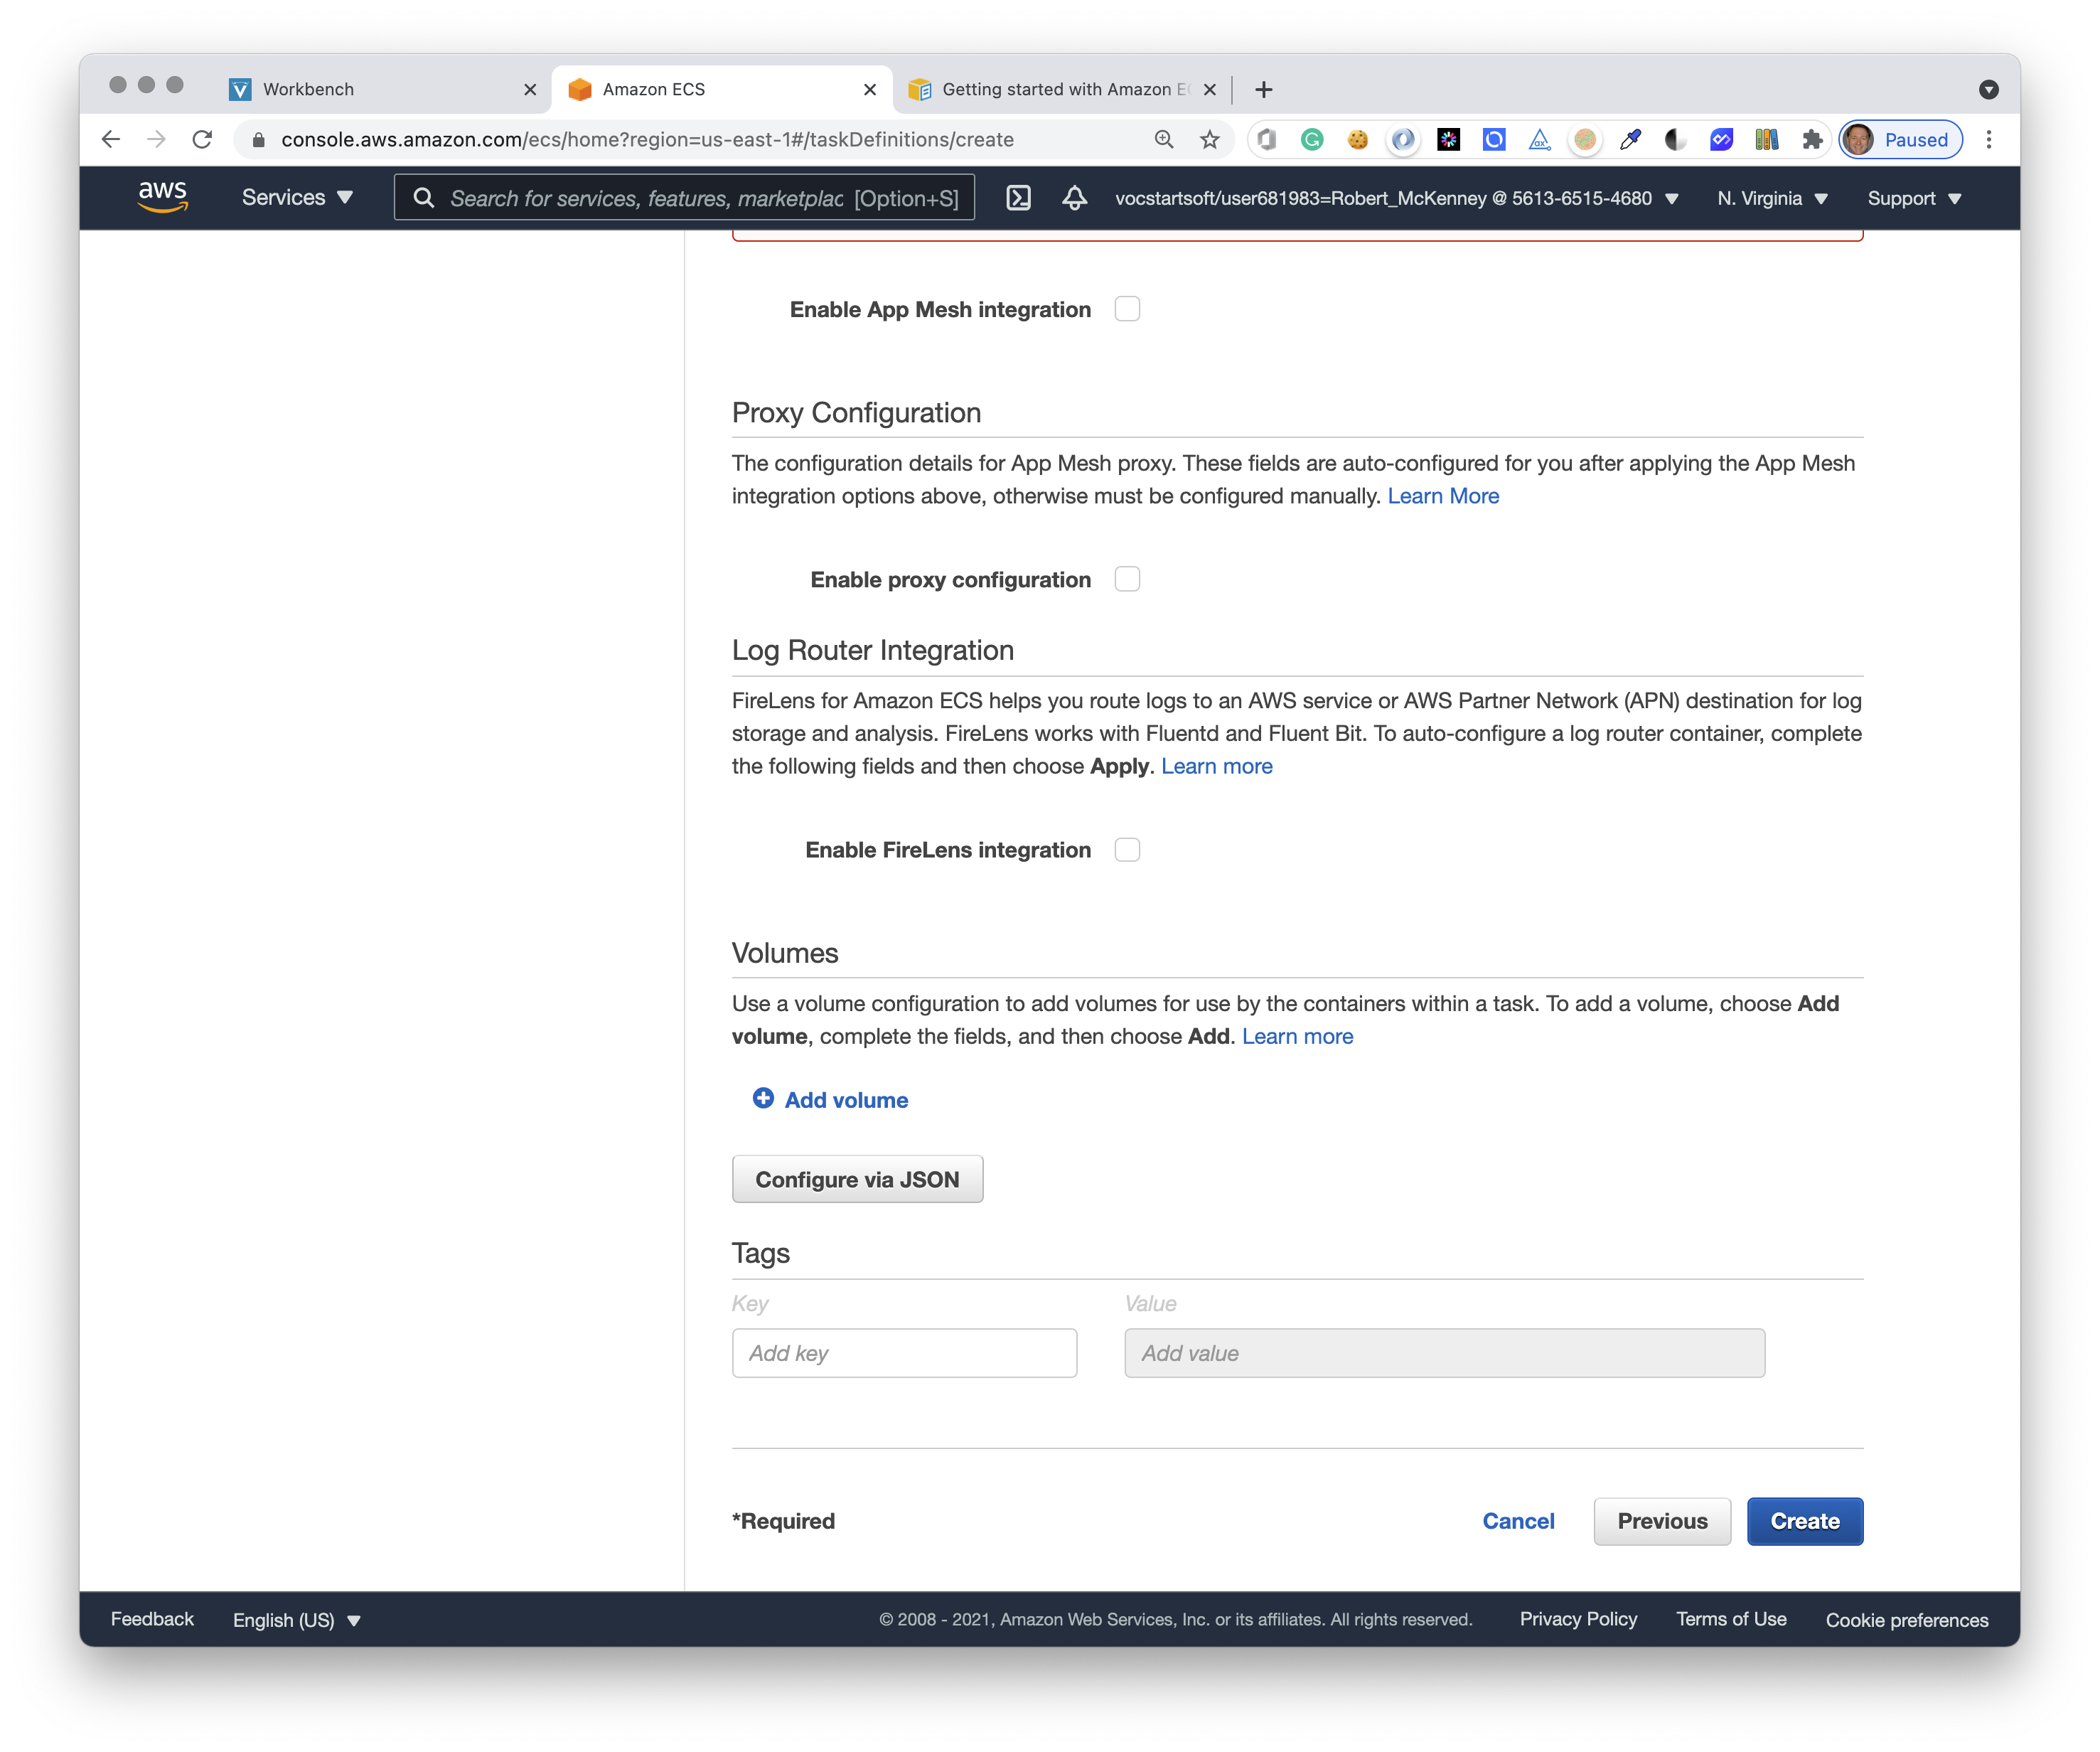
Click the blue Add button in the bottom right corner. This will create the Container Definition and close the slide-over panel.
Now, scroll all the way to the bottom and click the blue Create button in the bottom right corner to complete the Task Definition.
# Service Definition
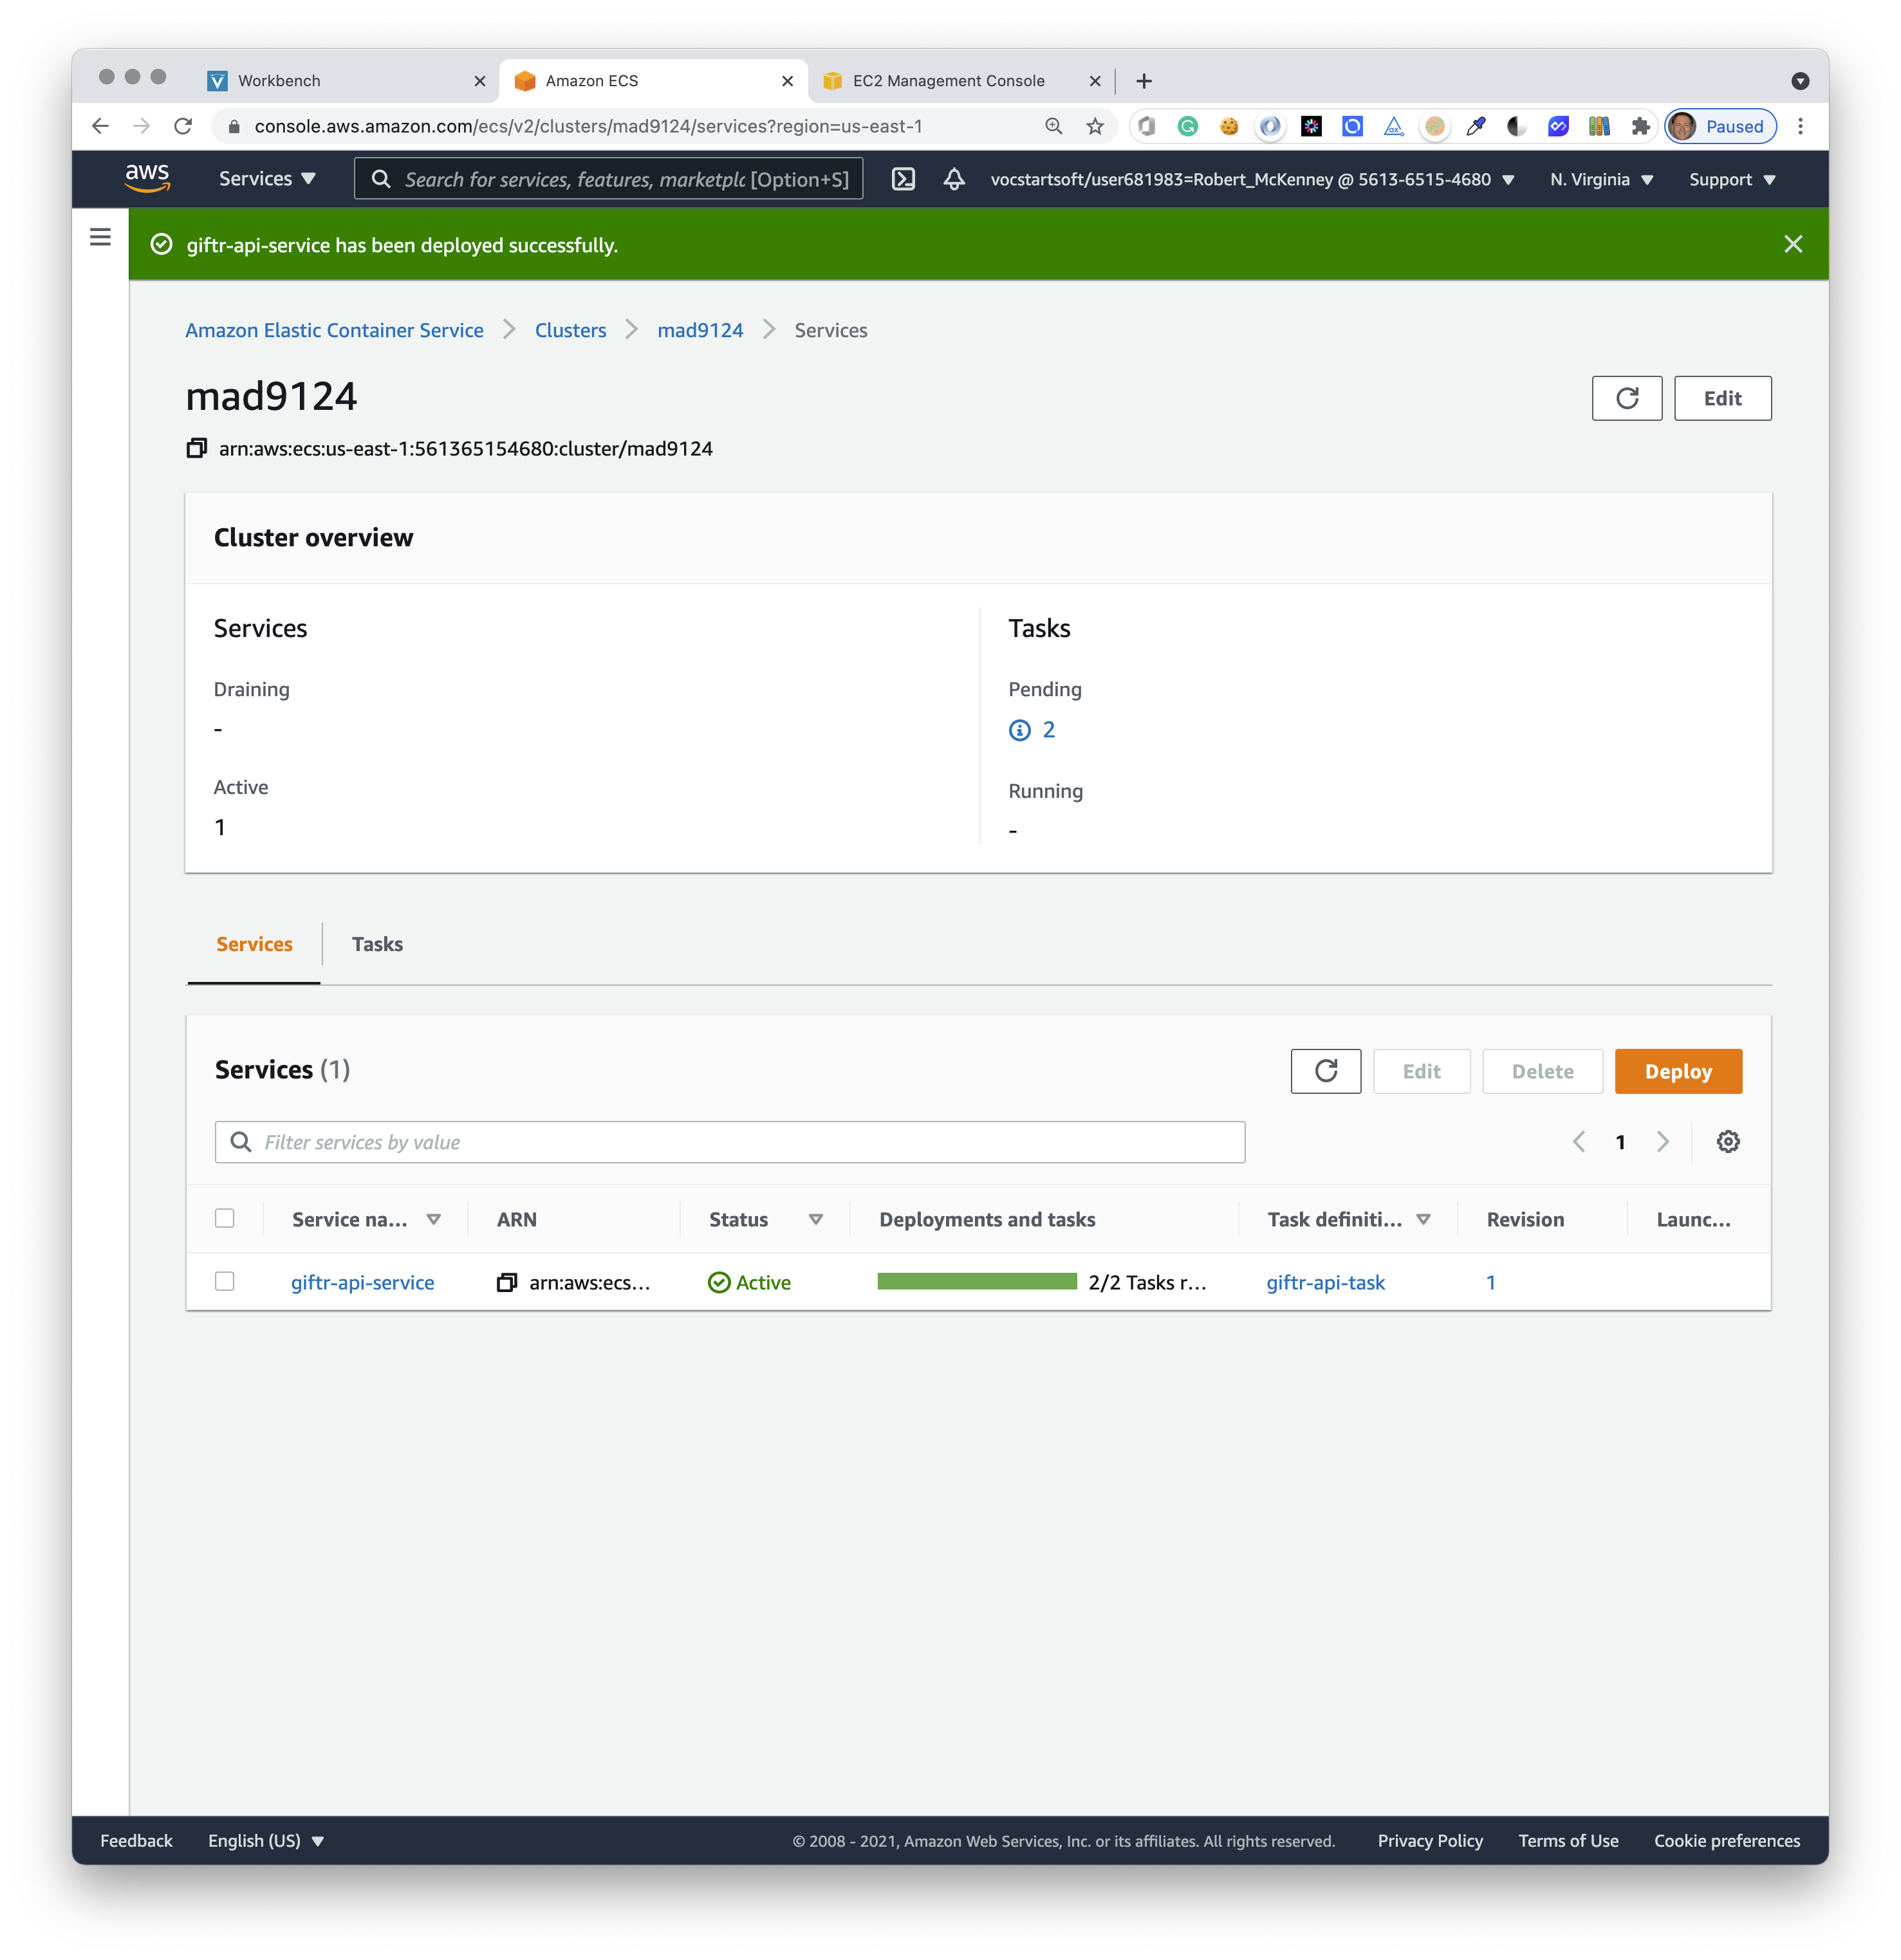
In the left-hand menu choose Clusters again. Click the orange Deploy button.
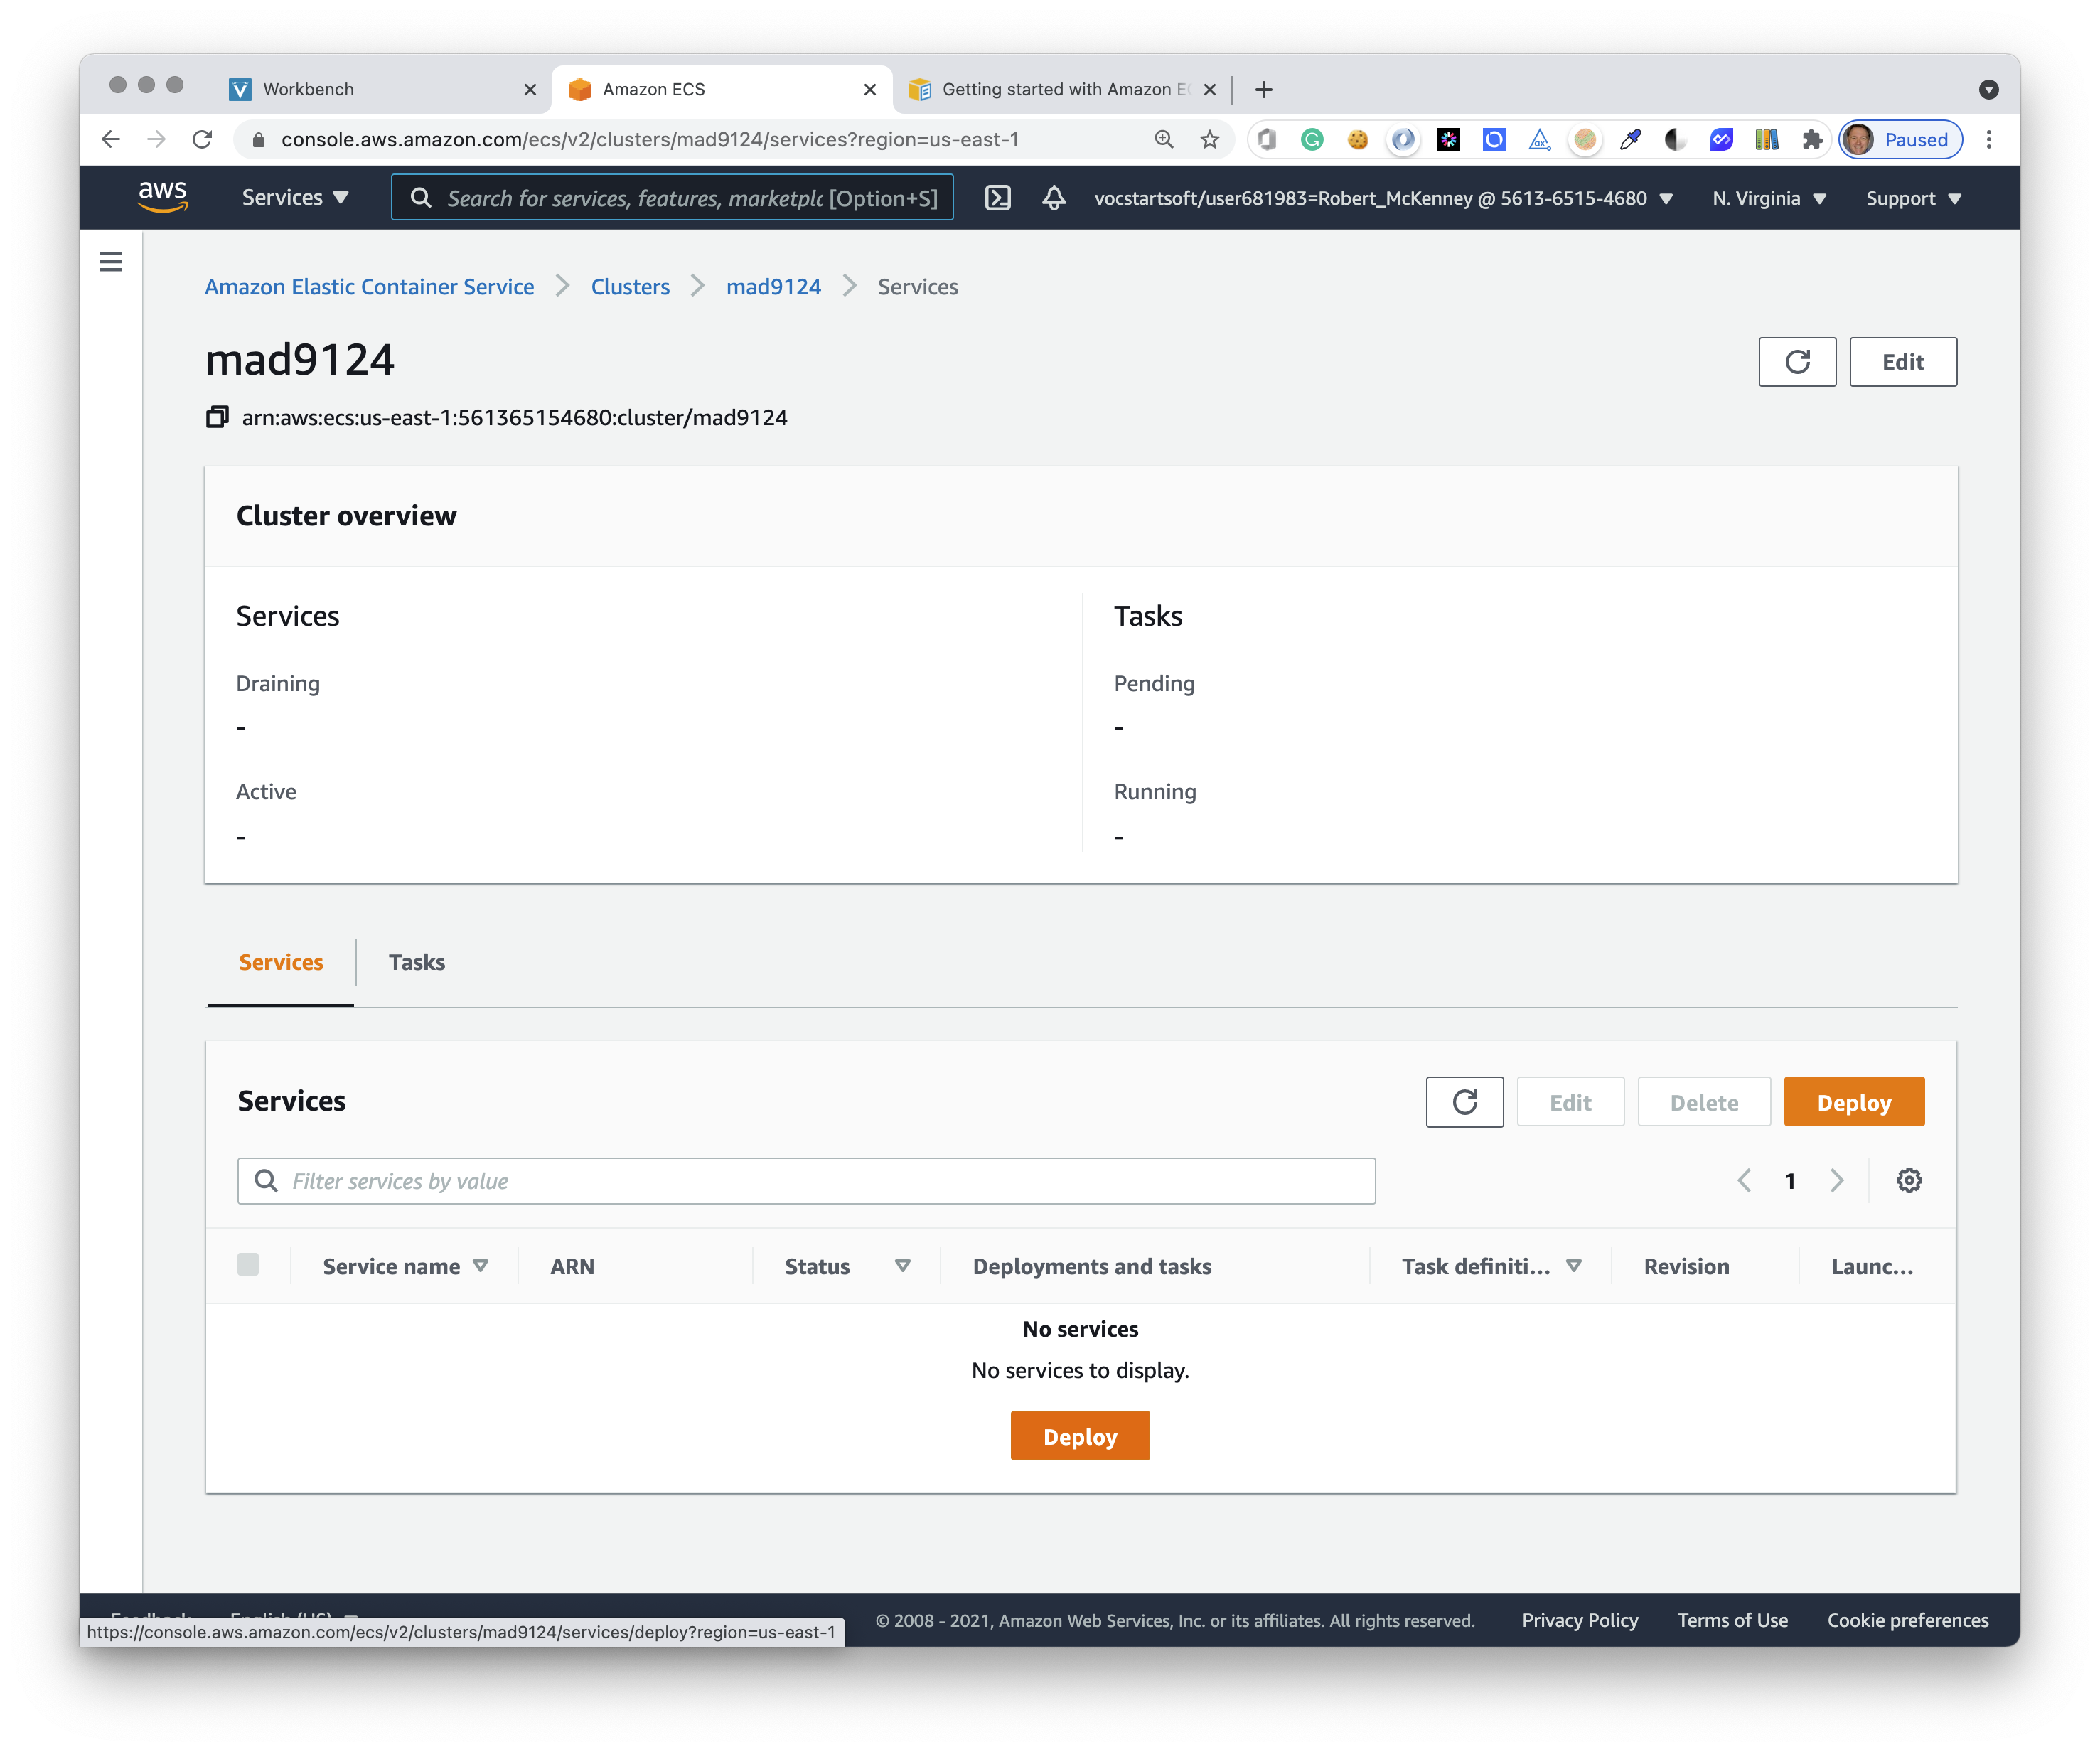 In the Environment section choose your Existing cluster:
 mad9124.
Set application type to Service
The task definition Family should be giftr-api-task with revision as LATEST.
Give the service a name of giftr-api-service, and set the desired number of tasks at 2.
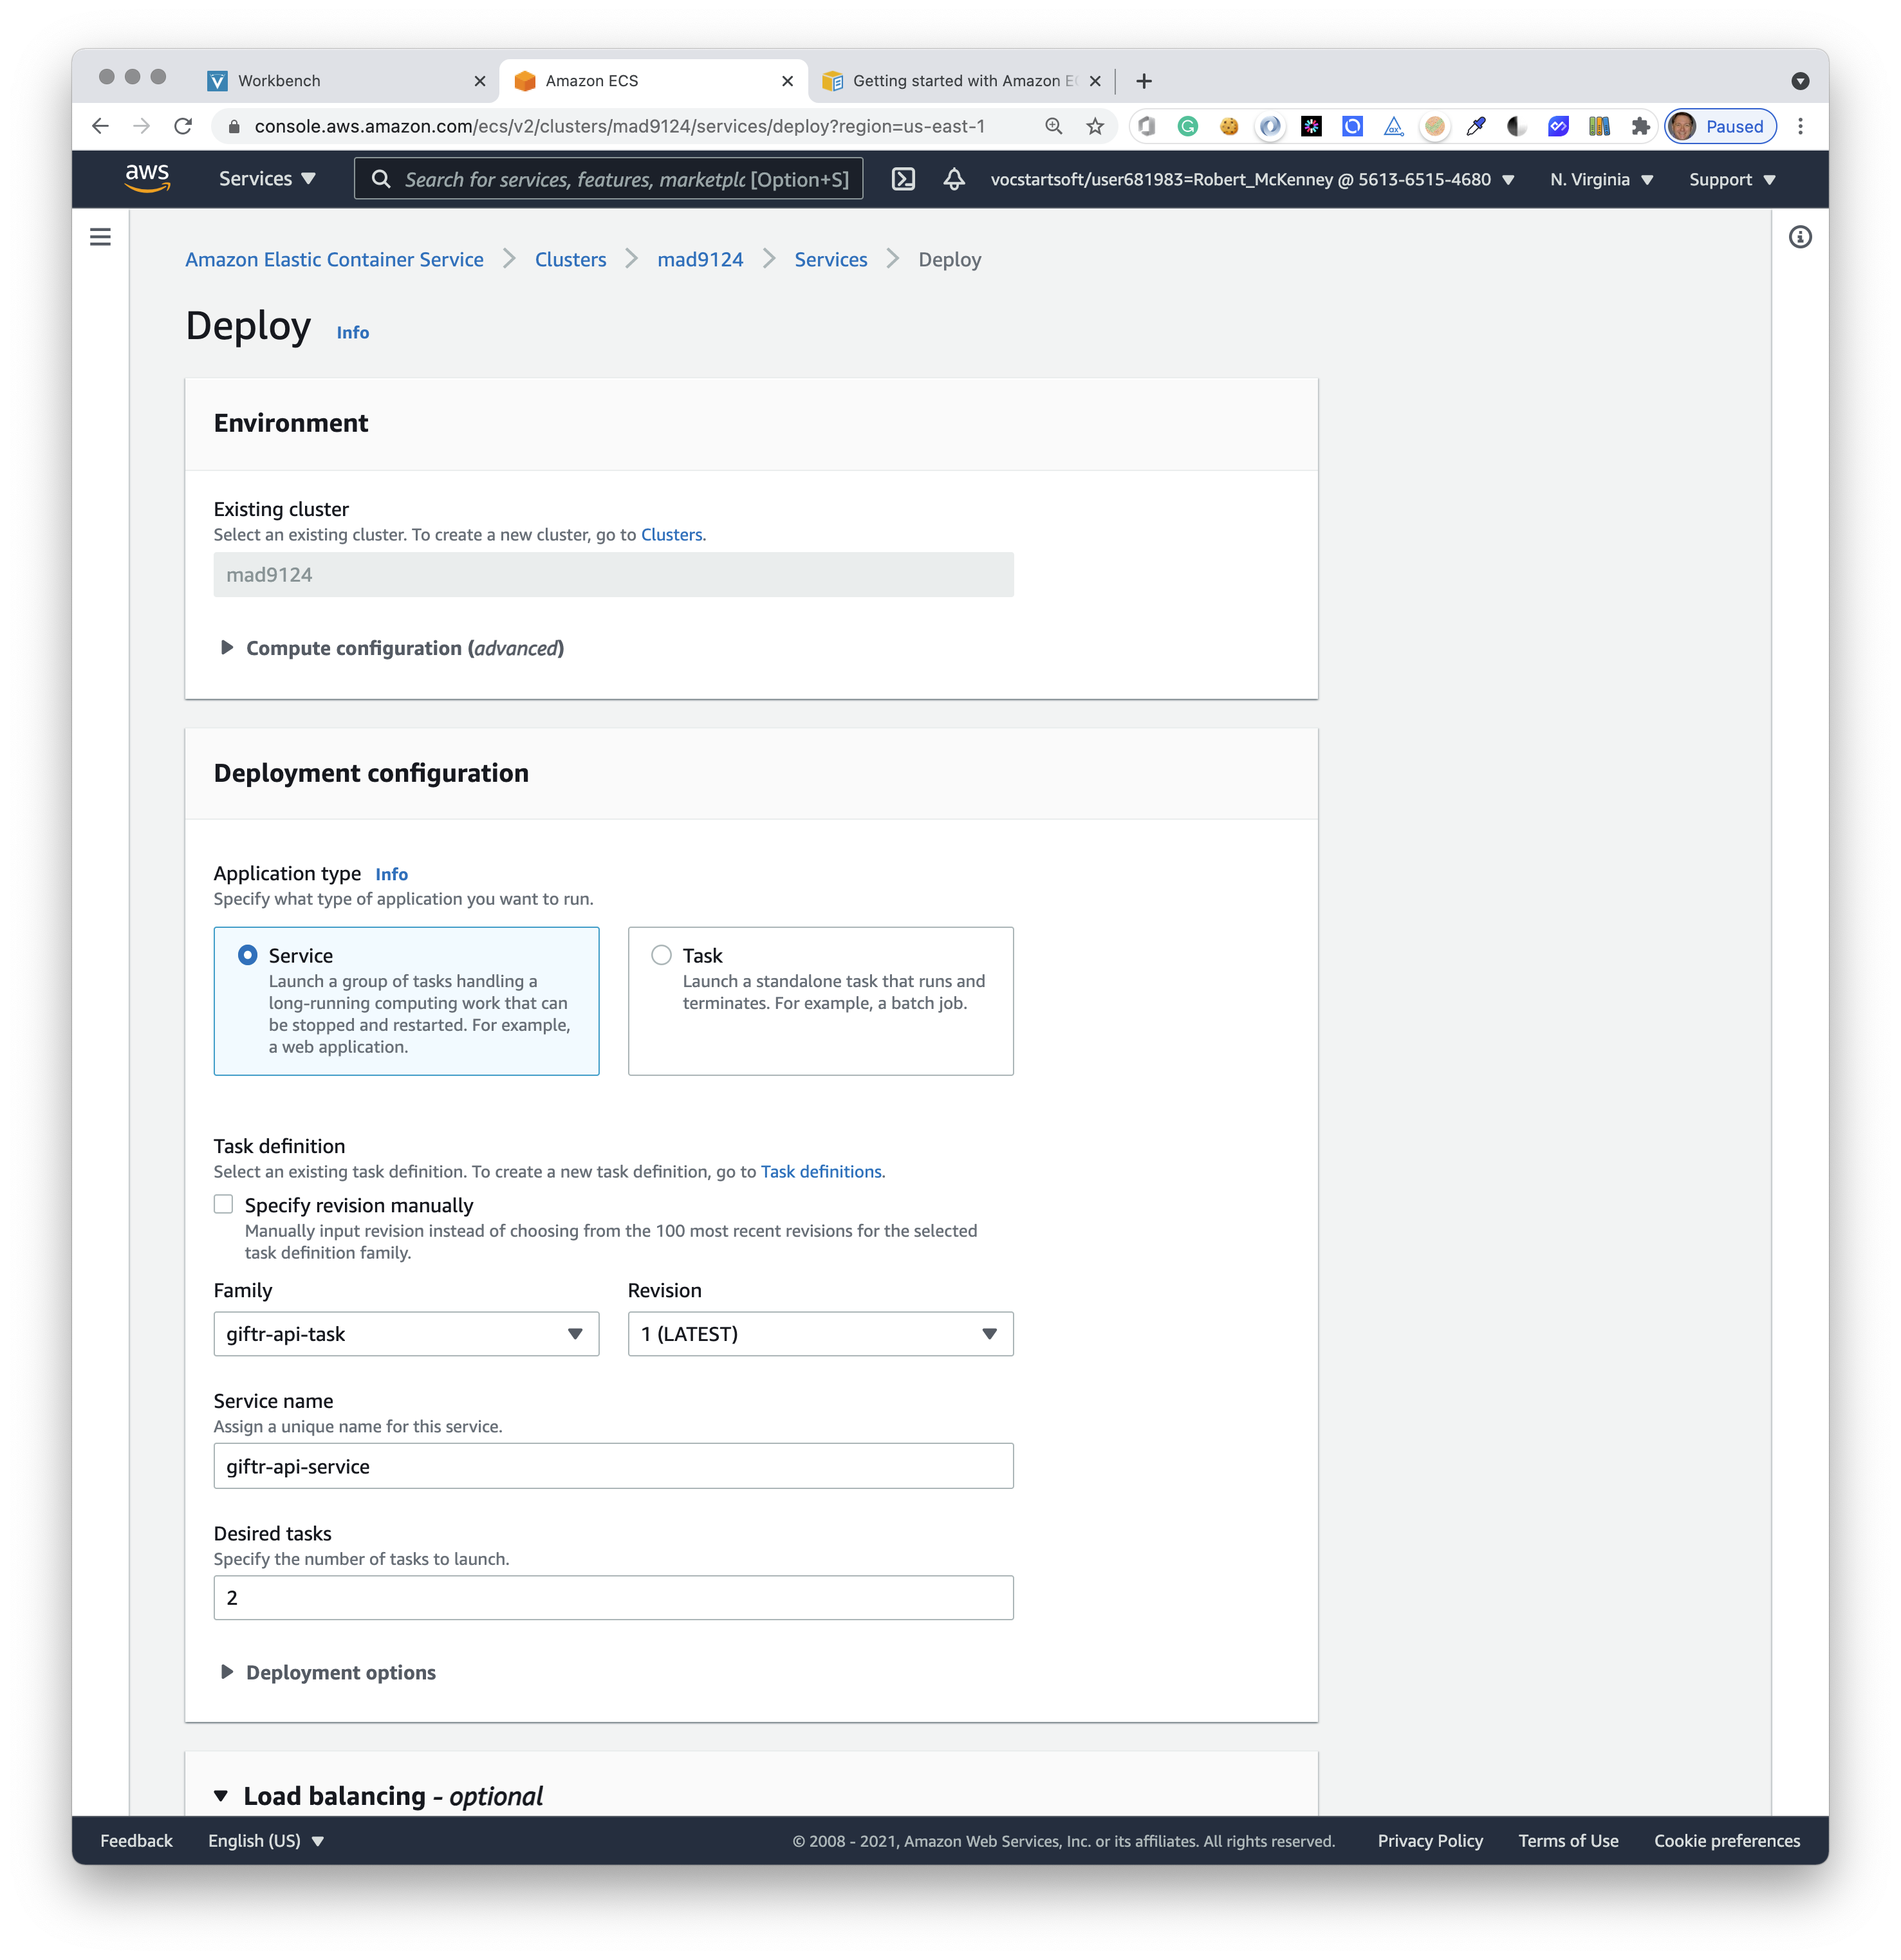
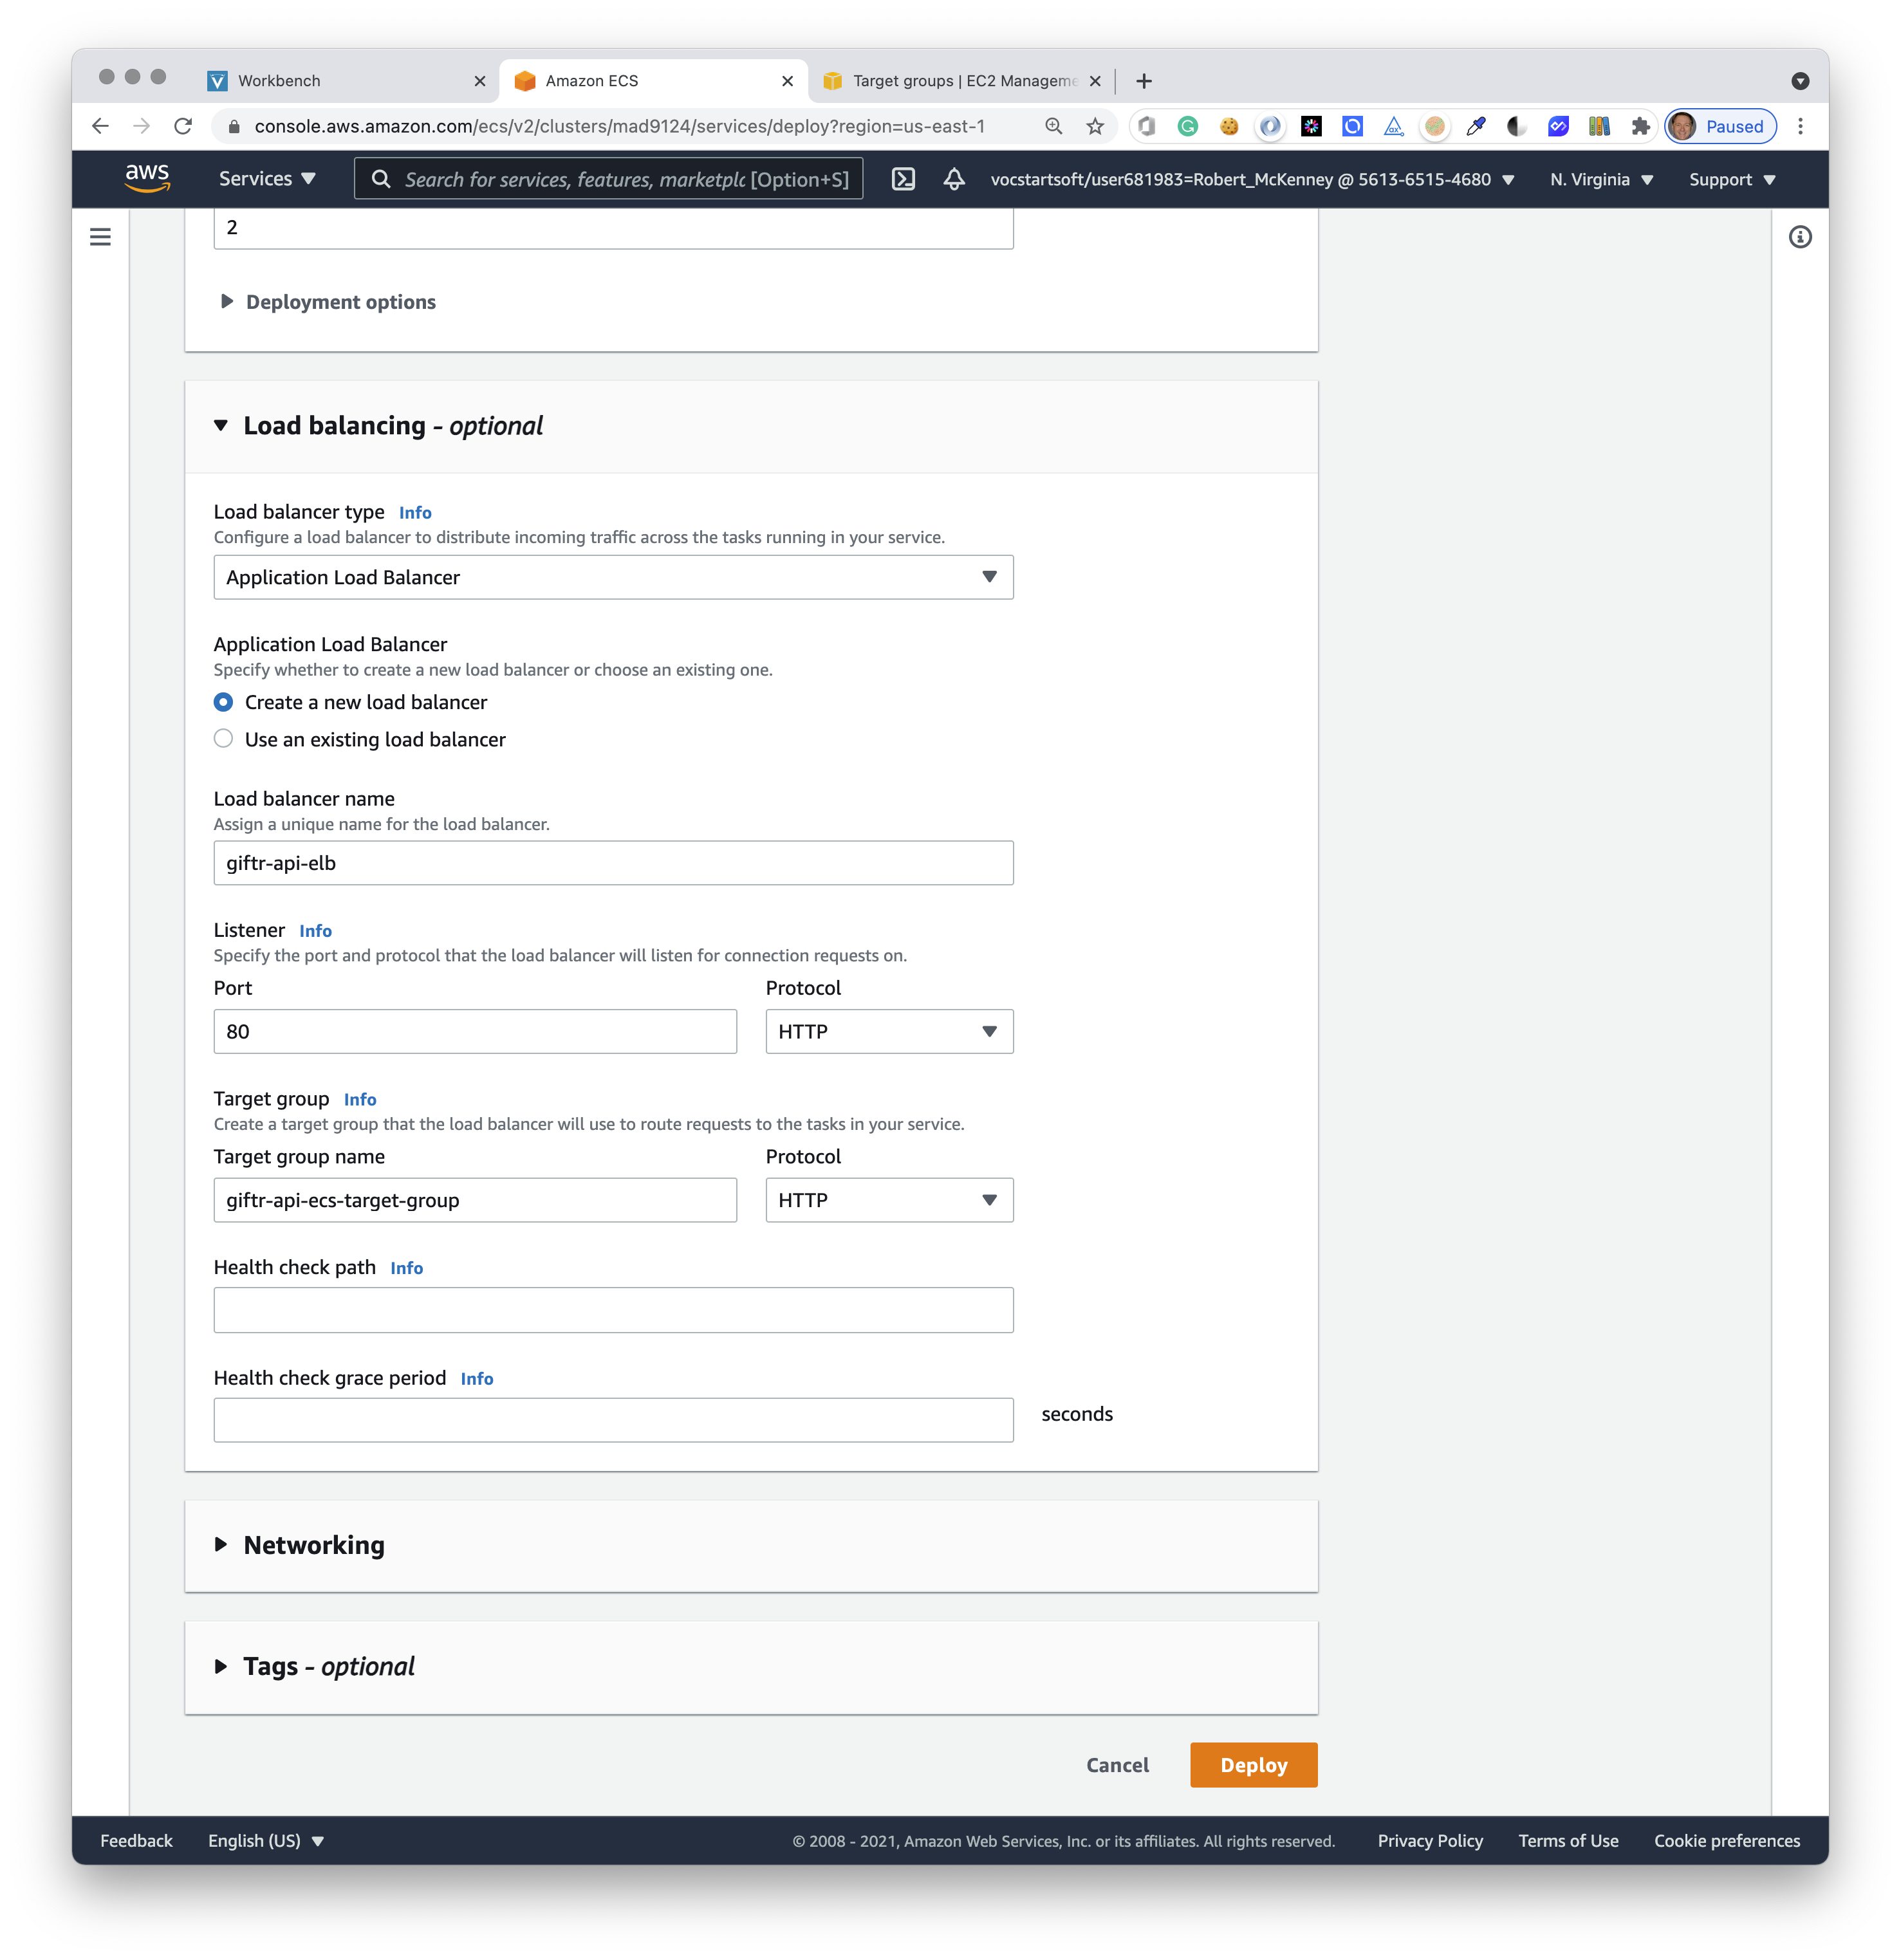
Scroll down a little to setup the Load Balancing options. Create a new Application Load Balancer and call it giftr-api-elb.
Set it to listen on port 80 with protocol http.
Set the Target group name to giftr-api-ecs-target-group and the protocol to http.
Now click the orange Deploy button.
Notice the blue banner message at the top of the next screen.
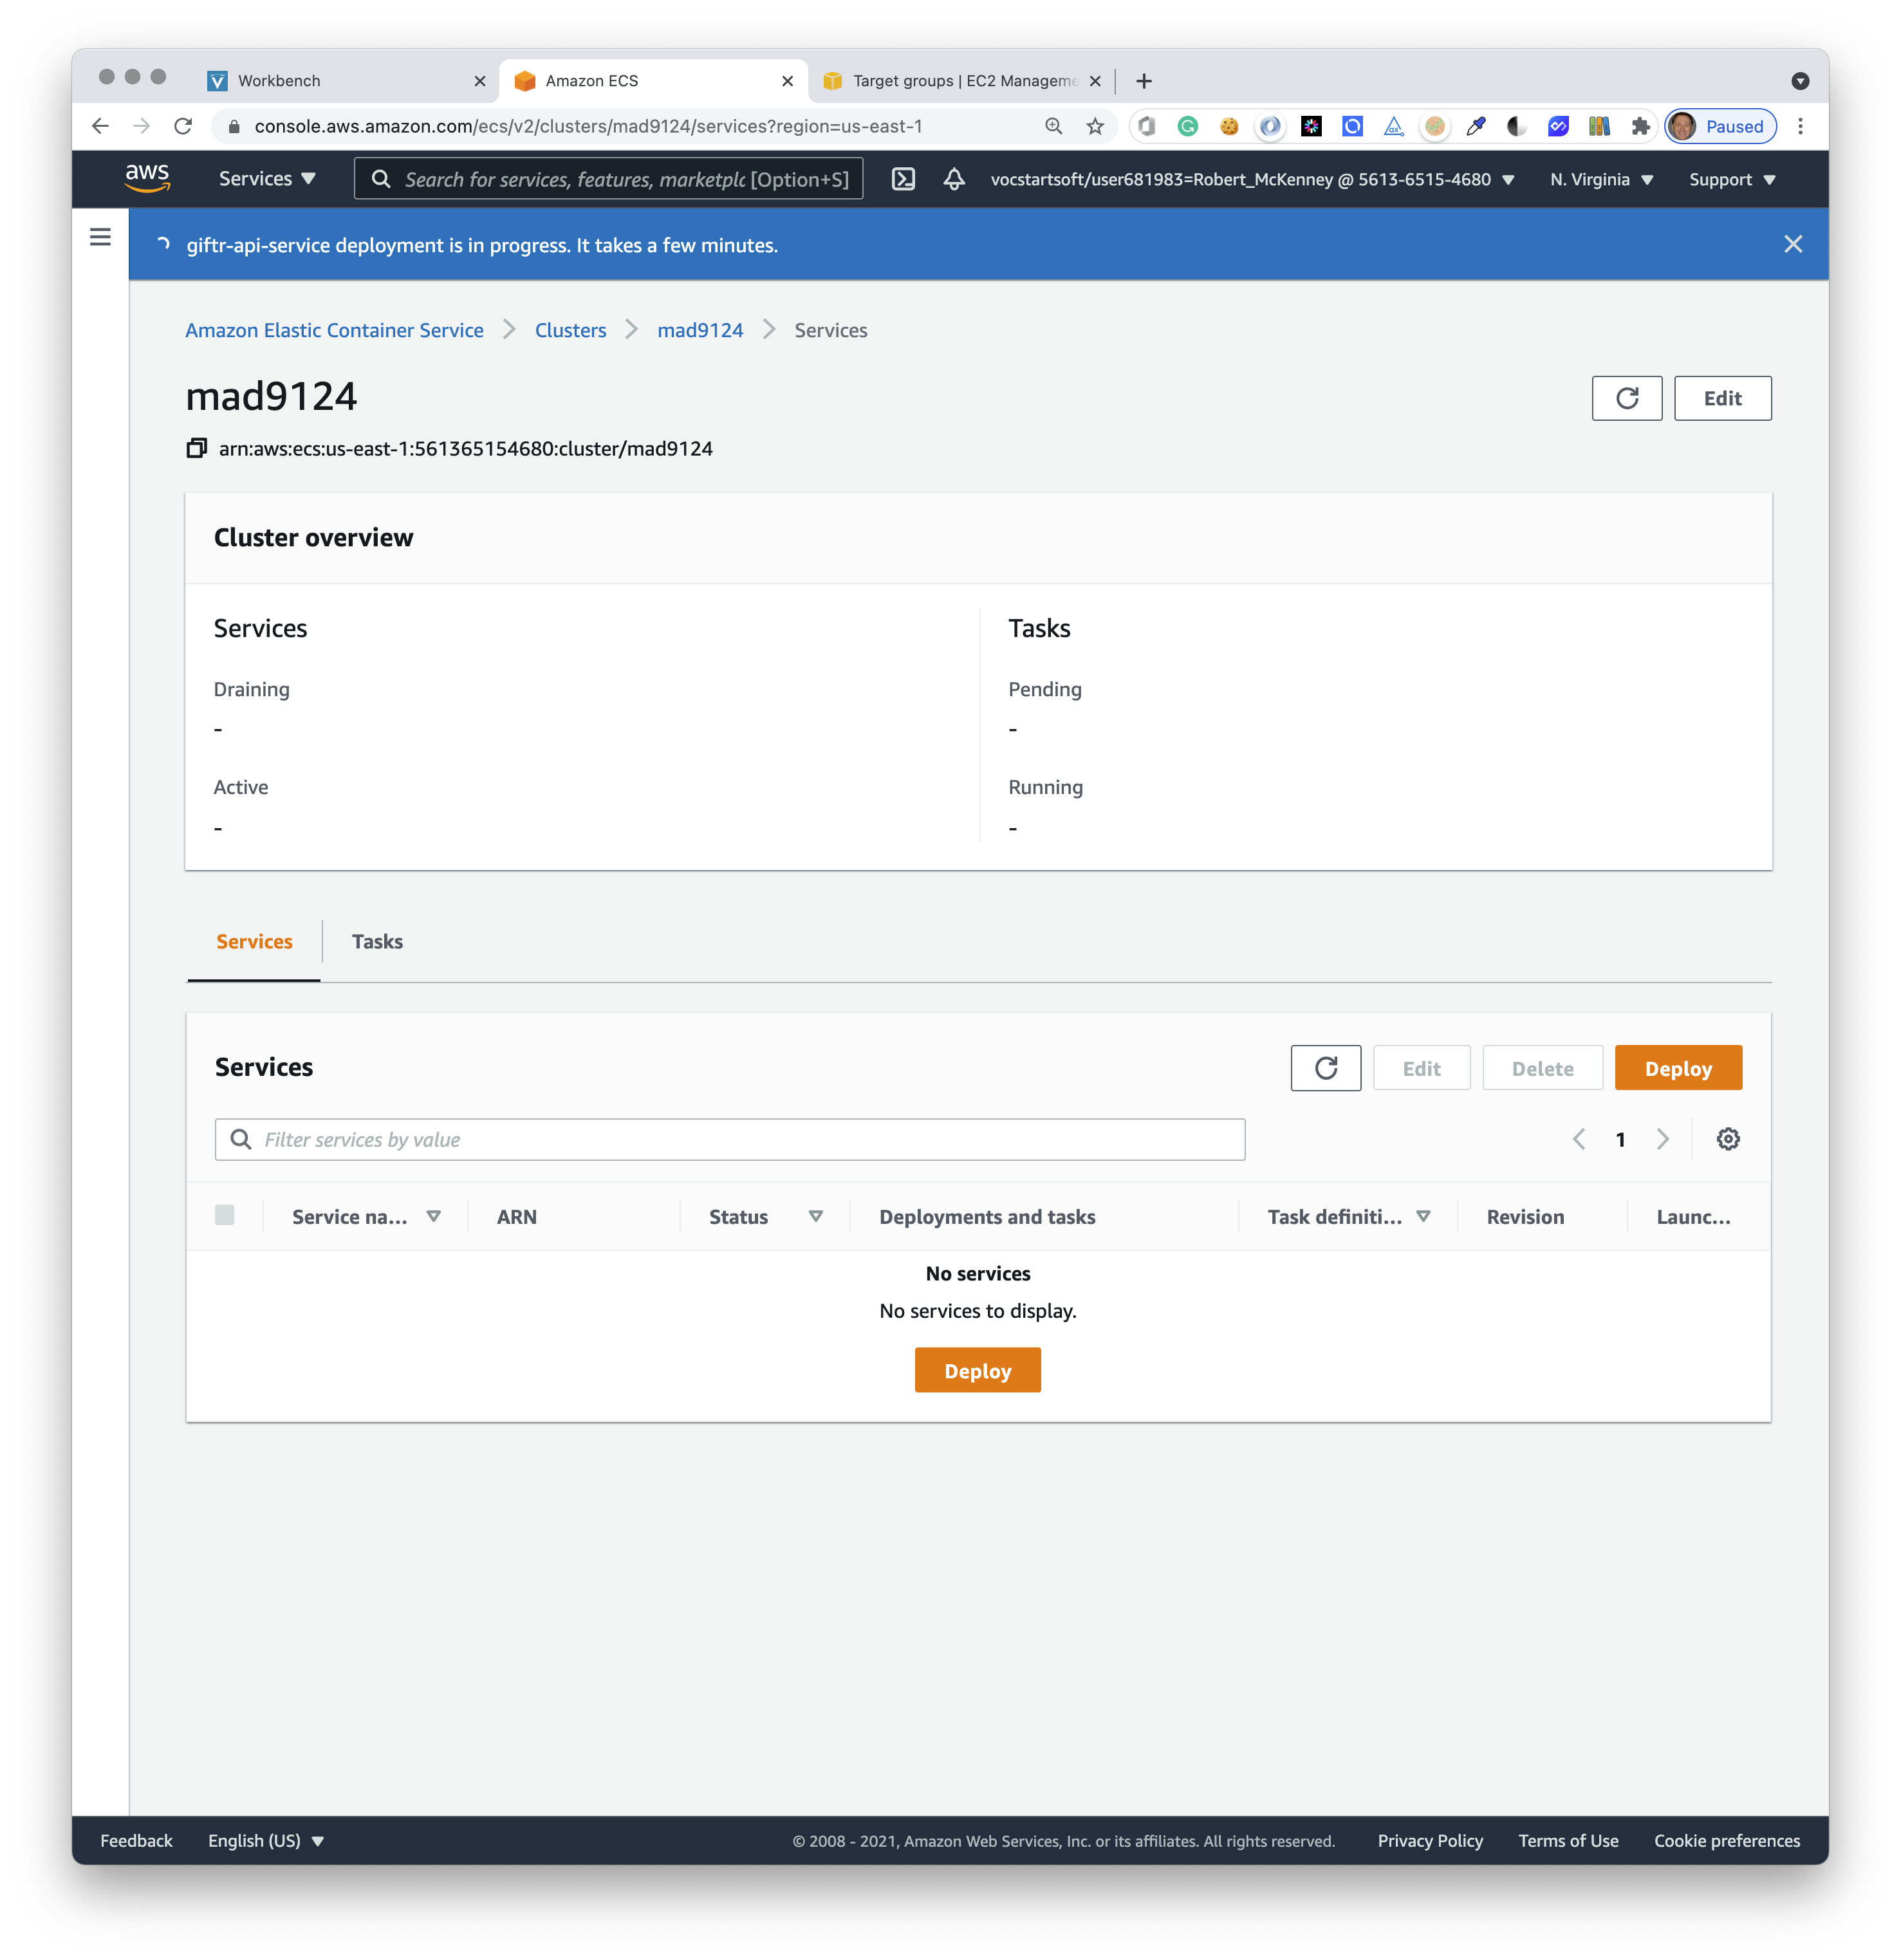
After a few minutes all of the service infrastructure will be deployed and ready.
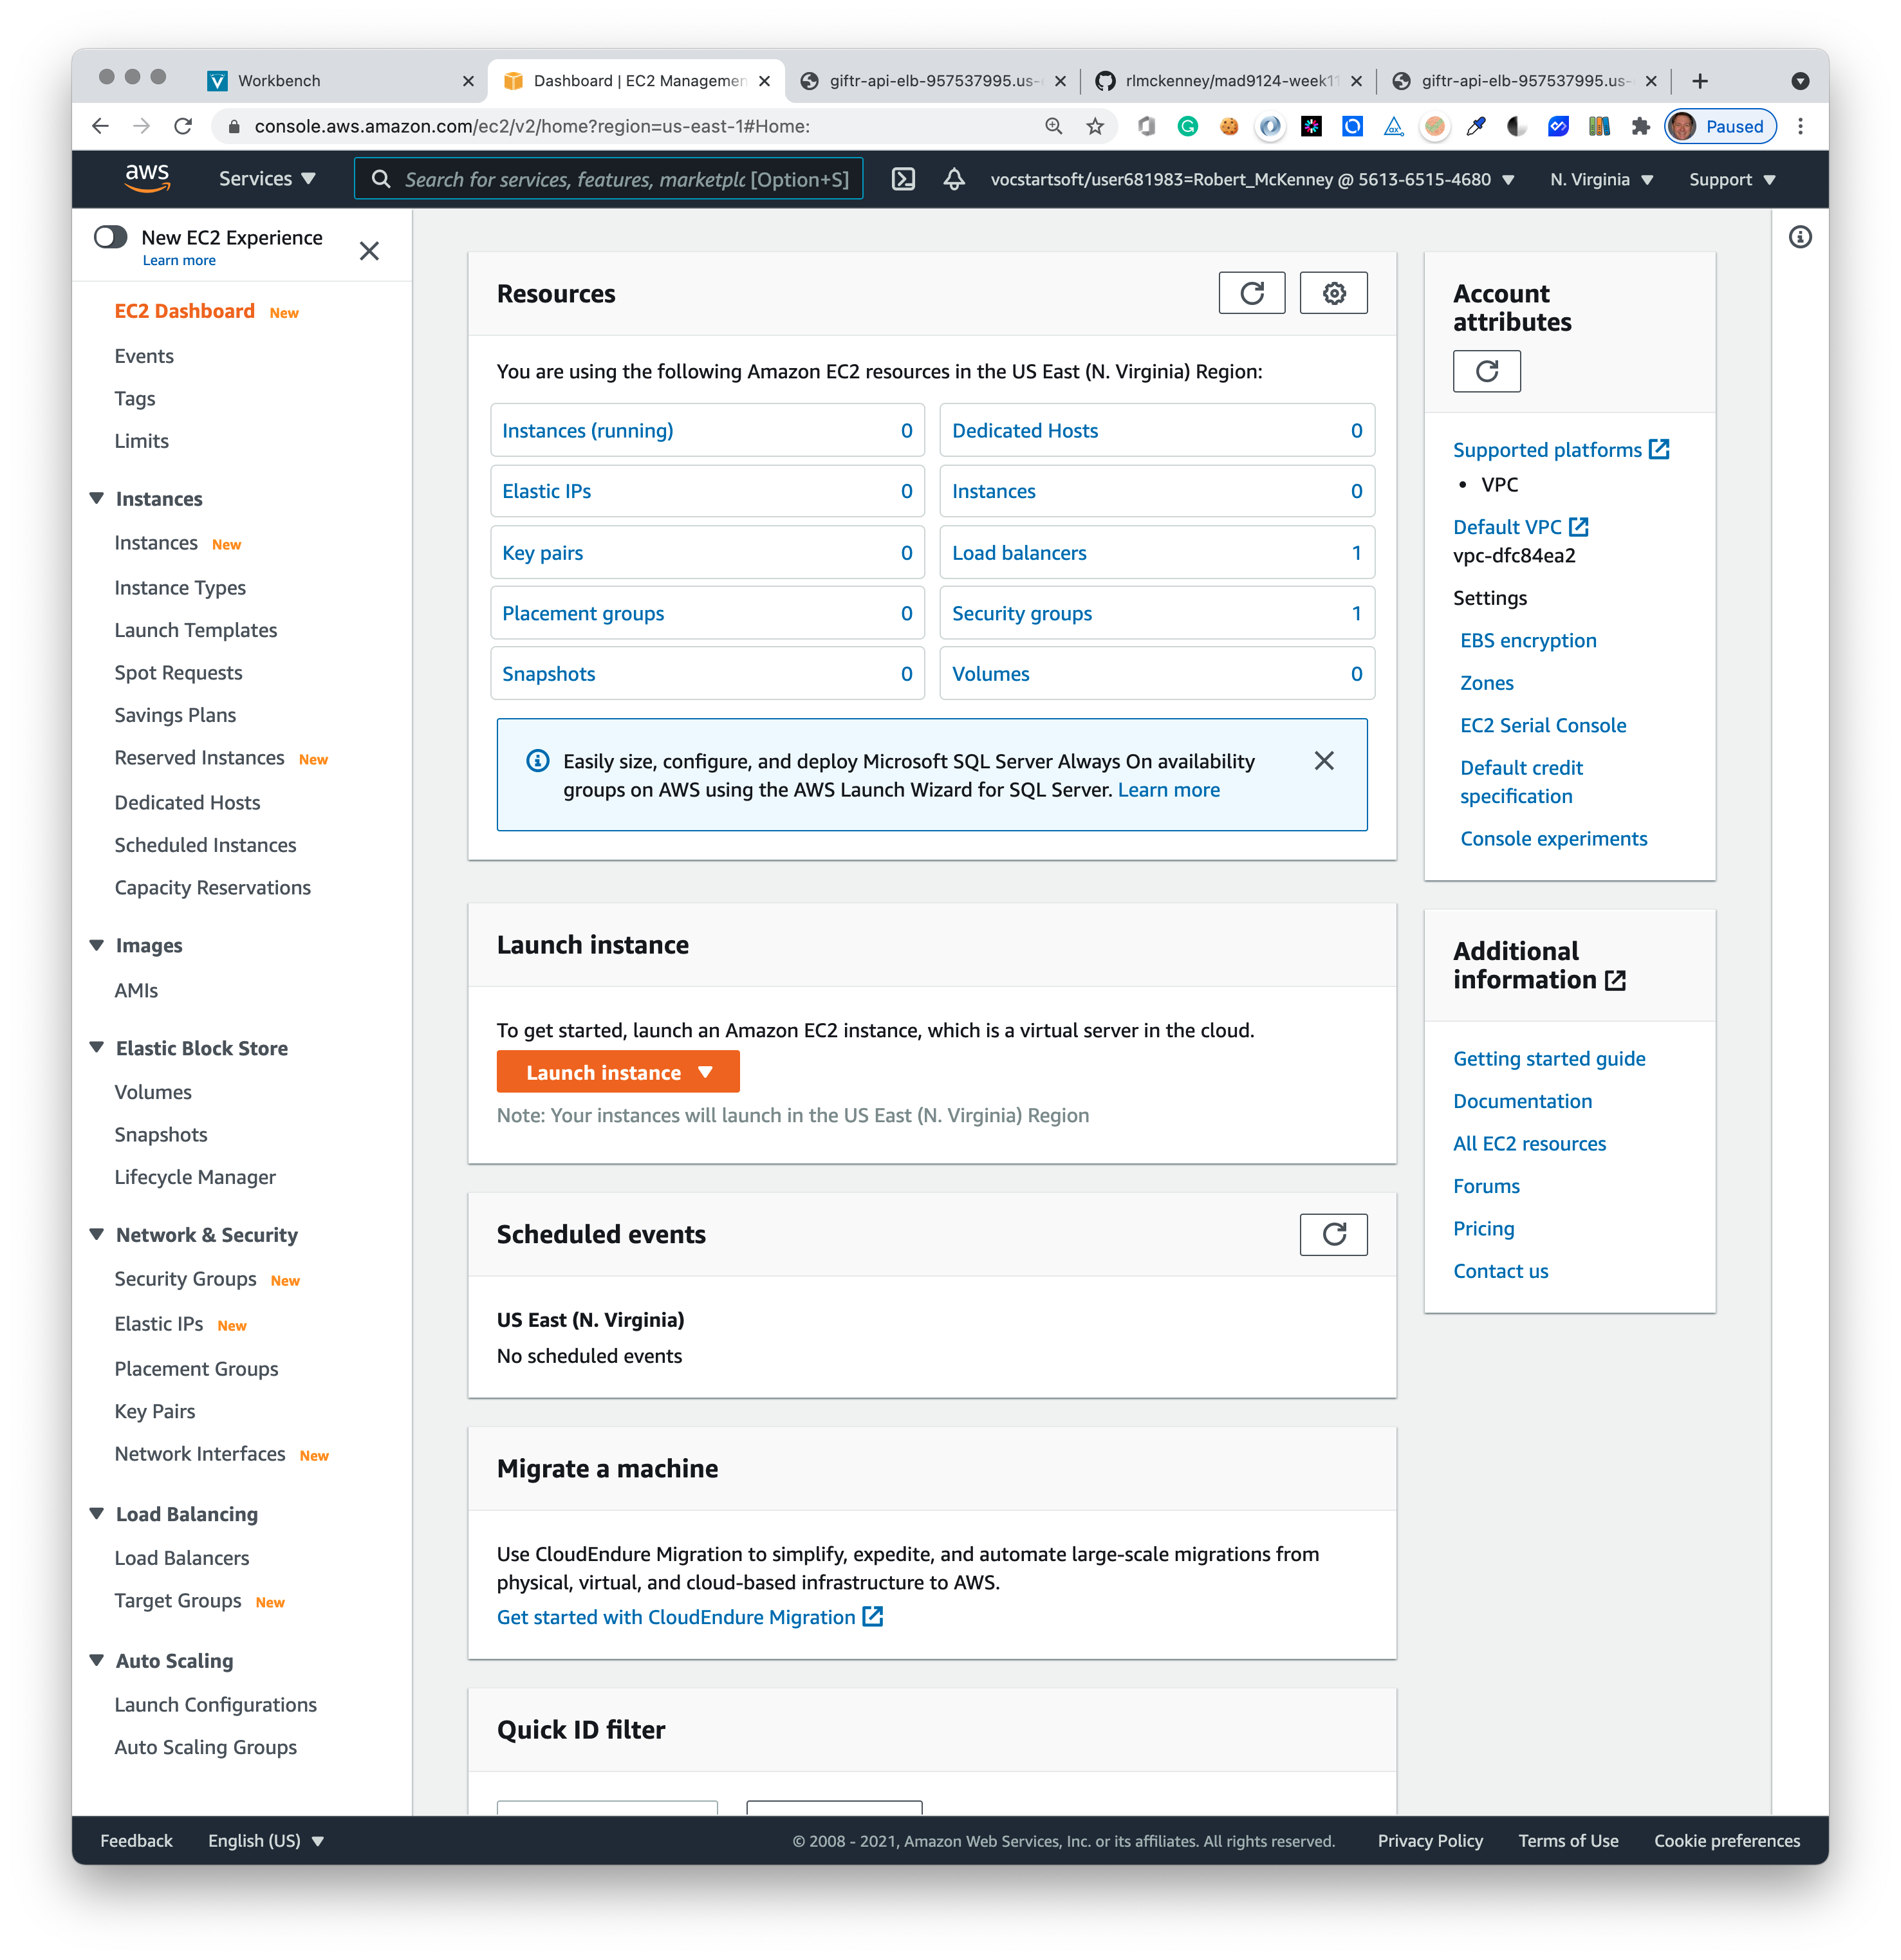
# Open the firewall
One last step. You need to open the firewall on your virtual network to allow incoming HTTP traffic from Postman or your browser client application.
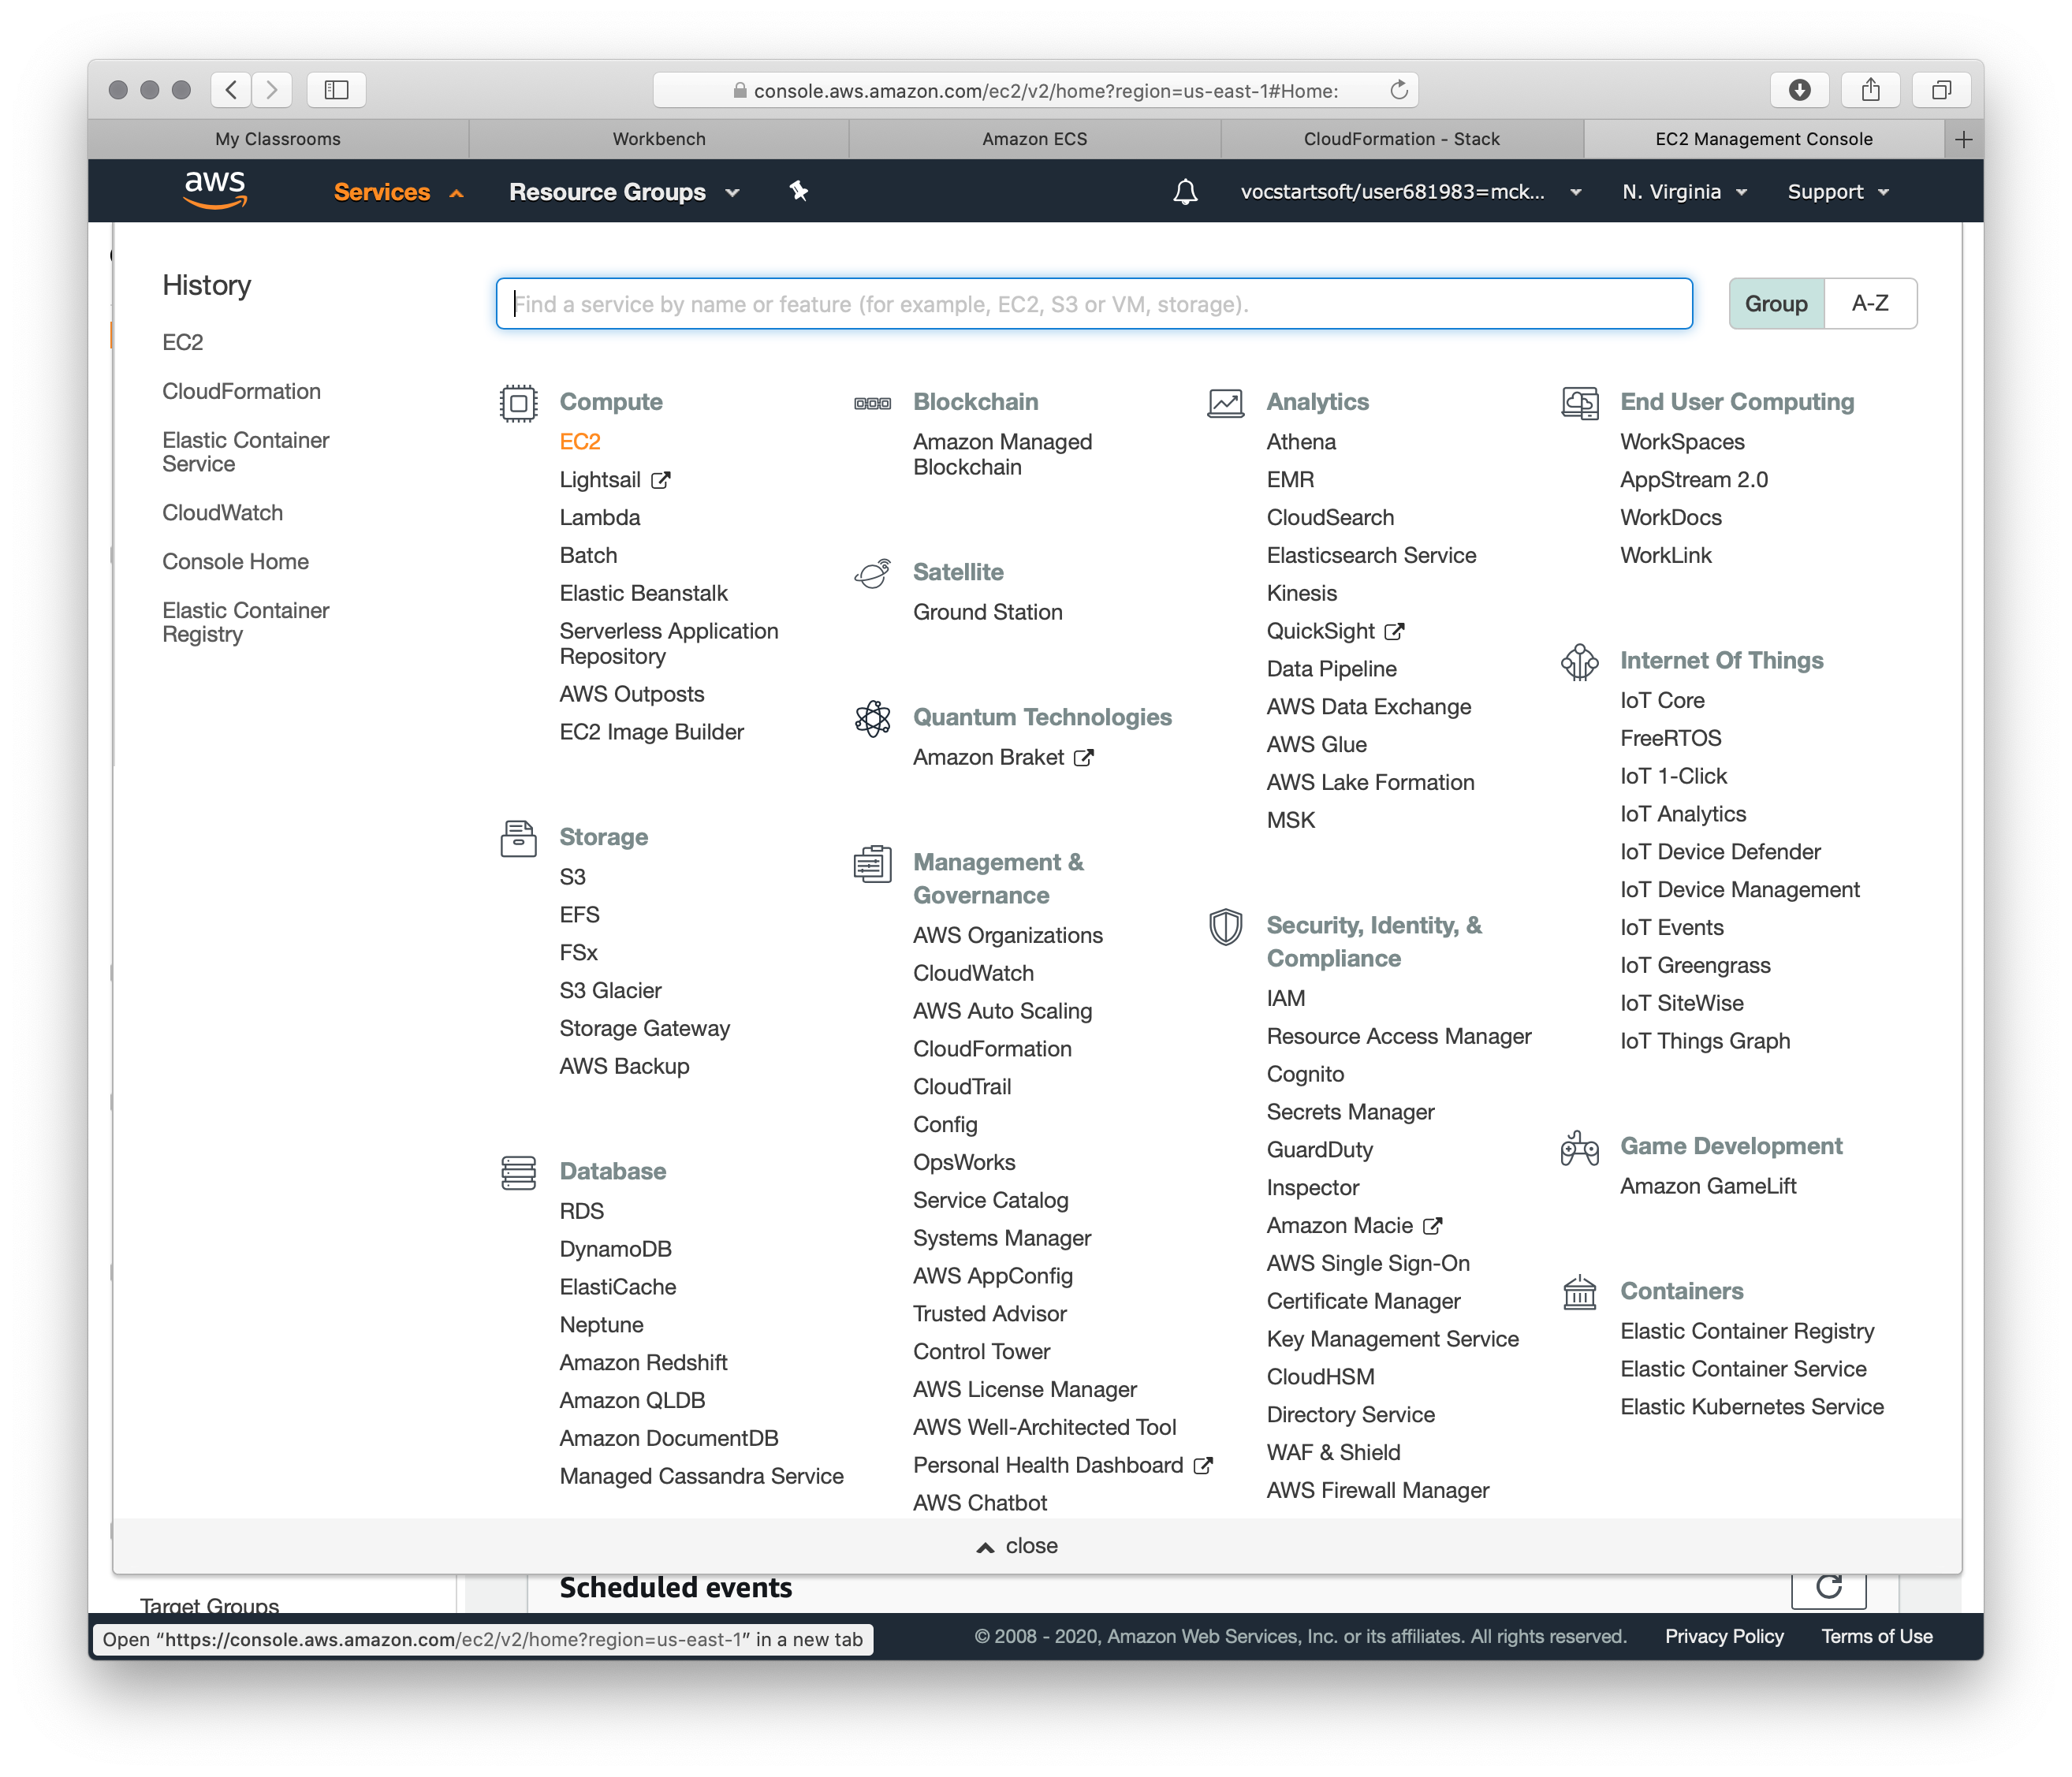
This is controlled in another part of the AWS console. From the Services menu at the top of the screen, choose EC2 in the Compute section.
The Resources panel in the middle of the screen shows several options. Click on the one called Security Groups.
You will hav on one default security group. Select it in the top half of the screen, and then click the Inbound rules tab in the lower half of the screen.
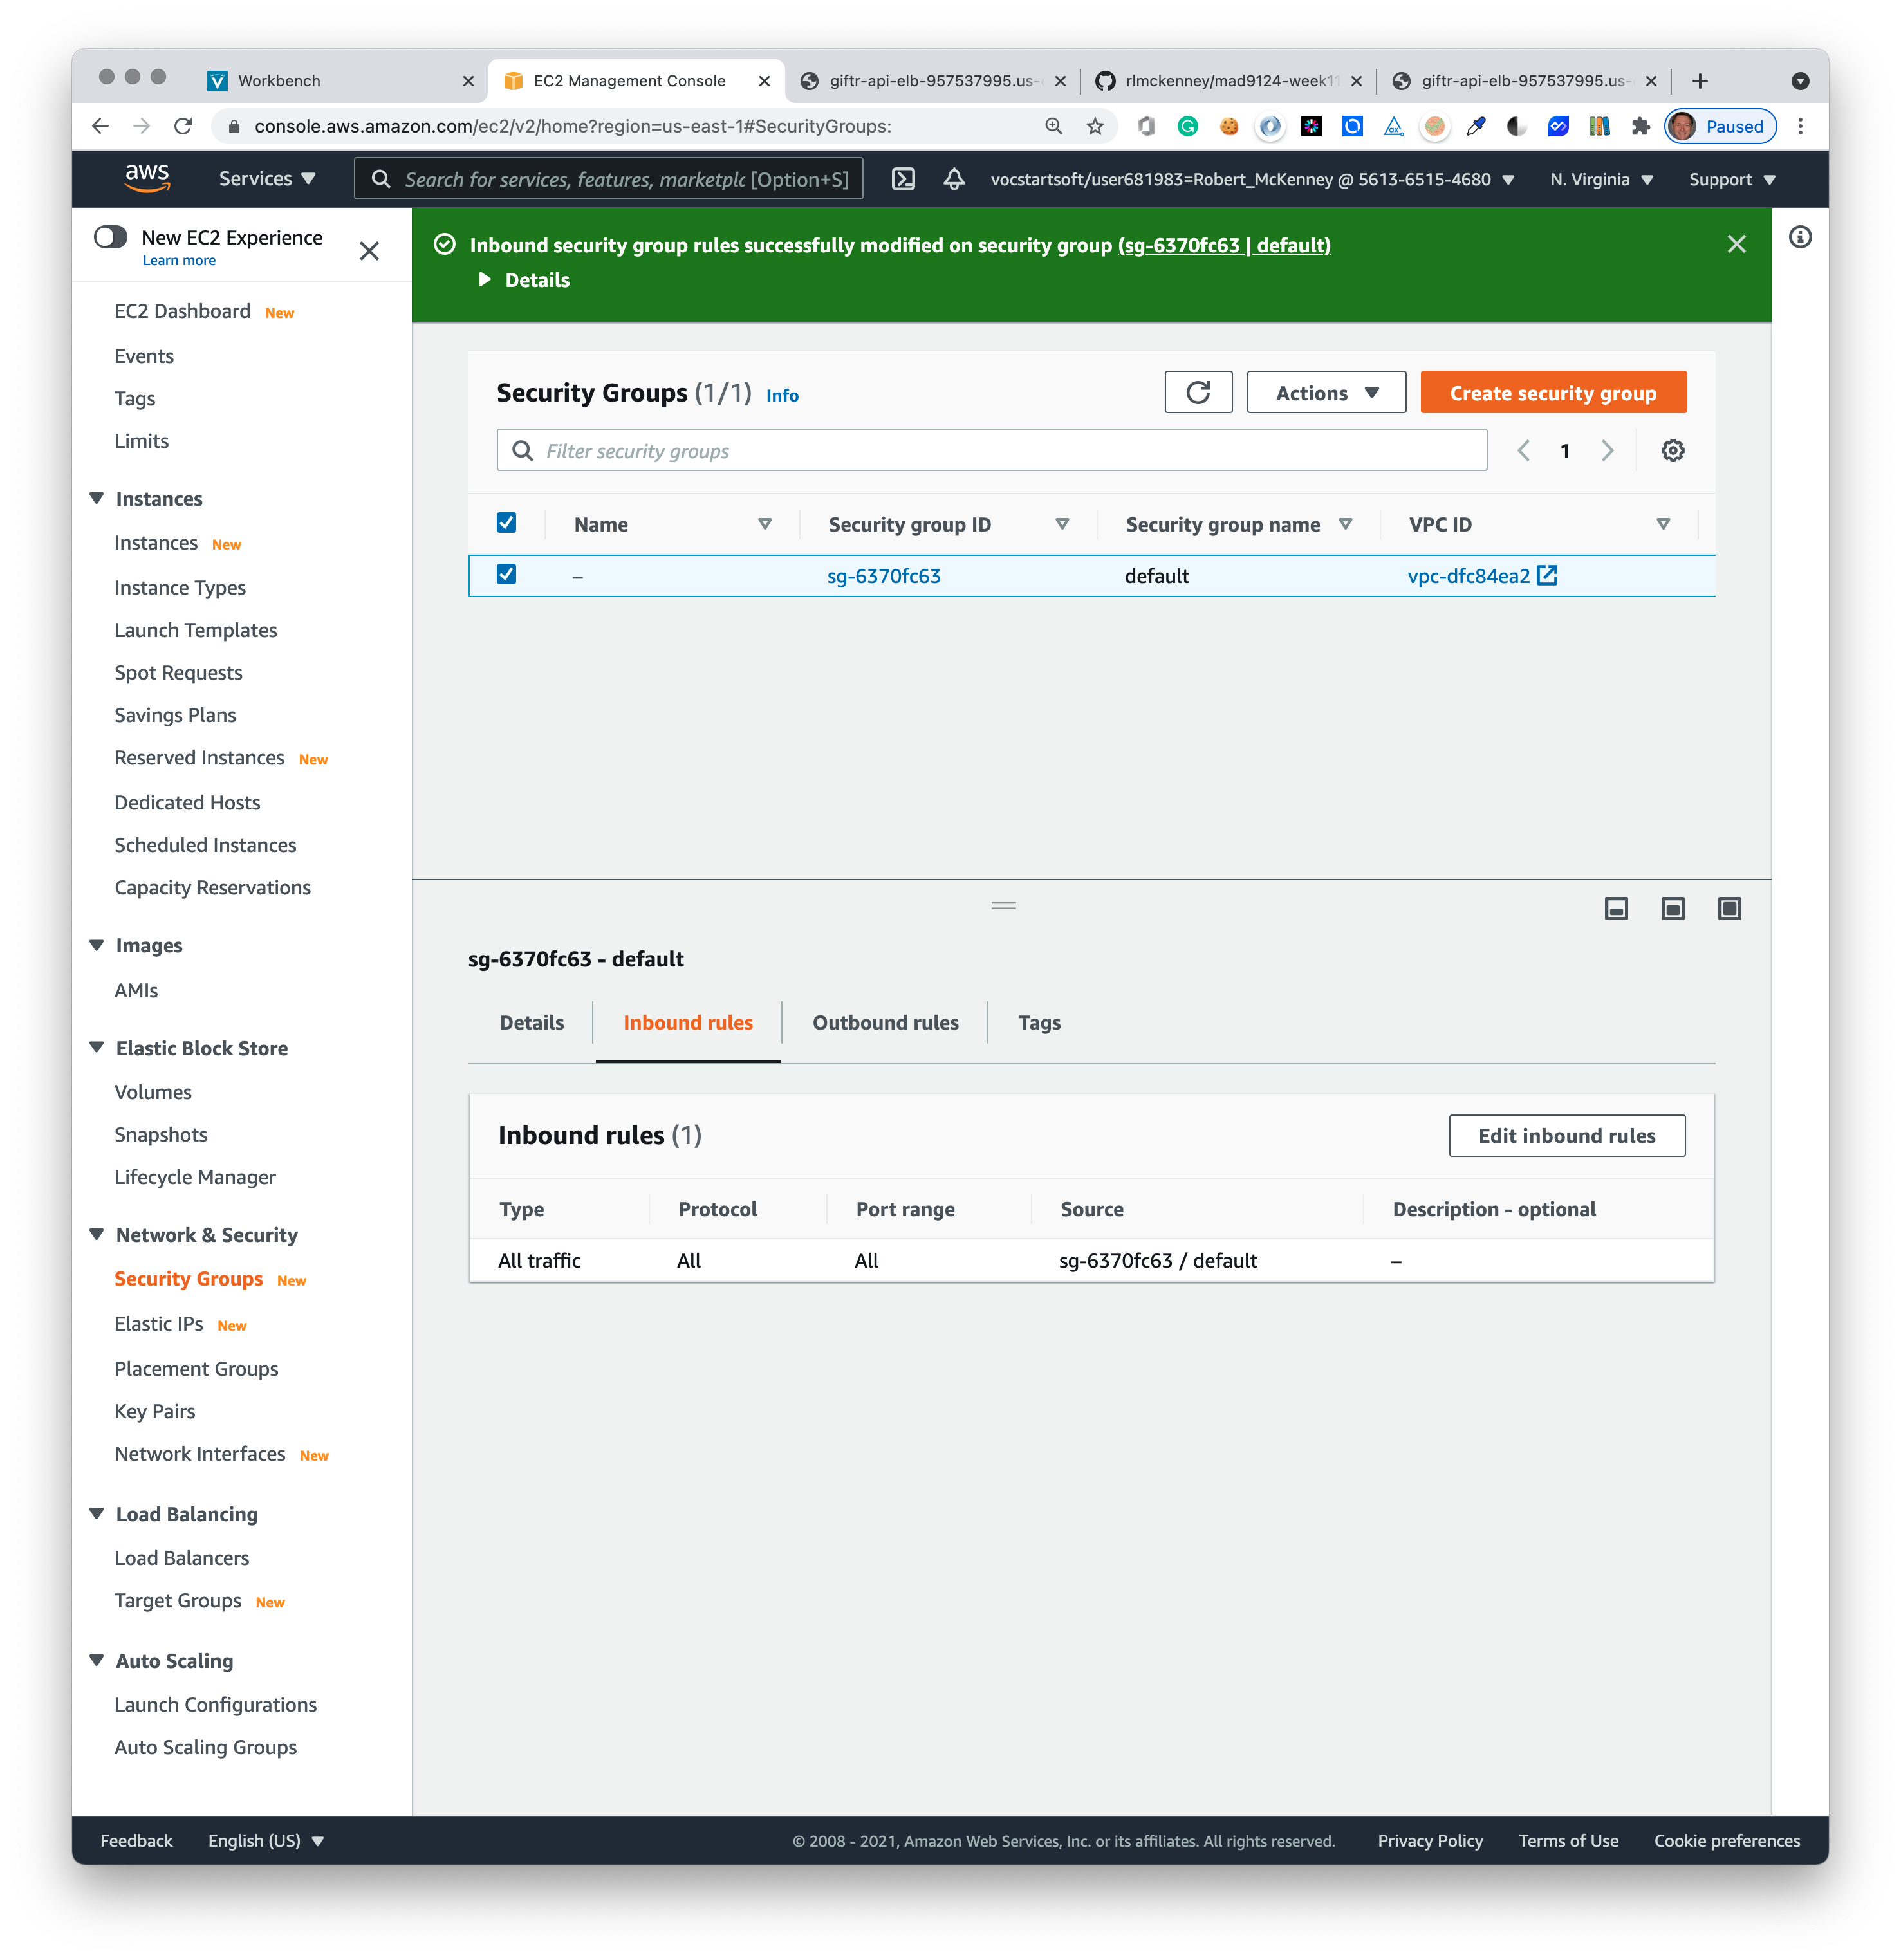
Click the Edit inbound rules button.

Now click the Add rule button. Select HTTP from the type drop-down list. Select Anywhere from the source drop-down list.
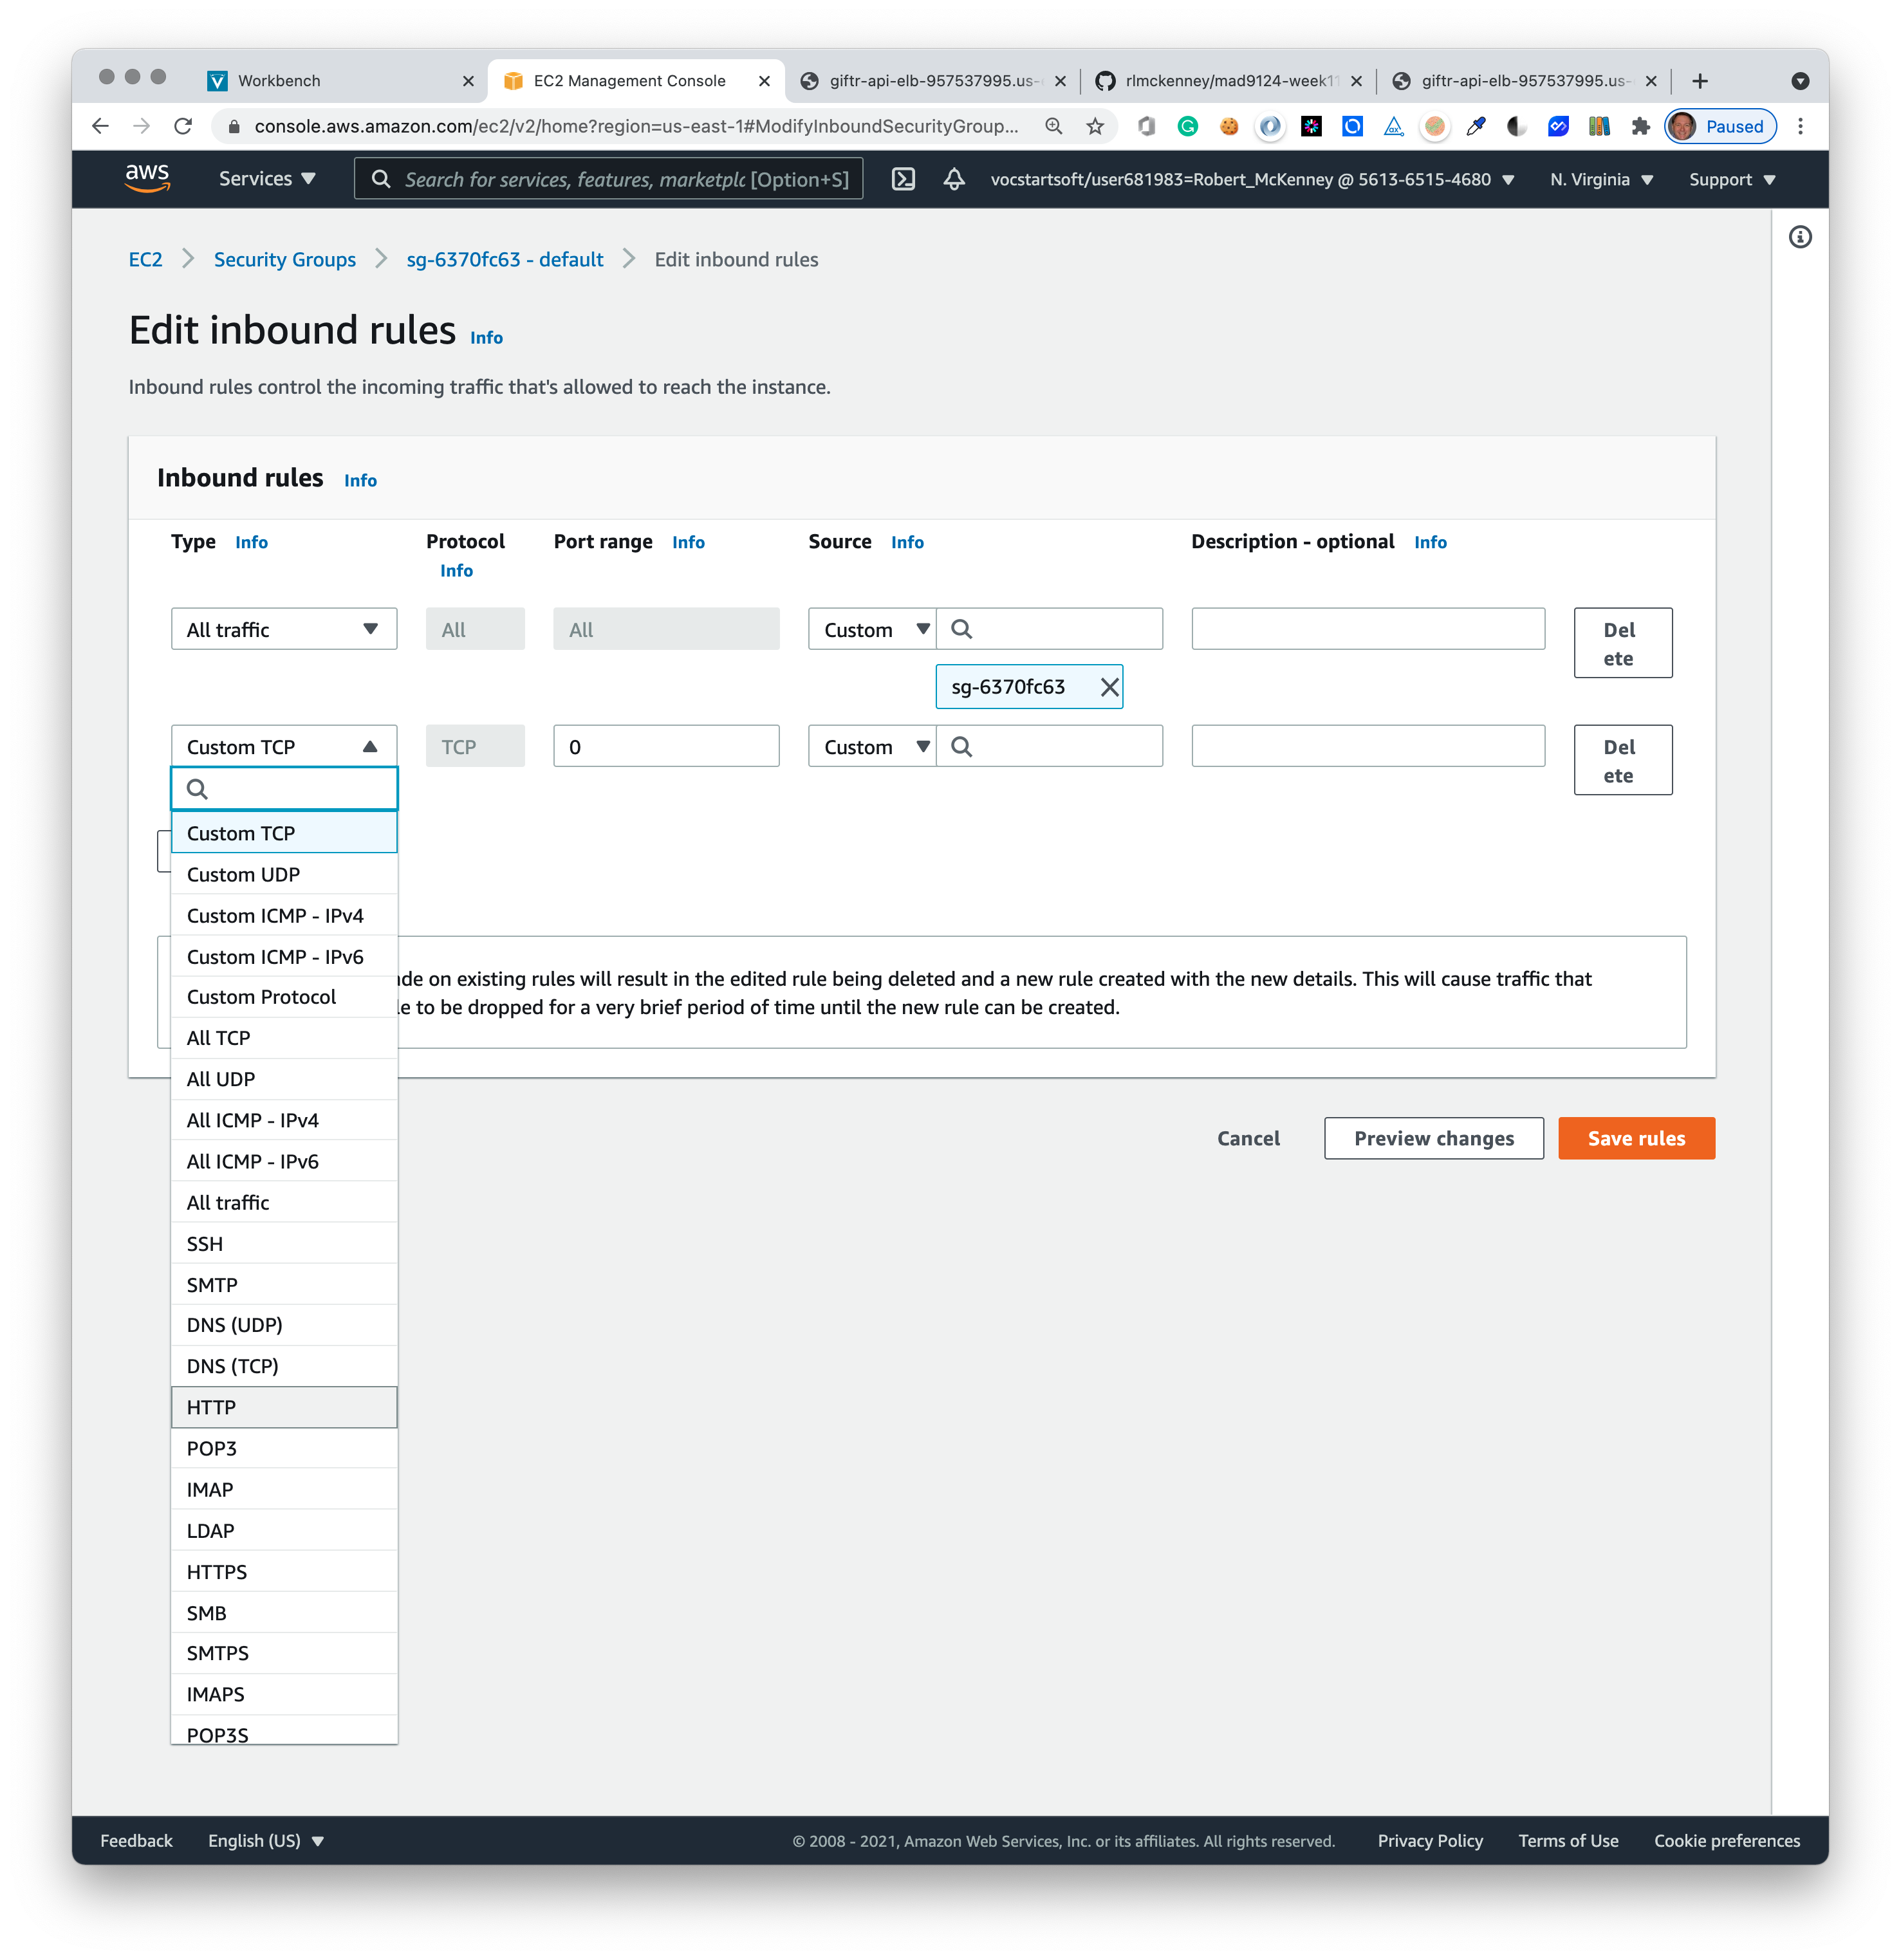

Click the orange Save rules button.

WOOO HOOOO! You have launched your first AWS CloudFormation Stack!
# 4. Test with Load Balancer address with Postman
So, now we should run some Postman test. But what is the URL?
In the ECS service definition, we created an application load balancer. This will be the "front door" URL for your API service cluster.
To find the load balancer's public DNS name, we need to go to the EC2 Console section of AWS.
Click on the Services top menu drop-down and then select EC2 from the top of the Compute service list.
This will take you to the main EC2 Dashboard. Select Load Balancers from the Resource options in the middle of the page.
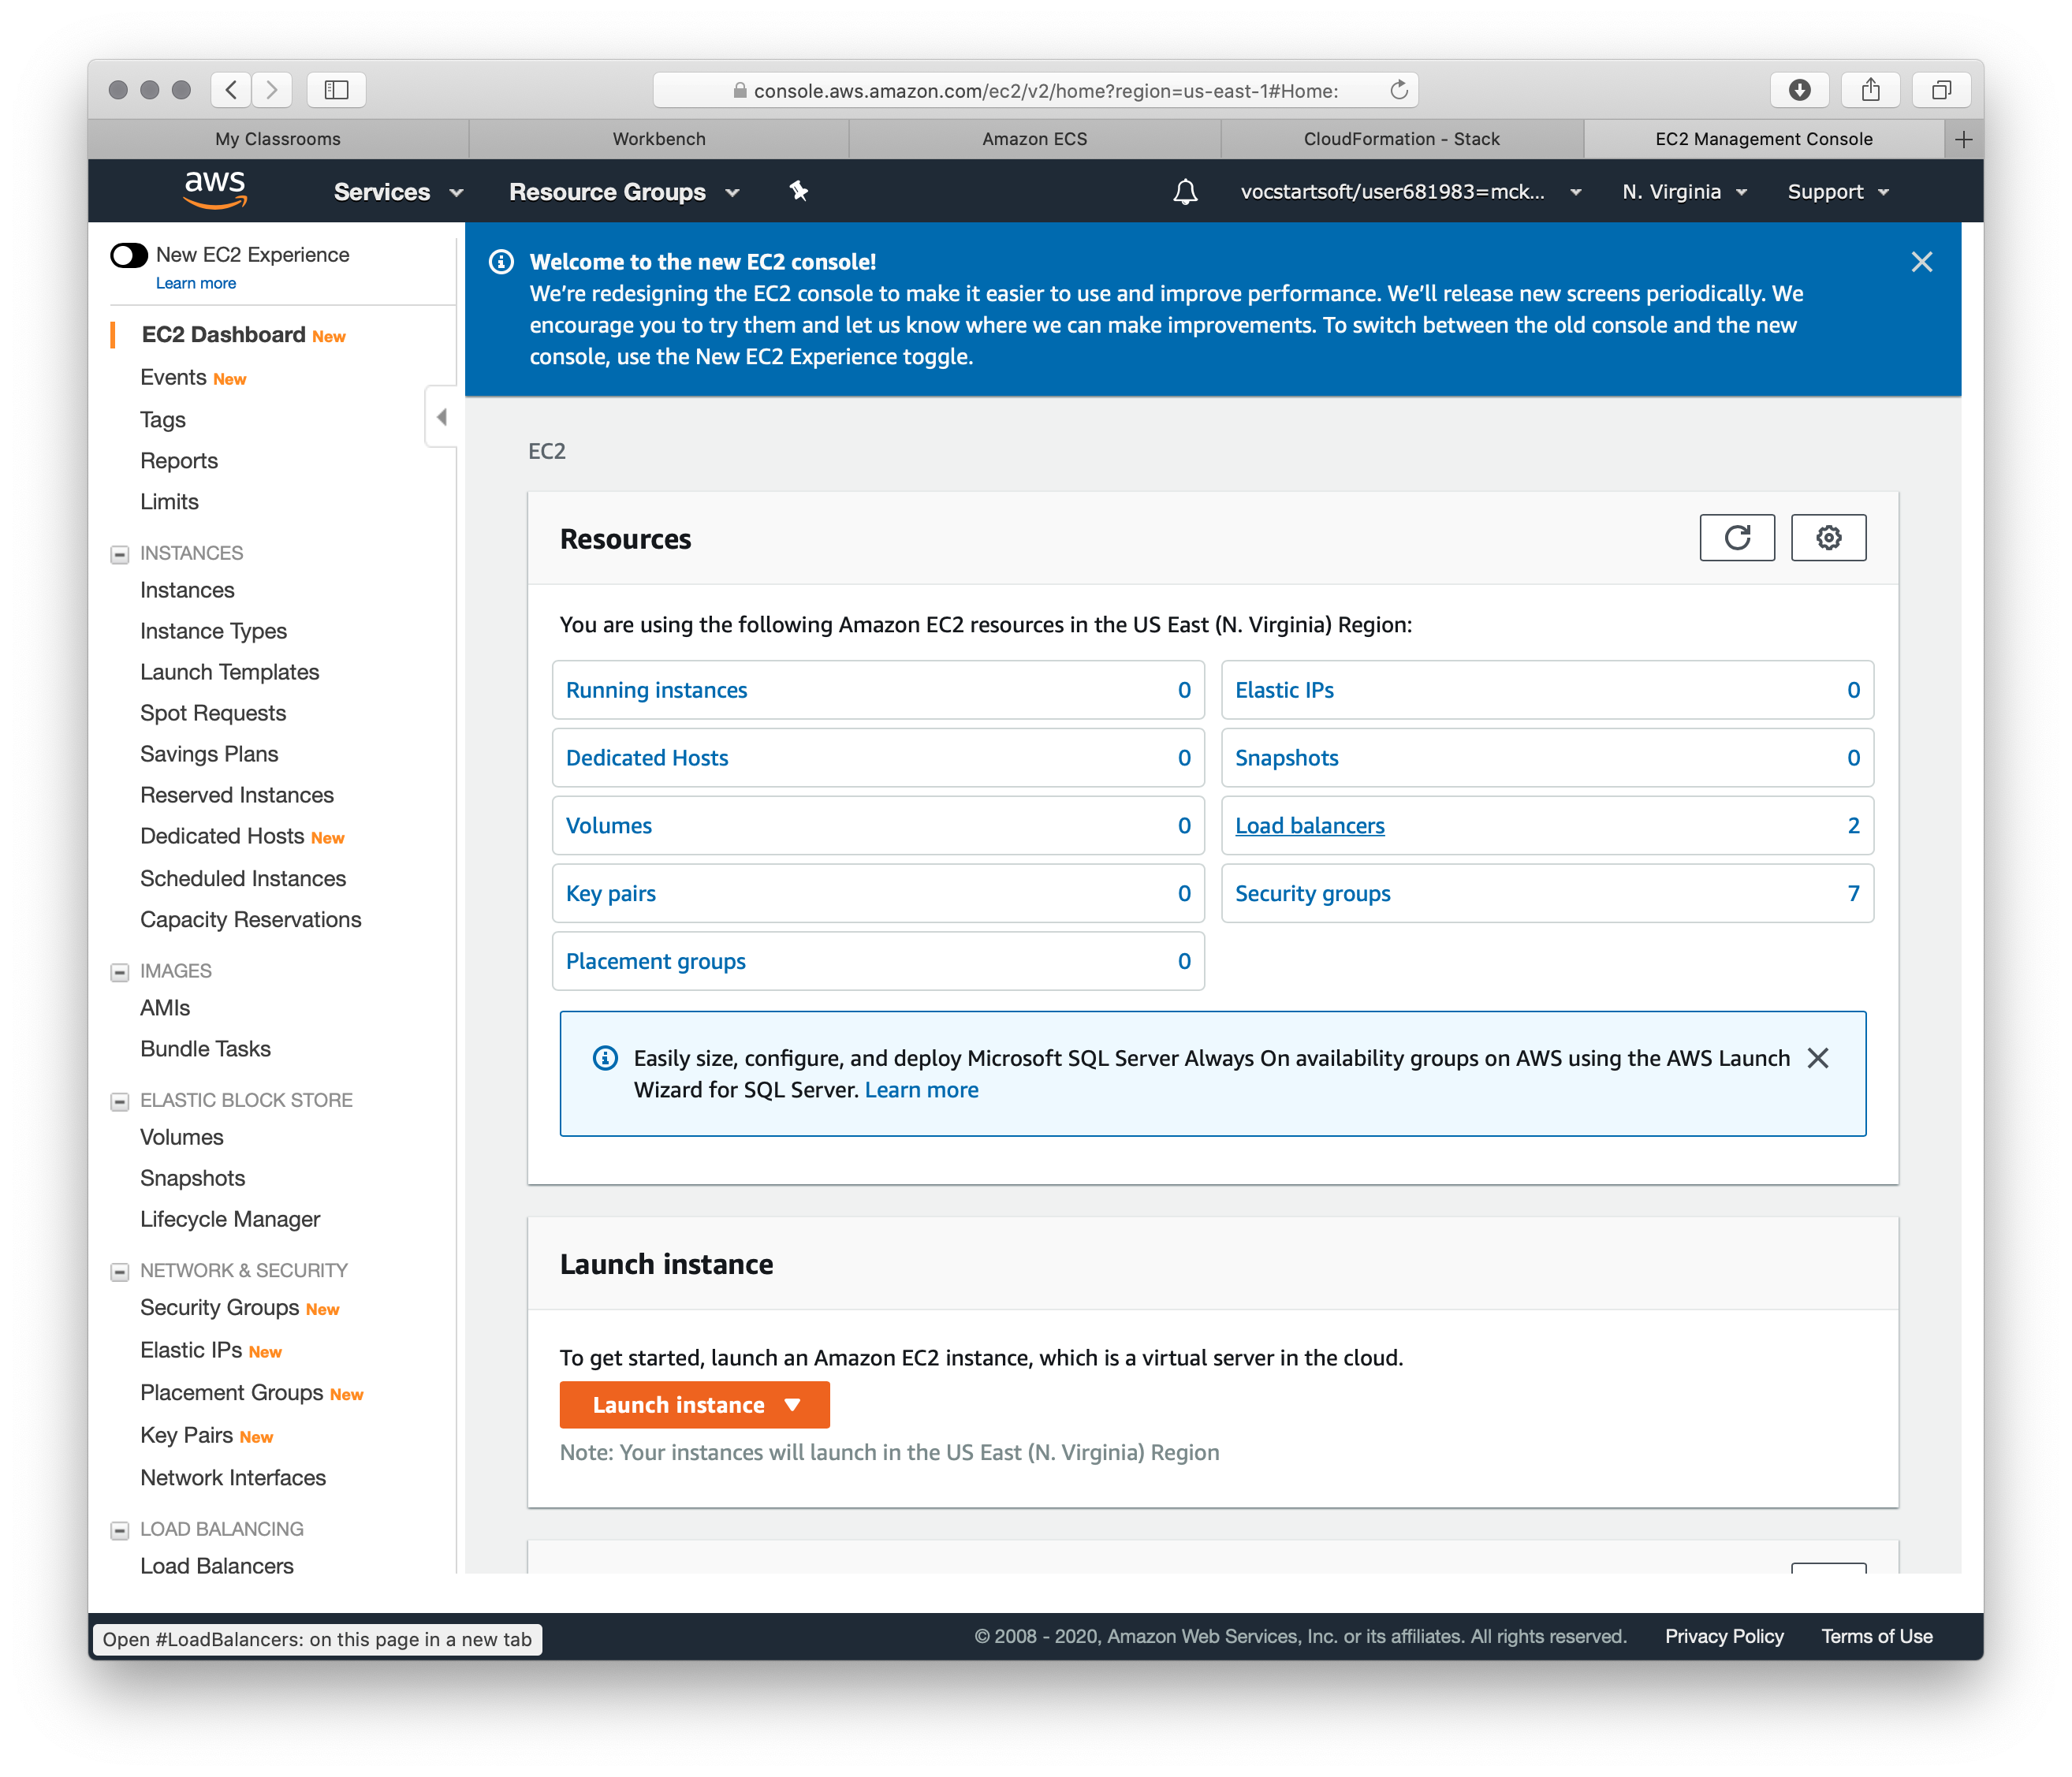
You will now see the list of active load balancers on your AWS Classroom account. There should only be one at this point. Click the check box next to the name of your load balancer to see the details at the bottom of the screen.

Copy the DNS name and use that as the hostname for your Postman tests.
# 5. Link to Load Balancer in client app.
In a real app, you could now use this URL in the fetch code of your frontend client application.
You would also want to turn on HTTPS for the load balancer, or your browser will block access to "mixed content requests". At the moment, the AWS Classroom accounts don't have access to the AWS Certificate Manager Service, so we cannot do this right now.
# Congratulations!
You have successfully deployed a load balanced redundant API web service container cluster connected to a separate redundant database cluster — all hosted on Amazon Web Services.
# For additional resources
The procedure above is an excellent introduction to containers and AWS. This can be a great talking point in a job interview, but there is more to learn. Please review these additional online resources.