Week 2
Node Modules & Express
Quiz 1: JavaScript and Node.js Fundamentals 15 mins
There will be a quiz today. It will be worth 2% of your final grade.
Agenda
- AMA (15 mins)
- Quiz (15 mins)
- Break (10 mins)
- Node Module System (40 mins)
- Node HTTP Server (20 mins)
- Break (10 mins)
- Node Package Management (5 mins)
- Introduction to Express (45 mins)
# Node Modules
Global Scope
In the browser the top level object is called window. In node, each module has it's own private "top level" variable scope.
- Every JavaScript file is a module
- Every module has its own scope
- variables and functions defined in a module (js file) are private to that module unless they are explicitly exported.
- public interface v.s. implementation details
console.log(module)to see the default exports property. It is an empty object that we can add properties into.
- There are also a handful of globally available objects (opens new window), like
processthat are automatically injected into each module to provide access to features from the runtime environment. - Two module syntax standards
- traditionally, node has supported the CommonJS (opens new window) module syntax.
- as of v14, node now also supports the newer ES Modules (opens new window) syntax used in browsers.
# CommonJS Modules
The following examples will use the traditional (for Node) CommonJS module syntax. Let's look at some simple examples.
// module-a.js
const foo = function() {}
const bar = function() {}
const baz = function() {
  console.log('This is a private function')
}

module.exports.foo = foo
module.exports.bar = bar
Access the exposed functions or values in other modules via the require() function.
// module-b.js
const utils = require('./module-a.js')

utils.foo() // call the function foo from module-a
utils.bar() // call the function bar from module-a
utils.baz() // this will cause an error because the function baz was not exported
Since the exports property of each module is usually just a JavaScript object, you can also use destructuring assignment to just grab the exported functions or values that you need.
// module-b.js
const {foo} = require('./module-a.js')

foo() // call the function foo from module-a
We can also reassign exports to be a single function.
// module-a.js
const foo = function() {} // exported
const bar = function() {} // not exported, private to this module

module.exports = foo
Then in module-b we would access it like this, without destructuring ...
// module-b.js
const foo = require('./module-a.js')

foo() // call the function foo from module-a
This would also work to export a static value.
// module-a.js
const foo = 'some string' // exported
const bar = function() {} // not exported, private to this module

module.exports = foo
// module-b.js
const foo = require('./module-a.js')

console.log(foo) // 'some string'
This ability to reassign the value of module.exports means that in the earlier example, we could have exported both foo and bar like this ...
// module-a.js
const foo = function() {}
const bar = function() {}

module.exports = {foo, bar}
TIP
ES6+ allows us to use a short-cut when creating object properties with the same name as the variable that holds the value that we are assigning. So, the above example is the same as writing module.exports = {foo: foo, bar: bar}
Best practice recommendation
While you can assign any valid JavaScript variable to the module.exports property, it is generally accepted as a best practice to consistently assign an object whose keys contain the variables that you want to export, even you are only exporting a single function.
# IIFE Wrapper
There are some default objects that are automatically made available in every node.js module:
- __dirname
- __filename
- exports
- module
- require()
If we peaked under the hood of Node's implementation, we would see that each module gets wrapped in an Immediately Invoked Function Expression (IIFE) at runtime and that function has the signature of
;(function(exports, require, module, __filename, __dirname) {
  // your module code
})()
This both limits the scope of each module and injects the standard arguments, including the require function, into that scope.
# Standard Modules
The full list of built-in node modules (opens new window) is in the Node.js documentation, but these are some of the more commonly used examples.
- fs
- http
- os
- path
- process
- queryString
- stream
# Examples
Lets use the fs.readFile() (opens new window) method to read the contents of our students.json file from last week. Then in the callback function we will use JSON.parse() to convert the JSON string to a native JavaScript data structure.
const fs = require('fs')
let students

fs.readFile('./students.json', (err, data) => {
  if (err) {
    return console.log(err)
  }
  students = JSON.parse(data)
  console.log(students)
})
This is simple enough, but if our application logic depends on the students data, then we have to nest all of that inside our callback function, or make it a blocking synchronous operation with fs.readFileSync().
Try this
Move the console.log() statement outside of and below the fs.readFile() code block. What does it print out on the console?
However, Node.js is starting to implement Promise based versions of it's core modules and we can now use async/await syntax like this ...
const fs = require('fs').promises

async function getStudents() {
  try {
    const fileHandle = await fs.open('./students.json', 'r')
    const jsonData = await fileHandle.readFile()
    return JSON.parse(jsonData)
  } catch (err) {
    console.log(err)
  }
}

getStudents().then(console.log)
# Event Emitters
In order to interact with the event loop, some modules need to be able to emit an event (sometimes also called 'raise an event'). These modules should be defined as a class that extends (or inherits from) Node's EventEmitter class.
# Base EventEmitter Class
const EventEmitter = require('events')
const myEmitter = new EventEmitter()

// define an event listener
myEmitter.on('event-name', callbackFunction)

// emit an event with an optional data payload
myEmitter.emit('event-name', payload)
# Extends EventEmitter
// Notification.js
const EventEmitter = require('events')

class Notification extends EventEmitter {
  constructor(channel, message) {
    this.channel = channel
    this.message = message
  }
  someFunction() {}
  send() {
    // do the real work

    // then raise an event
    this.emit(this.channel, this.message)
  }
}

module.exports = Notification
We would then use our Notification class like this
const Notification = require('./Notification.js')
const sms = new Notification('+16135551212', 'This is a test')

sms.send()
# EX2-1 HTTP Server
An example of a built-in module that extends EventEmitter, is the http module.
We will use one of the core Node modules – http – to create a simple web server.
Lets create a new project folder called week2. Then cd into that folder and open our code editor.
mkdir week2

cd week2

code .
Create a new file called nodeServer.js. We will build out our plain node http server example here.
- Use the
require()function to load thehttpmodule into a local variable.
'use strict'

const http = require('http')
- Use the
createServer()method to instantiate a new http.Server object (opens new window). This method takes an optional request handler callback function. For each request that the http server receives, node passes two core objects to the request handler function:req(request), andres(response).
const server = http.createServer((req, res) => {
res.statusCode = 200
res.setHeader('Content-Type', 'text/plain')
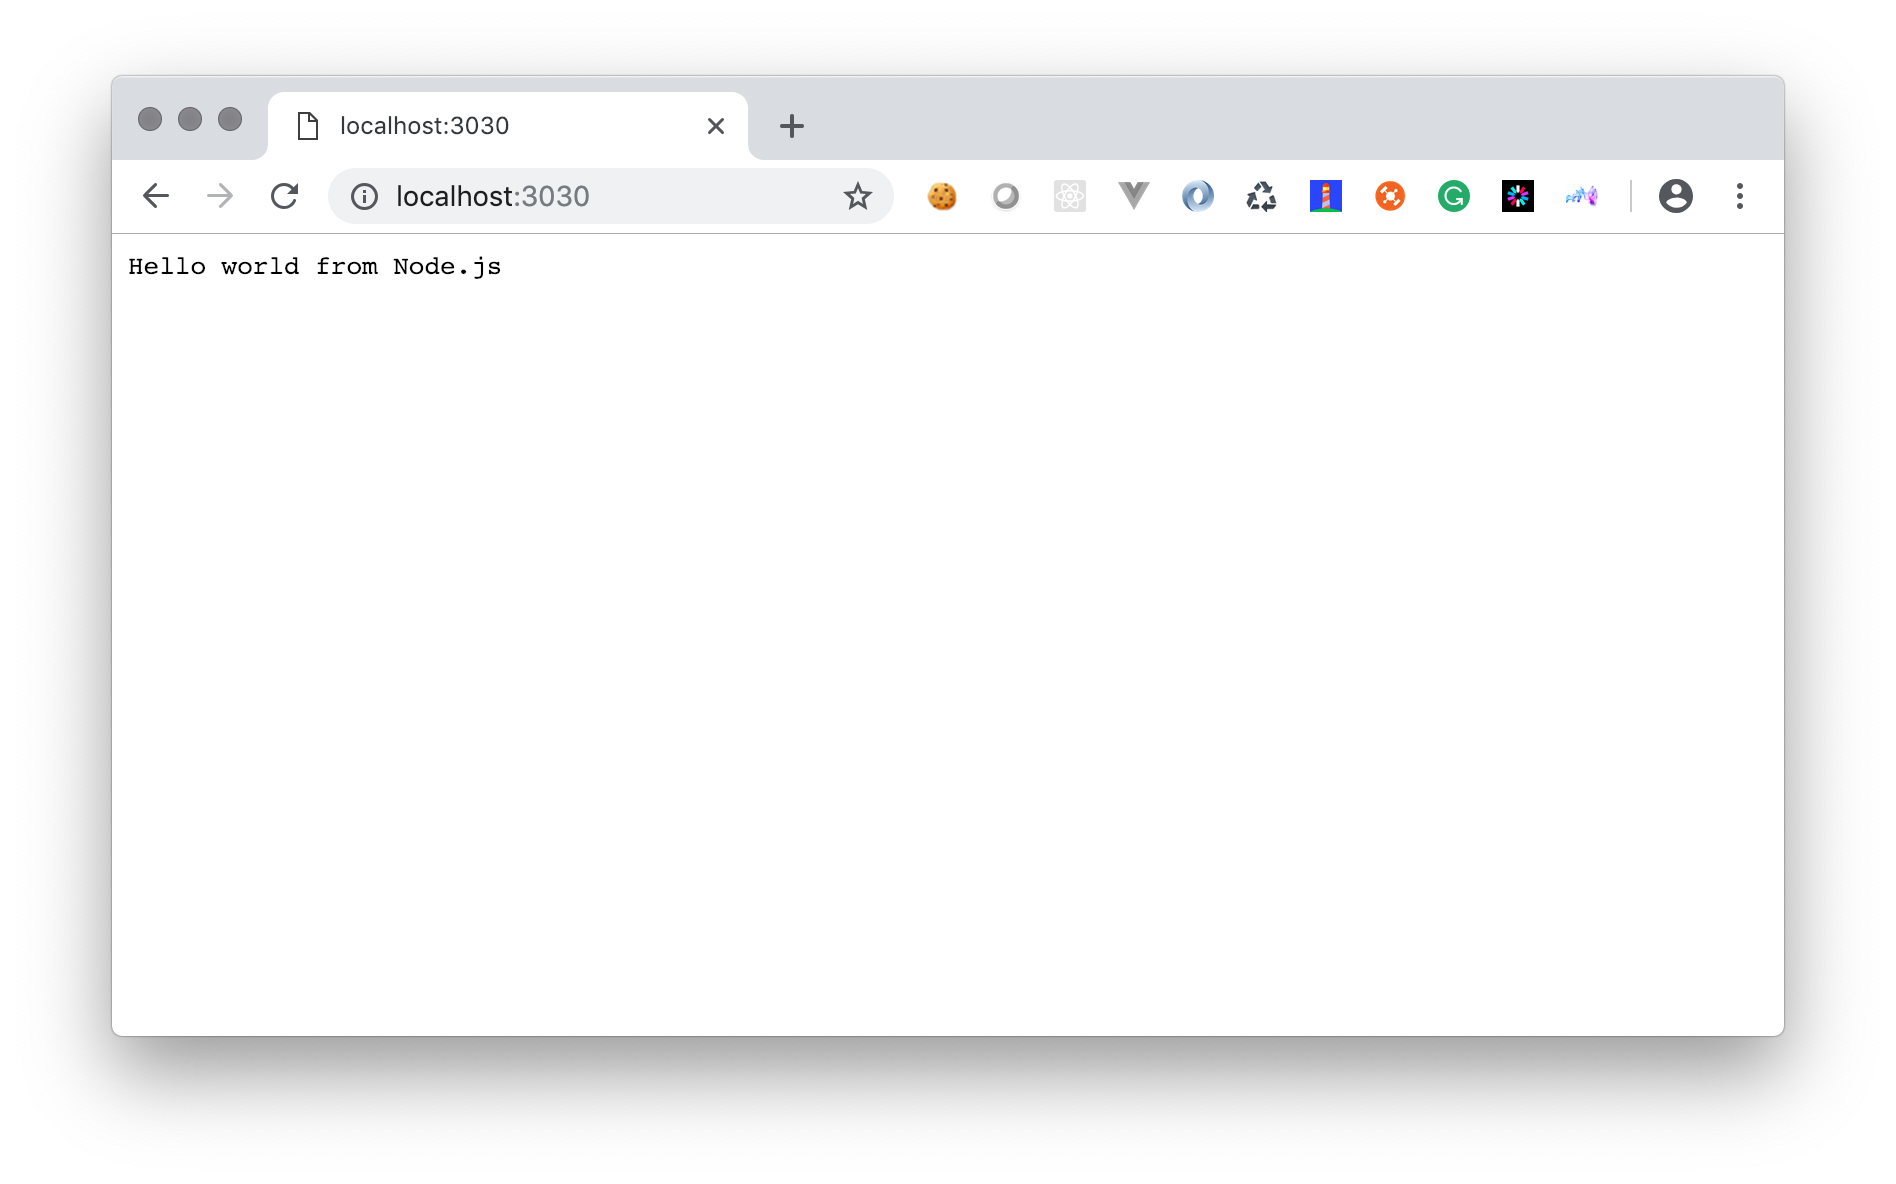
res.write('Hello world from Node.js')
res.end()
})
TIP
The Server object returned by createServer is an EventEmitter (opens new window), and the optional callback function is just shorthand for creating a server object and then adding an event listener later.
const server = http.createServer()
server.on('request', (req, res) => {
  // evaluate request and send response
})
- Lastly, we need to tell the server what port to listen on for incoming HTTP requests. We will use port 3030 for our example. The
listen()method is asynchronous and takes two optional arguments: the port number and a callback function which runs on thelisteningevent.
server.listen(3030, () => console.log(`Server listening on port 3030 ...`))
Providing the callback function to the server.listen() method is a short-cut for adding an event listener to for the listening event on the server object. You could write it out the long way ...
server.listen(3030)
server.on('listening', () => console.log(`Server listening on port 3030 ...`))
Similarly, you can add a listener for the error event.
server.on('error', (error) => console.log(error.message))
OK, lets run it in the terminal.
node nodeServer.js
... and try it in the browser at http://localhost:3030 (opens new window)
# Dynamic port assignment
If the port number is not provided to the server.listen() method, node will randomly assign an unused port. You can find out what port was assigned in the listening event handler.
server.listen()
server.on('listening', () => {
  console.log(`HTTP server listening on port ${server.address().port}`)
})
# Route handling
Augment the request handler function to provide different responses on different URL routes. We will extract the request handler into a separate function and have it respond to the /api route with a JSON message. The URL that the browser used to send the request is available as a property of the req object passed into the requestHandler function. We can then conditionally respond with a different message for each URL, or "request route".
const requestHandler = (req, res) => {
  if (req.url === '/api') {
    const data = {message: 'Hello world from Node.js'}
    res.statusCode = 200
    res.setHeader('Content-Type', 'application/json')
    res.write(JSON.stringify({data})) // shorthand for {data: data}
    res.end()
  } else {
    // default response if no other route matched
    res.statusCode = 200
    res.setHeader('Content-Type', 'text/plain')
    res.write('Hello world from Node.js')
    res.end()
  }
}

const server = http.createServer(requestHandler)
JSON:API Best practice
A JSON object MUST be at the root of every JSON:API request and response containing data. This object defines a document’s “top level”.
A document MUST contain at least one of the following top-level members:
- data: the document’s “primary data”
- errors: an array of error objects
- meta: a meta object that contains non-standard meta-information.
The members data and errors MUST NOT coexist in the same document.
Stop and restart the server in the terminal. Remember CTL + c stops the currently running command in the terminal. Now check it in the browser at http://localhost:3030/api (opens new window)
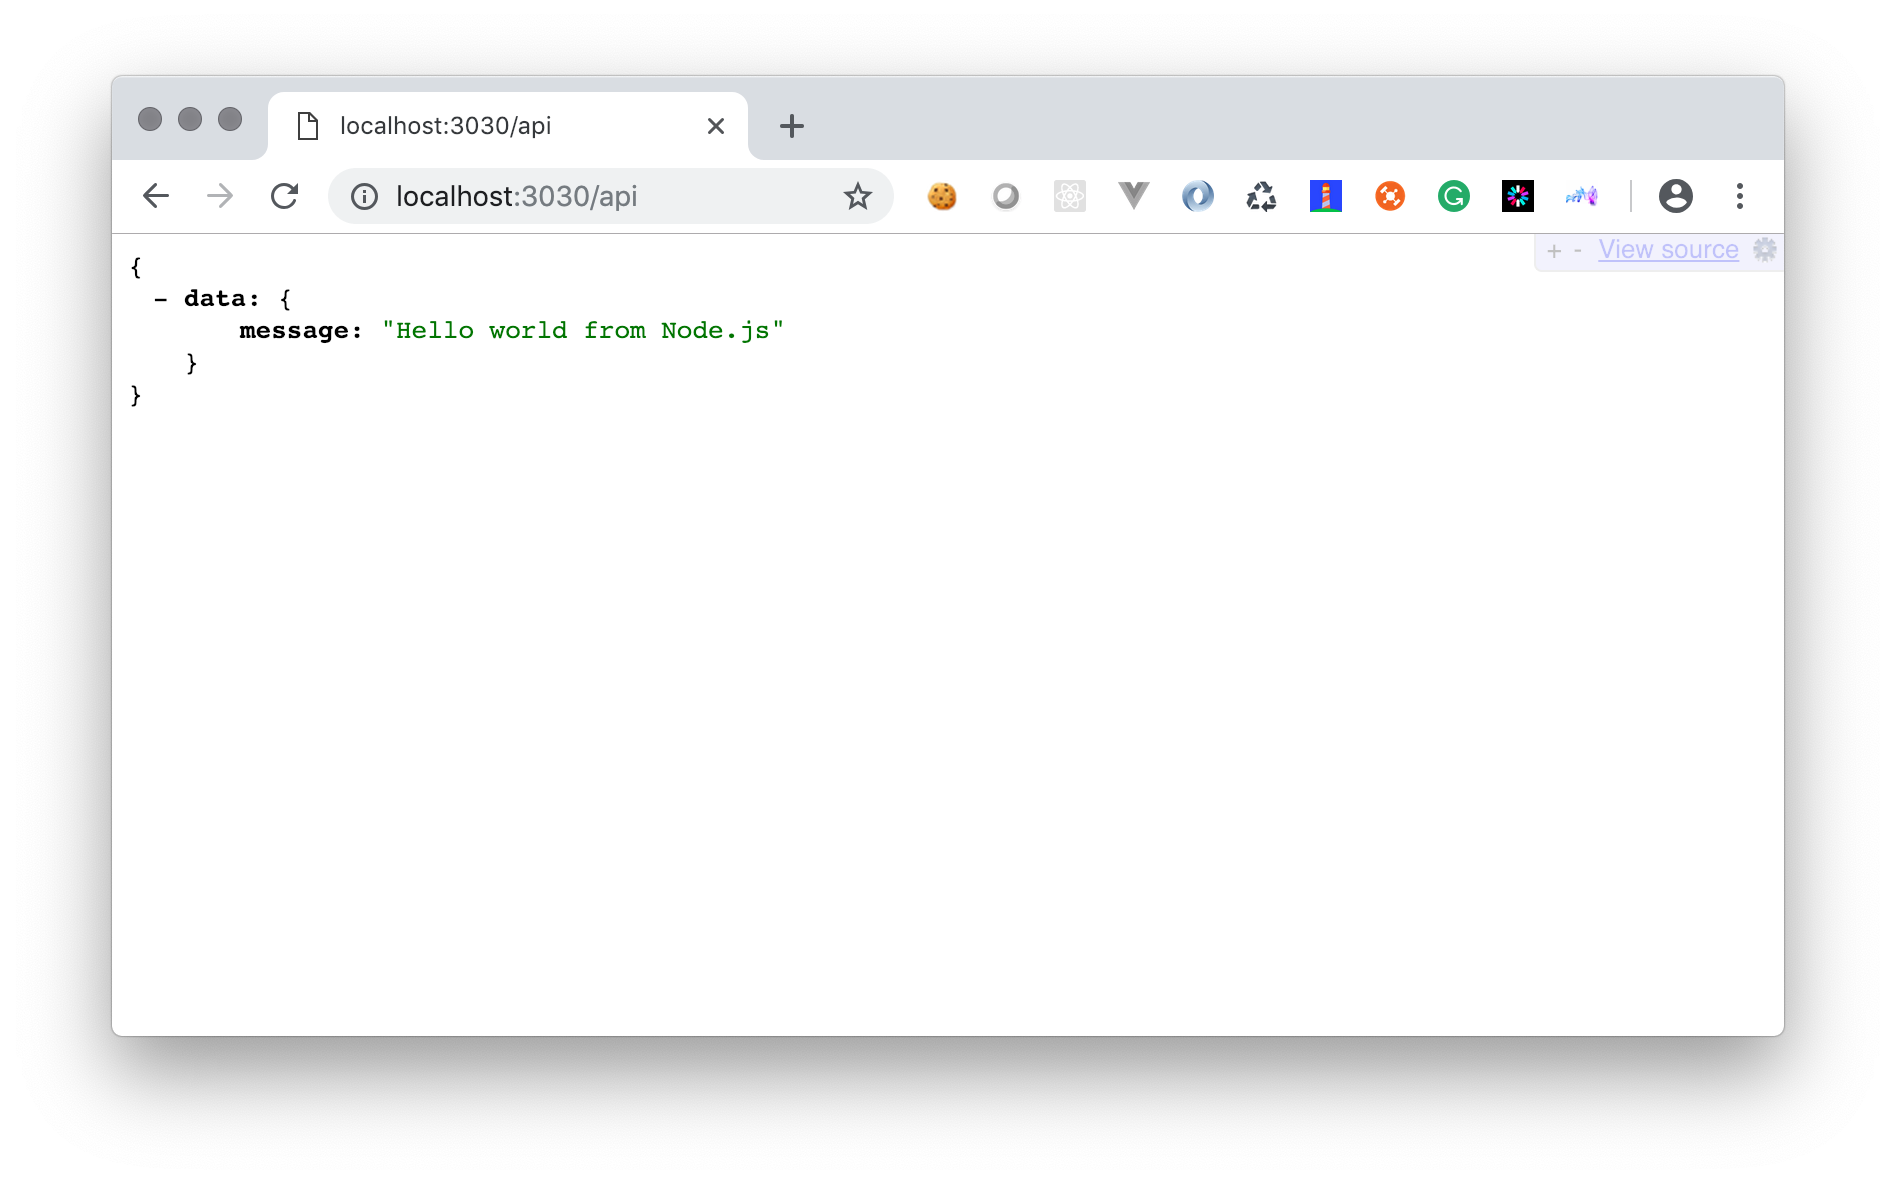
TIP
The JSON data payload is nicely formatted because I am using a Chrome plugin called JSONView, which you can install from the Google Chrome Web Store (opens new window)
# Submit
Please upload the nodeServer.js file to Brightspace assignment EX2-1.
# EX2-2 Hello from Express
# NPM Init
- Initialize the current directory (week2) as an NPM project folder using the
npm initcommand in the terminal.
npm init
It will respond with the following message ...
This utility will walk you through creating a package.json file.
It only covers the most common items, and tries to guess sensible defaults.

See `npm help json` for definitive documentation on these fields
and exactly what they do.

Use `npm install <pkg>` afterwards to install a package and
save it as a dependency in the package.json file.

Press ^C at any time to quit.
... and then ask some basic set-up questions one at a time. Just press enter to accept the default value (in brackets) or leave it blank. Otherwise add the values that I have added below.
Of course, please use your own name and college email, not mine.
| Prompt | Value |
|---|---|
| package name: (week2) | hello-from-express |
| version: (1.0.0) | 0.1.0 |
| description: | My first Express server |
| entry point: (nodeServer.js) | app.js |
| test command: | |
| git repository: | |
| keywords: | |
| author: | Robert McKenney <mckennr@algonquincollege.com> |
| license: (ISC) |
NPM will now display a confirmation of the details that it is about to write in the package.json file. Yours should look similar to this.
About to write to /Users/rlm/Code/algonquin/mad9124/demos/week2/package.json:

{
  "name": "hello-from-express",
  "version": "0.1.0",
  "description": "My first Express server",
  "main": "app.js",
  "scripts": {
    "test": "echo \"Error: no test specified\" && exit 1"
  },
  "author": "Robert McKenney <mckennr@algonquincollege.com>",
  "license": "ISC"
}

Is this OK? (yes)
Press enter to accept and complete.
- Install the Express framework using NPM.
npm install express
When it finishes you should see a message like this ...
npm notice created a lockfile as package-lock.json. You should commit this file.
npm WARN hello-from-express@0.1.0 No repository field.

+ express@4.17.1
added 50 packages from 37 contributors and audited 50 packages in 2.16s
found 0 vulnerabilities
... and the package.json file should have been updated to include a dependencies key
"dependencies": {
  "express": "^4.17.1"
}
# Express App
We are going to start by replicating the earlier nodeServer.js example but using the Express library. Express uses Node's core HTTP module under the hood, but simplifies many of the repetitive coding tasks.
In your code editor, create a new file called app.js. At the top, import the Express library's constructor function and instantiate a new express app object.
'use strict'

const express = require('express')
const app = express()
# Basic Route
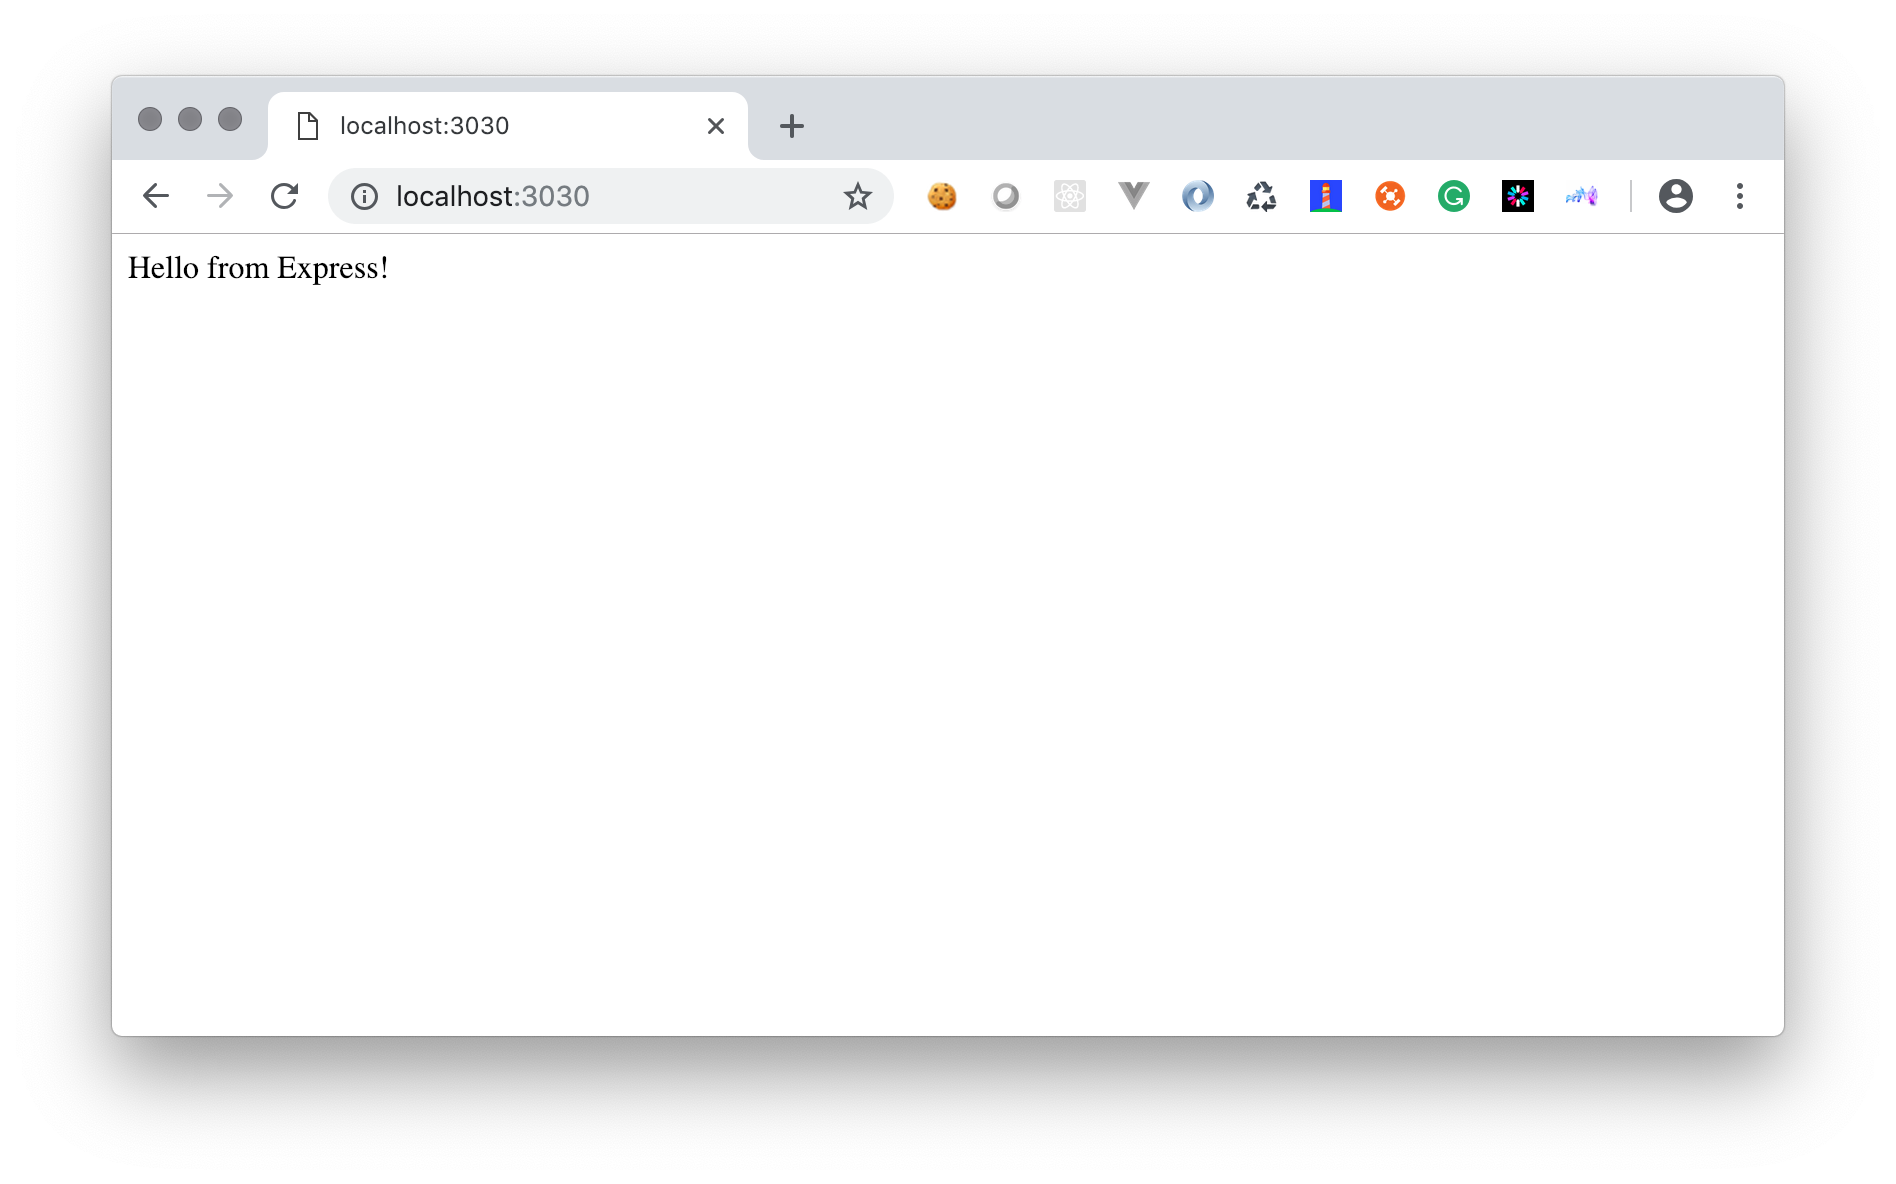
We need to create a server root route that returns "Hello from Express!".
Here is one of the big differences with Express. You aren't stuck with a single request handler function containing complicated if/else logic to handle different routes. Express exposes methods on the app object that correspond to the various HTTP verbs that allow you to construct your routes in a cleaner, more declarative fashion.
These route methods take a URI path to match and a request handler function to execute when that path is matched.
app.get('/', (request, response) => {
  response.send('Hello from Express!')
})
Like Node's http module, Express defaults the response status code to 200 unless we override it using the response.status method. You can then chain-on additional methods to complete the response to the requesting client. e.g.
response.status(404).send('Sorry. We cannot find the resource that you requested.')
Now invoke the listen() method to tell your app to listen on port 3030. This method creates a fully configured instance of the same Node http.Server object that the earlier example created, but with less boilerplate (repetitive) code.
const port = 3030
app.listen(port, () => console.log(`The server is listening on ${port}`))
We are ready to run it in the terminal with node app.js, and check it in the browser at http://localhost:3030 (opens new window). It should look identical to the nodeServer.js version.
# JSON API Route
Now let's add that /api route that returns a JSON response.
// just below the previous app.get() method

app.get('/api', (request, response) => {
  response.send({
    data: {
      message: 'Hello from Express!'
    }
  })
})
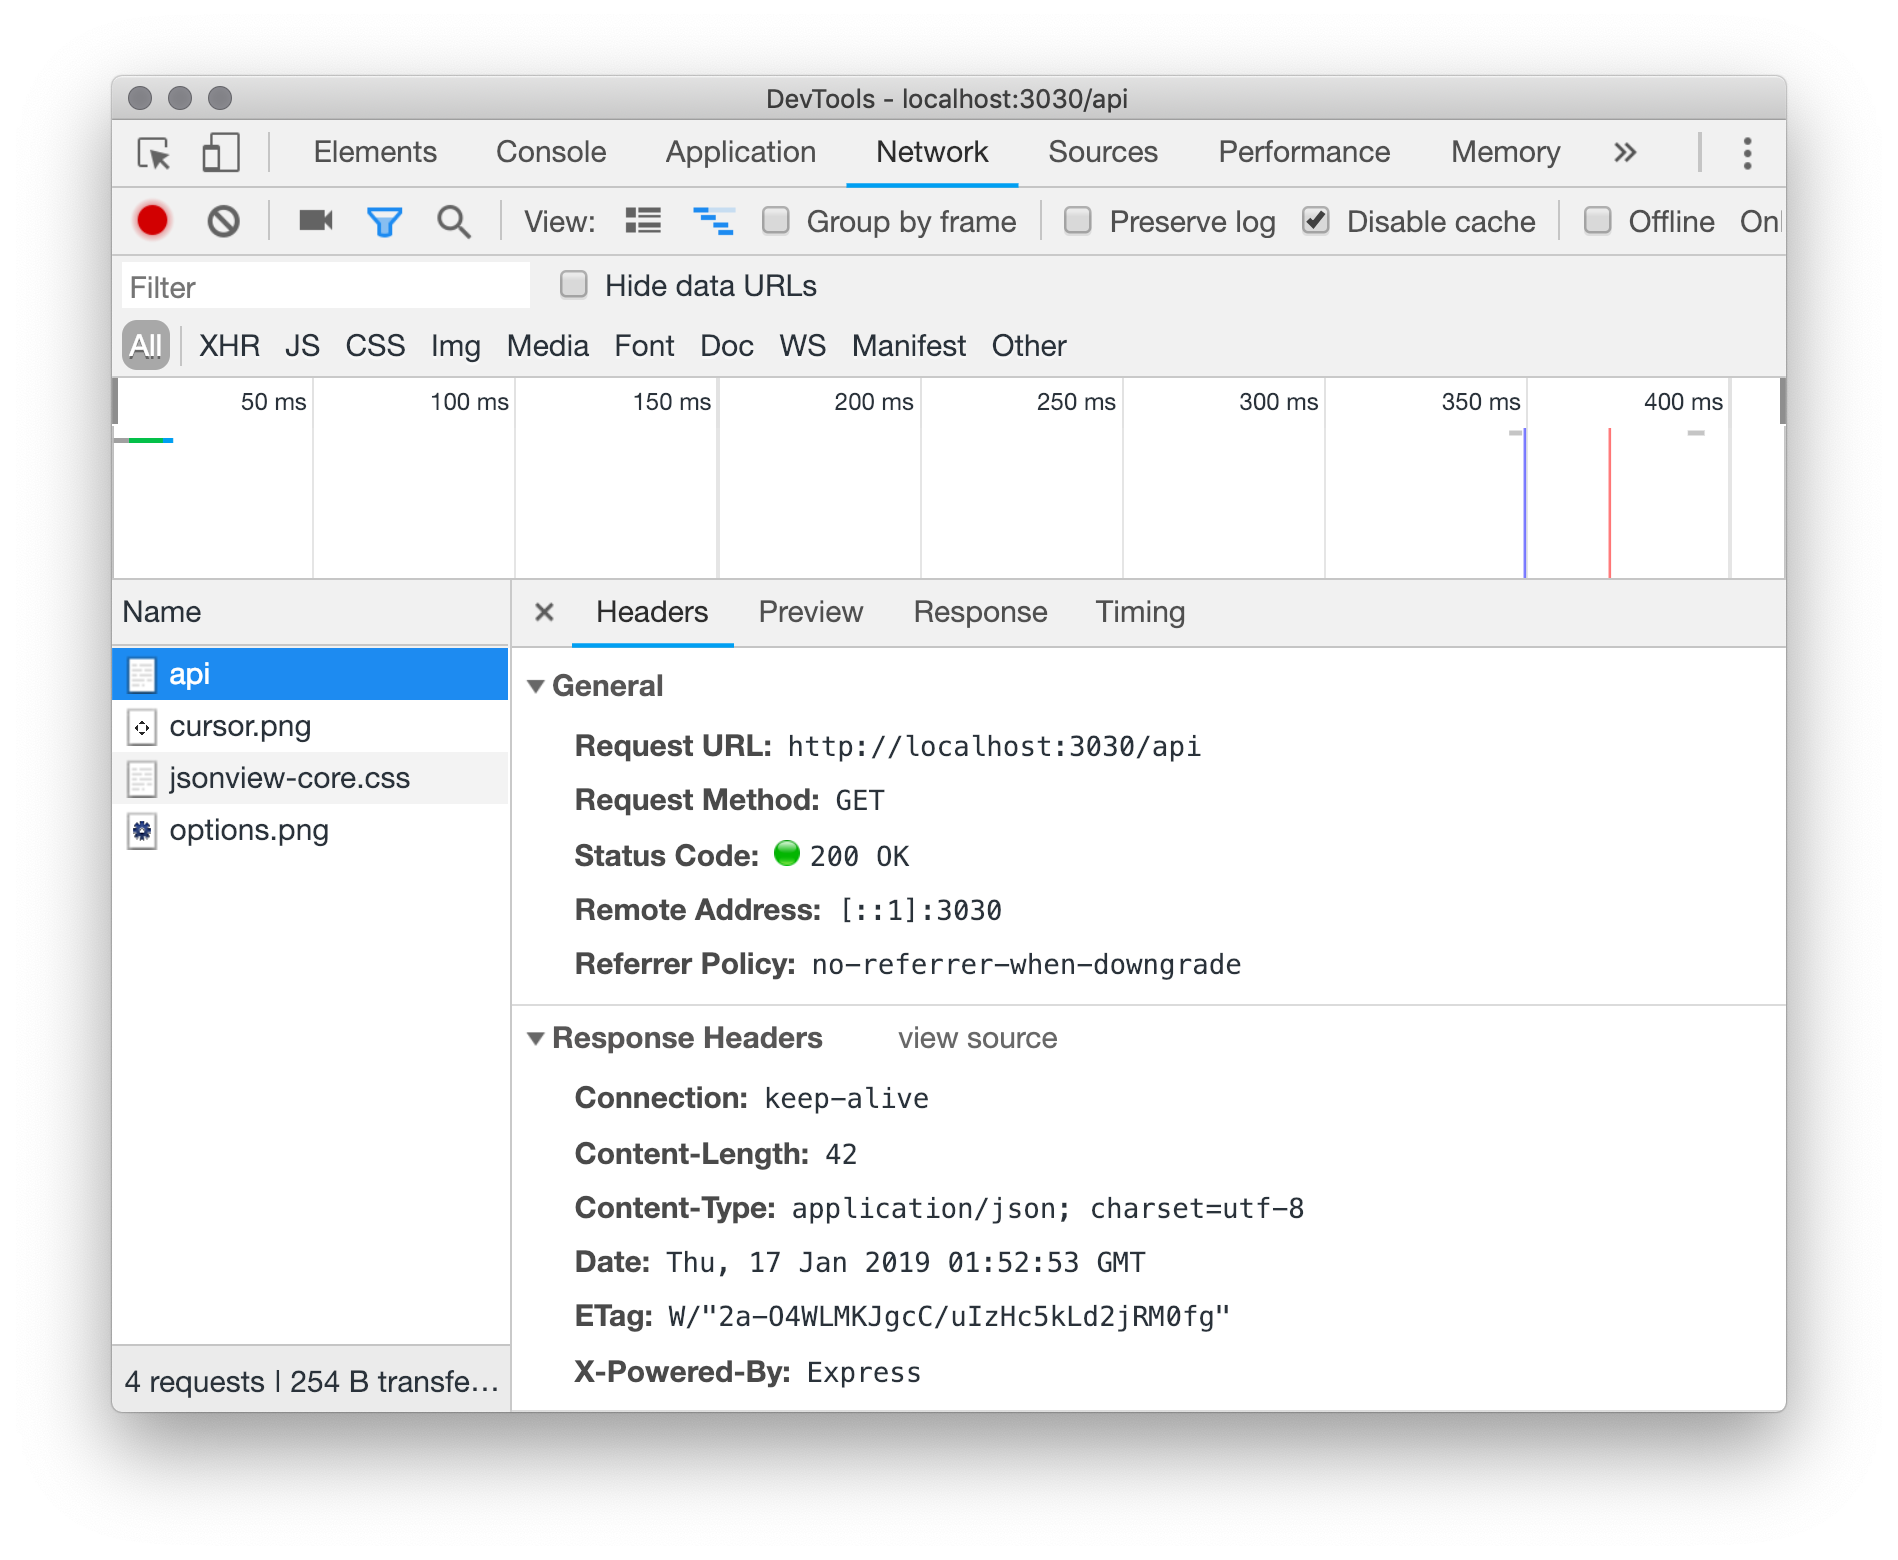
If we check that in the browser now, you'll see that Express recognizes that we are sending an object instead of a string and automatically sets the correct Content-Type header and stringified payload.

# Let's return a more complex payload
First add a new hard coded array of car objects.
const cars = [
  {id: 1, make: 'Tesla', model: 'S', colour: 'Black'},
  {id: 2, make: 'Tesla', model: '3', colour: 'Red'},
  {id: 3, make: 'Tesla', model: 'X', colour: 'Silver'},
  {id: 4, make: 'Tesla', model: 'Y', colour: 'Chestnut Brown'}
]
Now add a new /api/cars route that returns the array of car objects.
app.get('/api/cars', (request, response) => {
  response.json({data: cars})
})
TIP
By using the explicit res.json() method, Express does not have to evaluate the content type of the response payload. This is a little more performance optimized.
# Load the cars array from a module
- create a new module file called
cars.js - copy the array declaration from above into that new file
- export the array
- replace the hard coded array in
app.jswith a require statement to get cars from the new module
# Git'er done
Initialize the current project folder (week2) with git
git init
Add a new file in the current project folder (week2). Name it .gitignore and don't forget the leading period in the name - it is important. Add these two lines inside the .gitignore file.
.DS_Store
node_modules
Reminder
The .gitignore file tells git to exclude certain files and folders from the source control repository. In this case, the node_modules folder includes all of the third-party libraries that NPM installed for us.
This is not your code. It does not belong in your repo.
We record our dependencies in the package.json file, and can have NPM re/install them for us at any time by running the npm install command.
Make a commit with all of the files from today's class
git add .
git commit -m "Completed week2 in-class exercises"
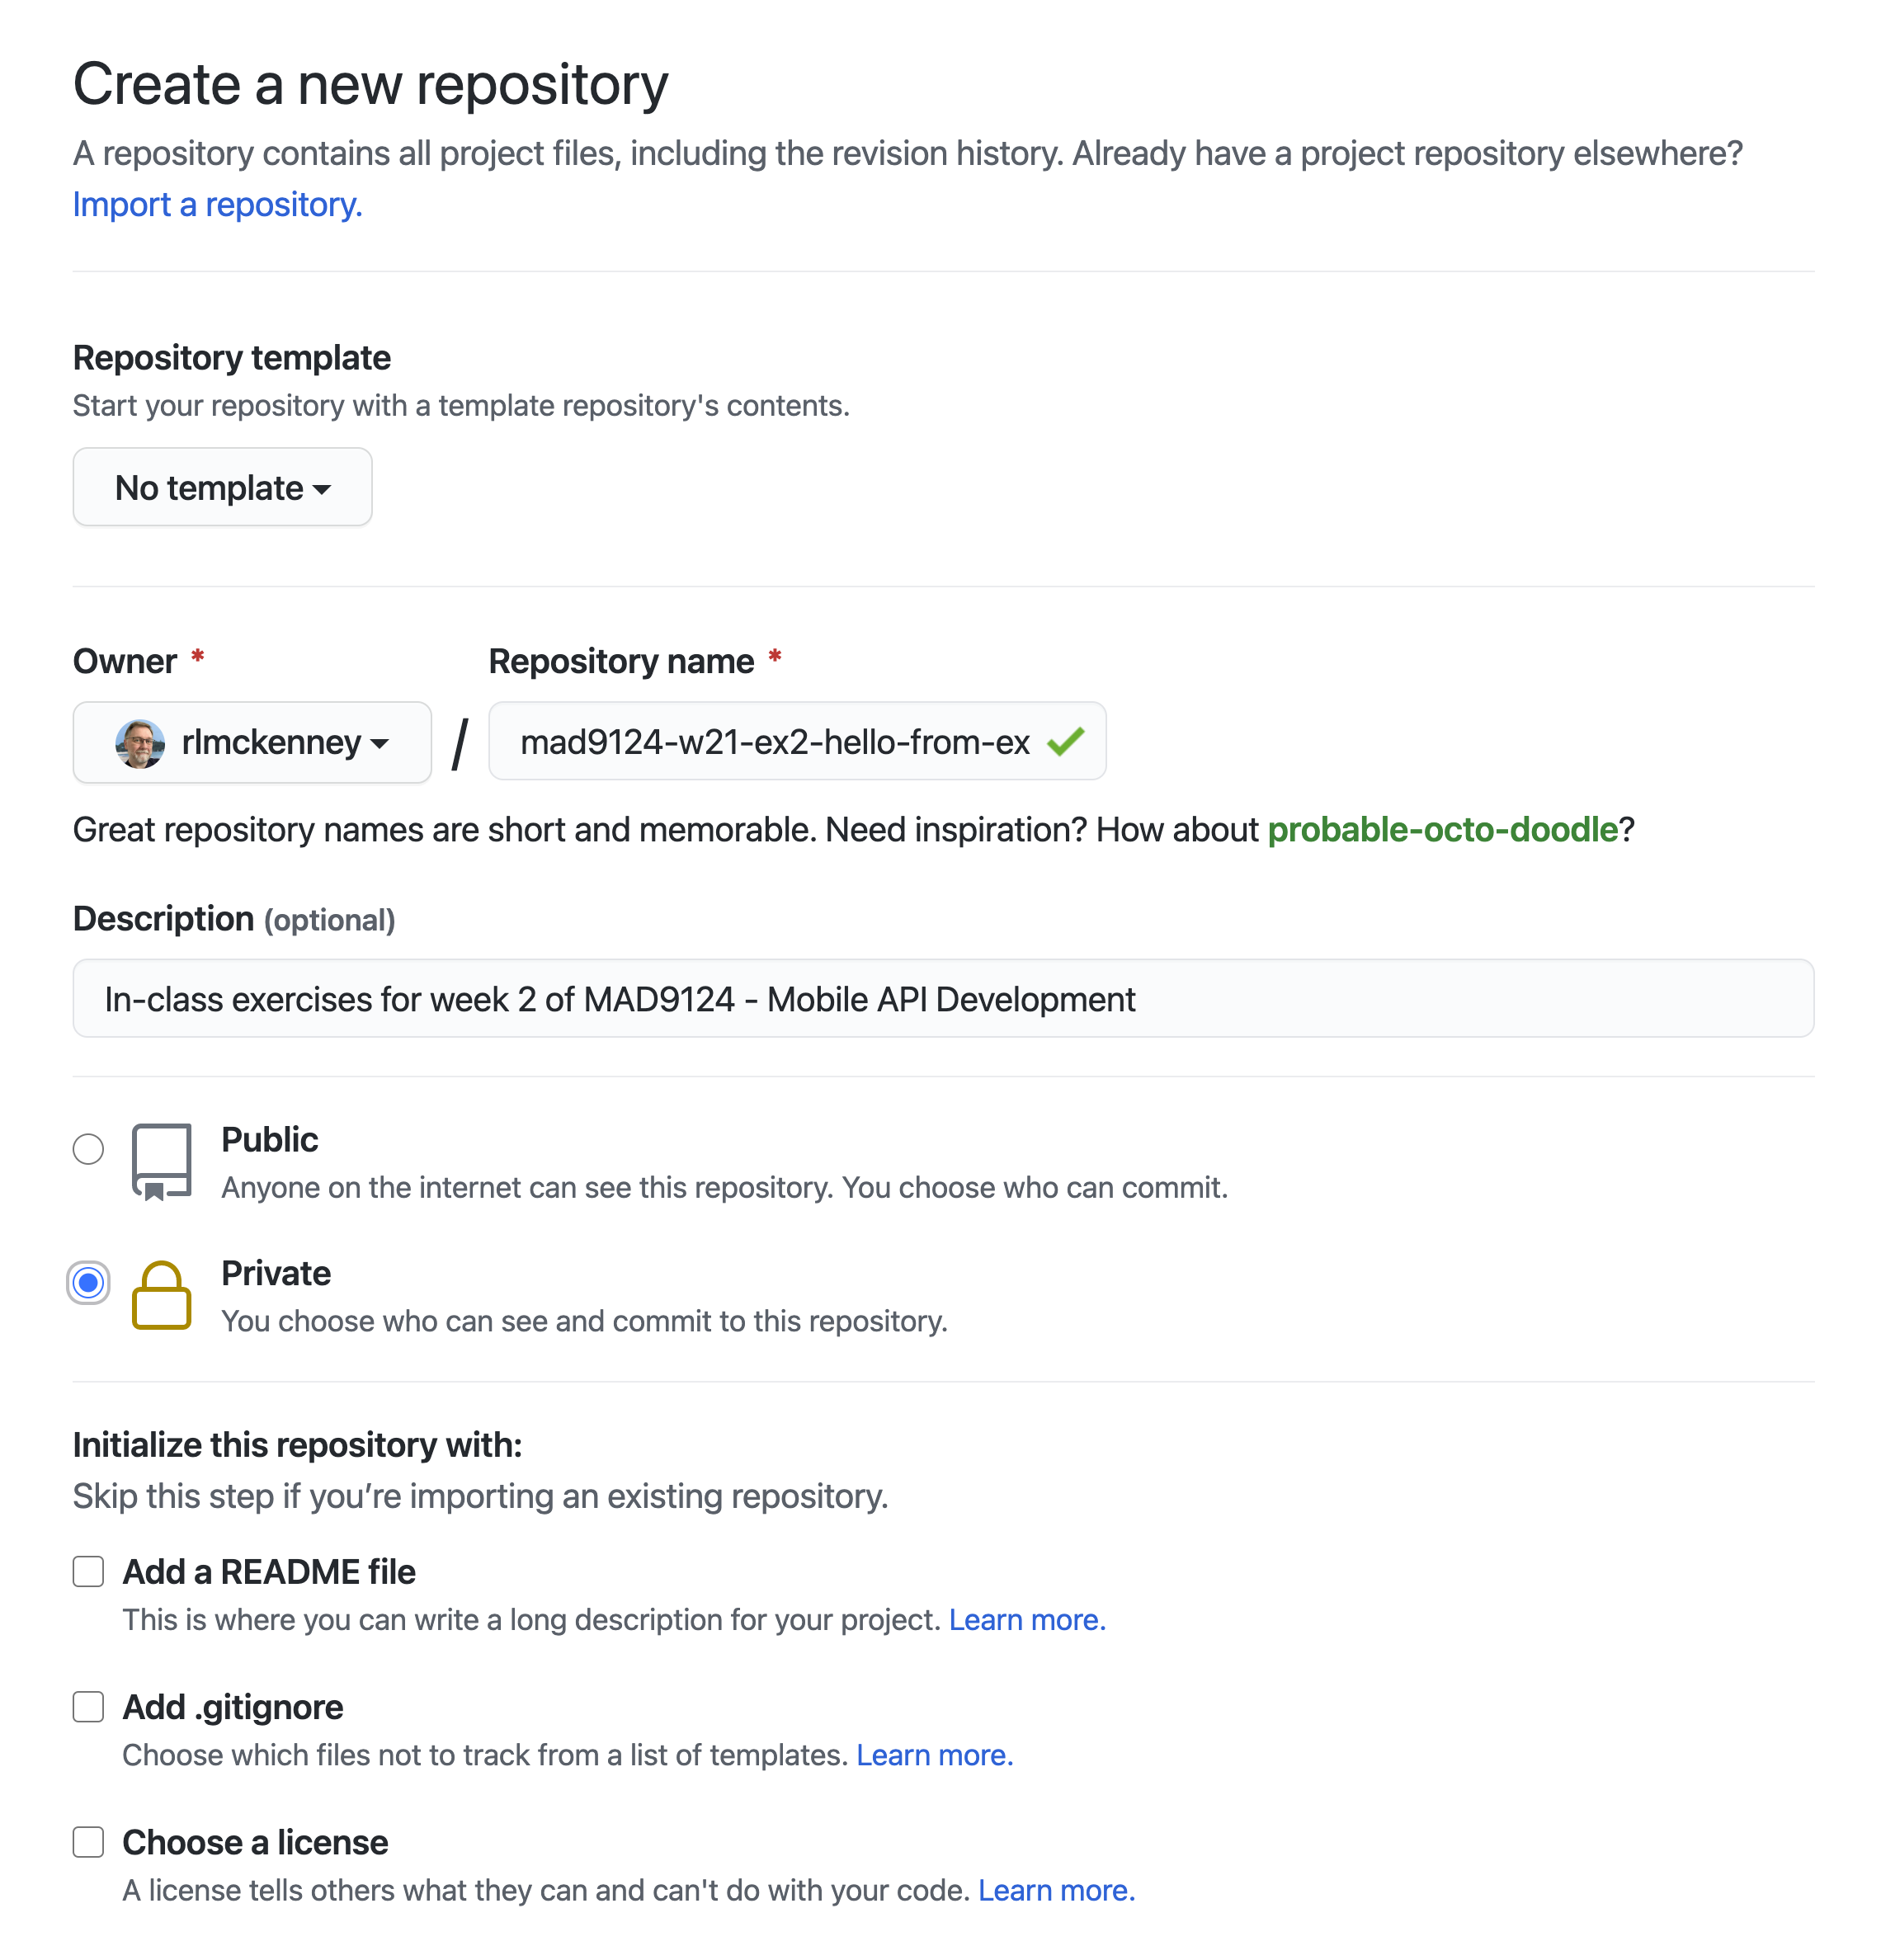
Create a new private, empty repo on GitHub named mad9124-w21-ex2-hello-from-express. Give it a helpful description like, "In-class exercises for week 2 of MAD9124 - Mobile API Development".
DO NOT generate any default files, because you will be importing your existing local repository files.
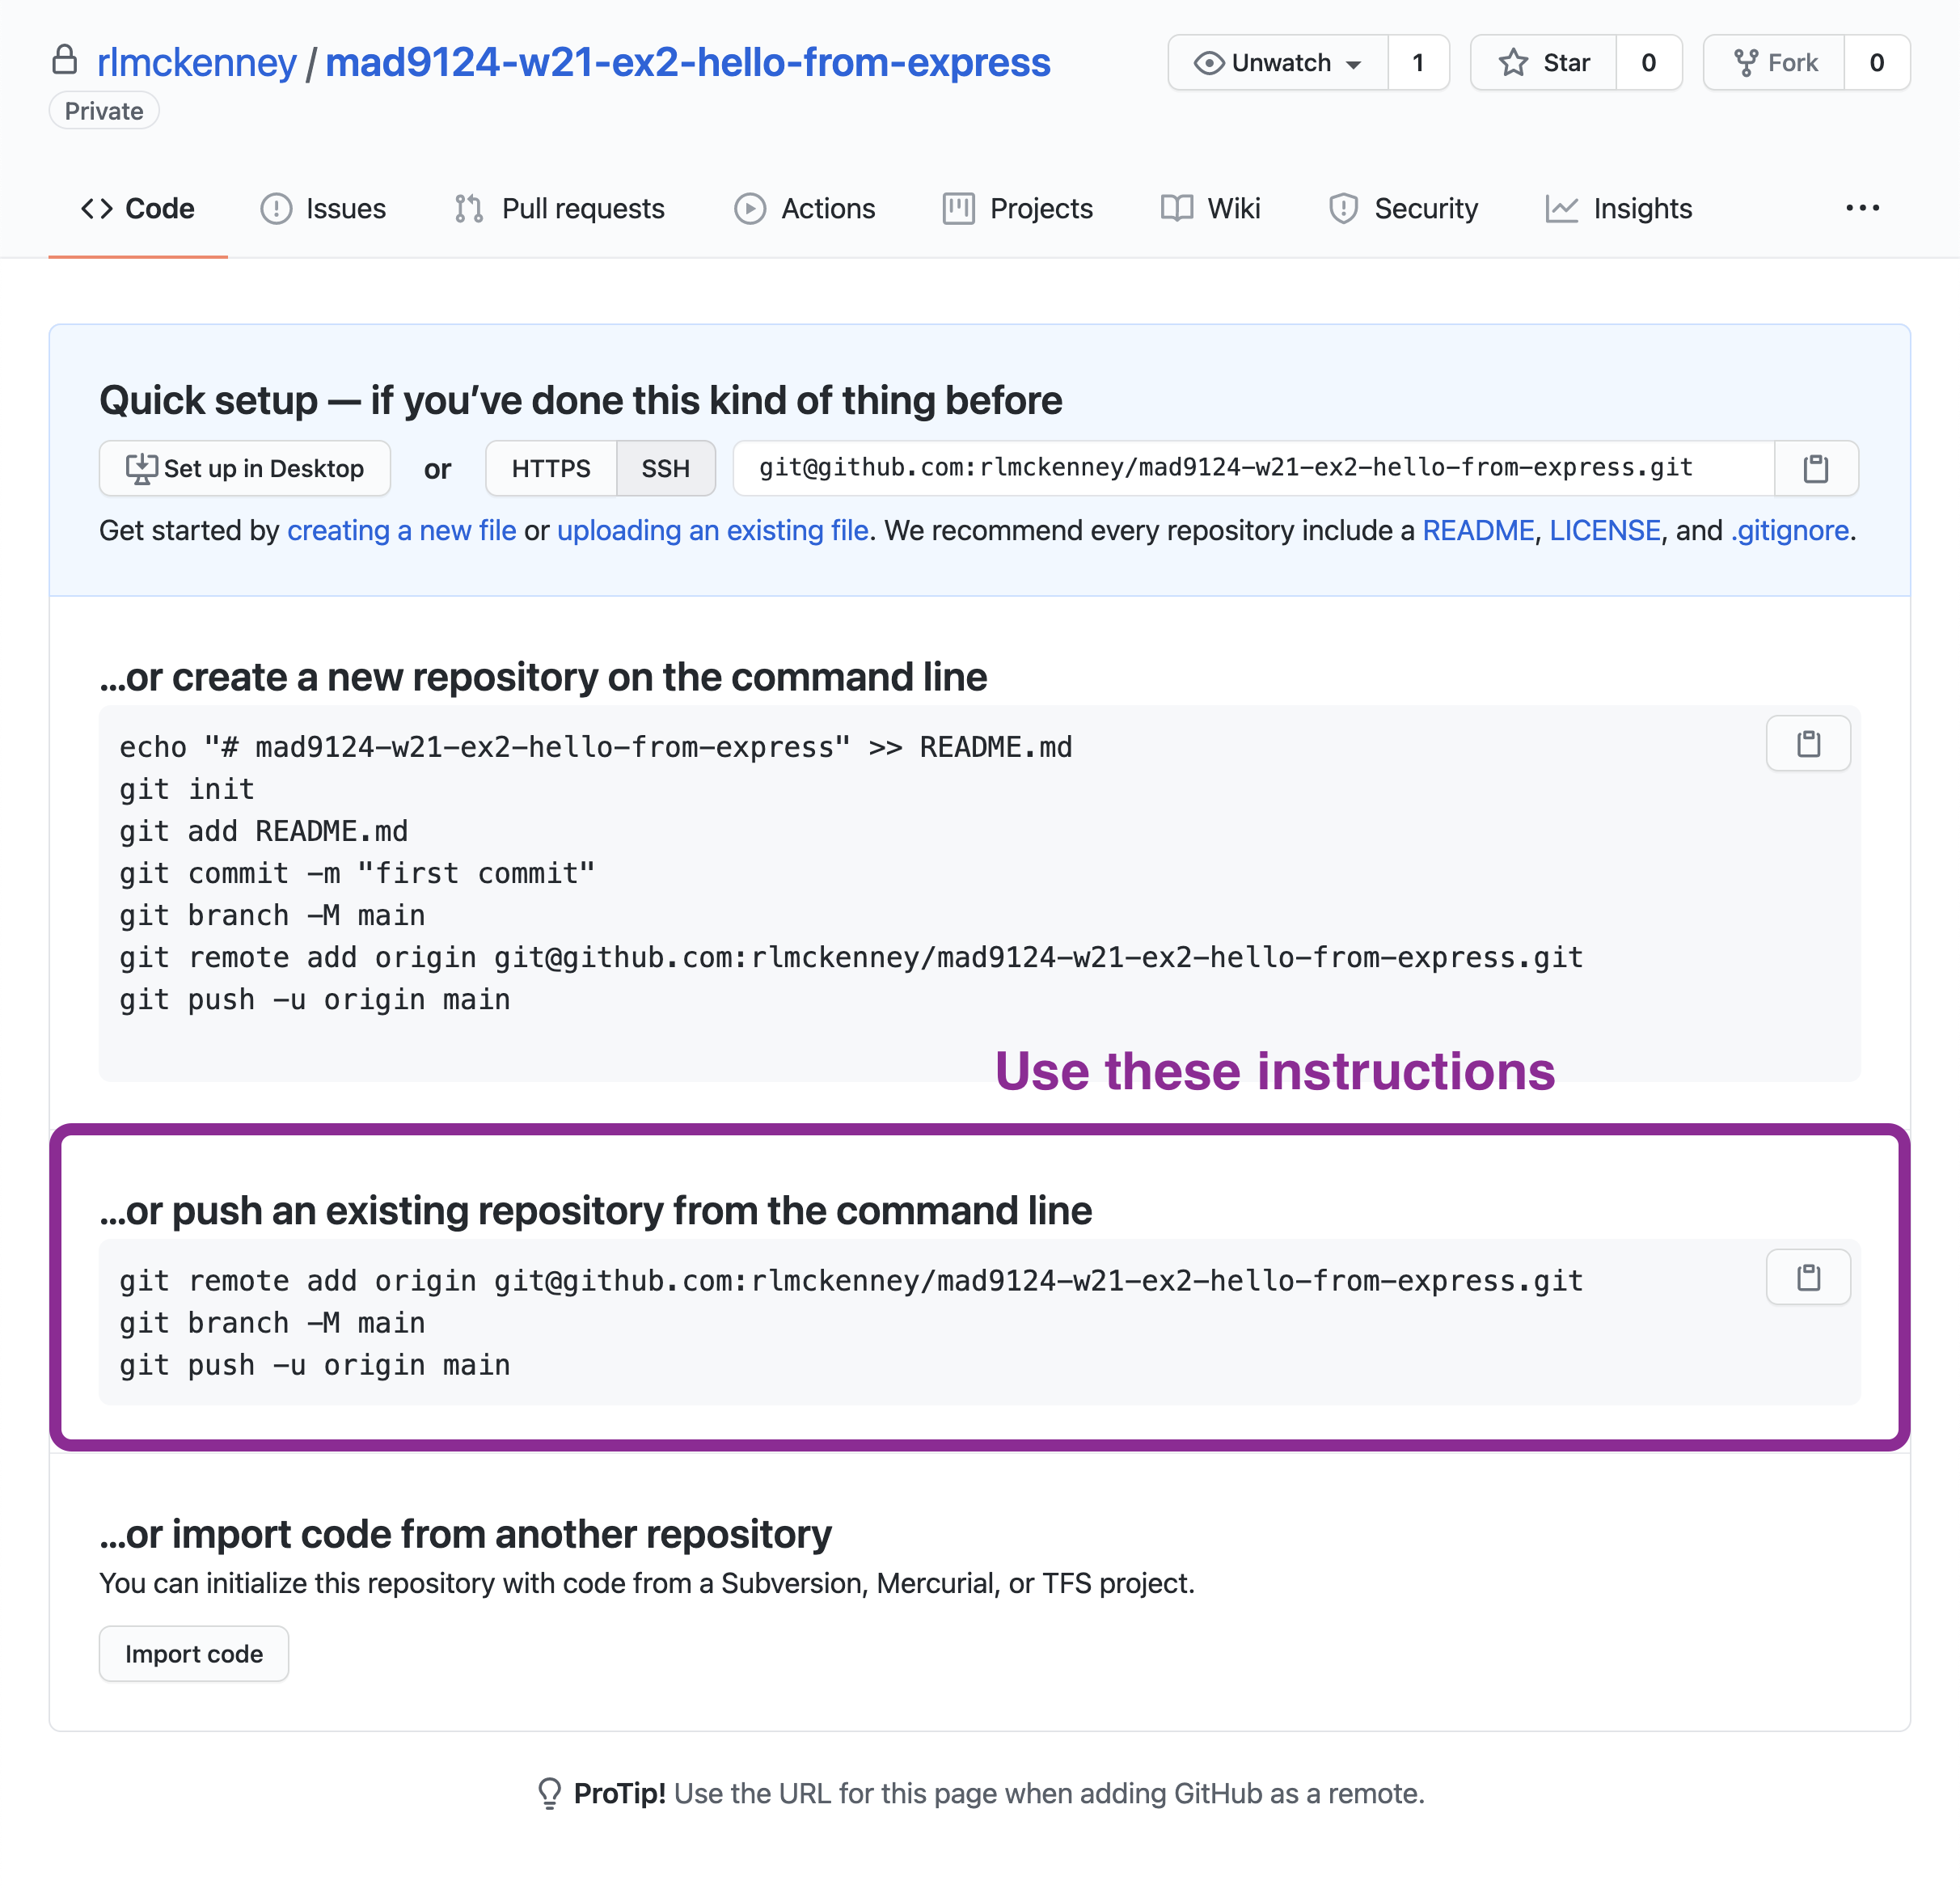
Link your new empty GitHub repo as a remote on your local repo with the git remote add origin command and then sync it with the git push command. GitHub will display the commands with the correct link to your new repo. Use the "push an existing repository from the command line" instructions displayed on your GitHub repo page, similar to the image below.
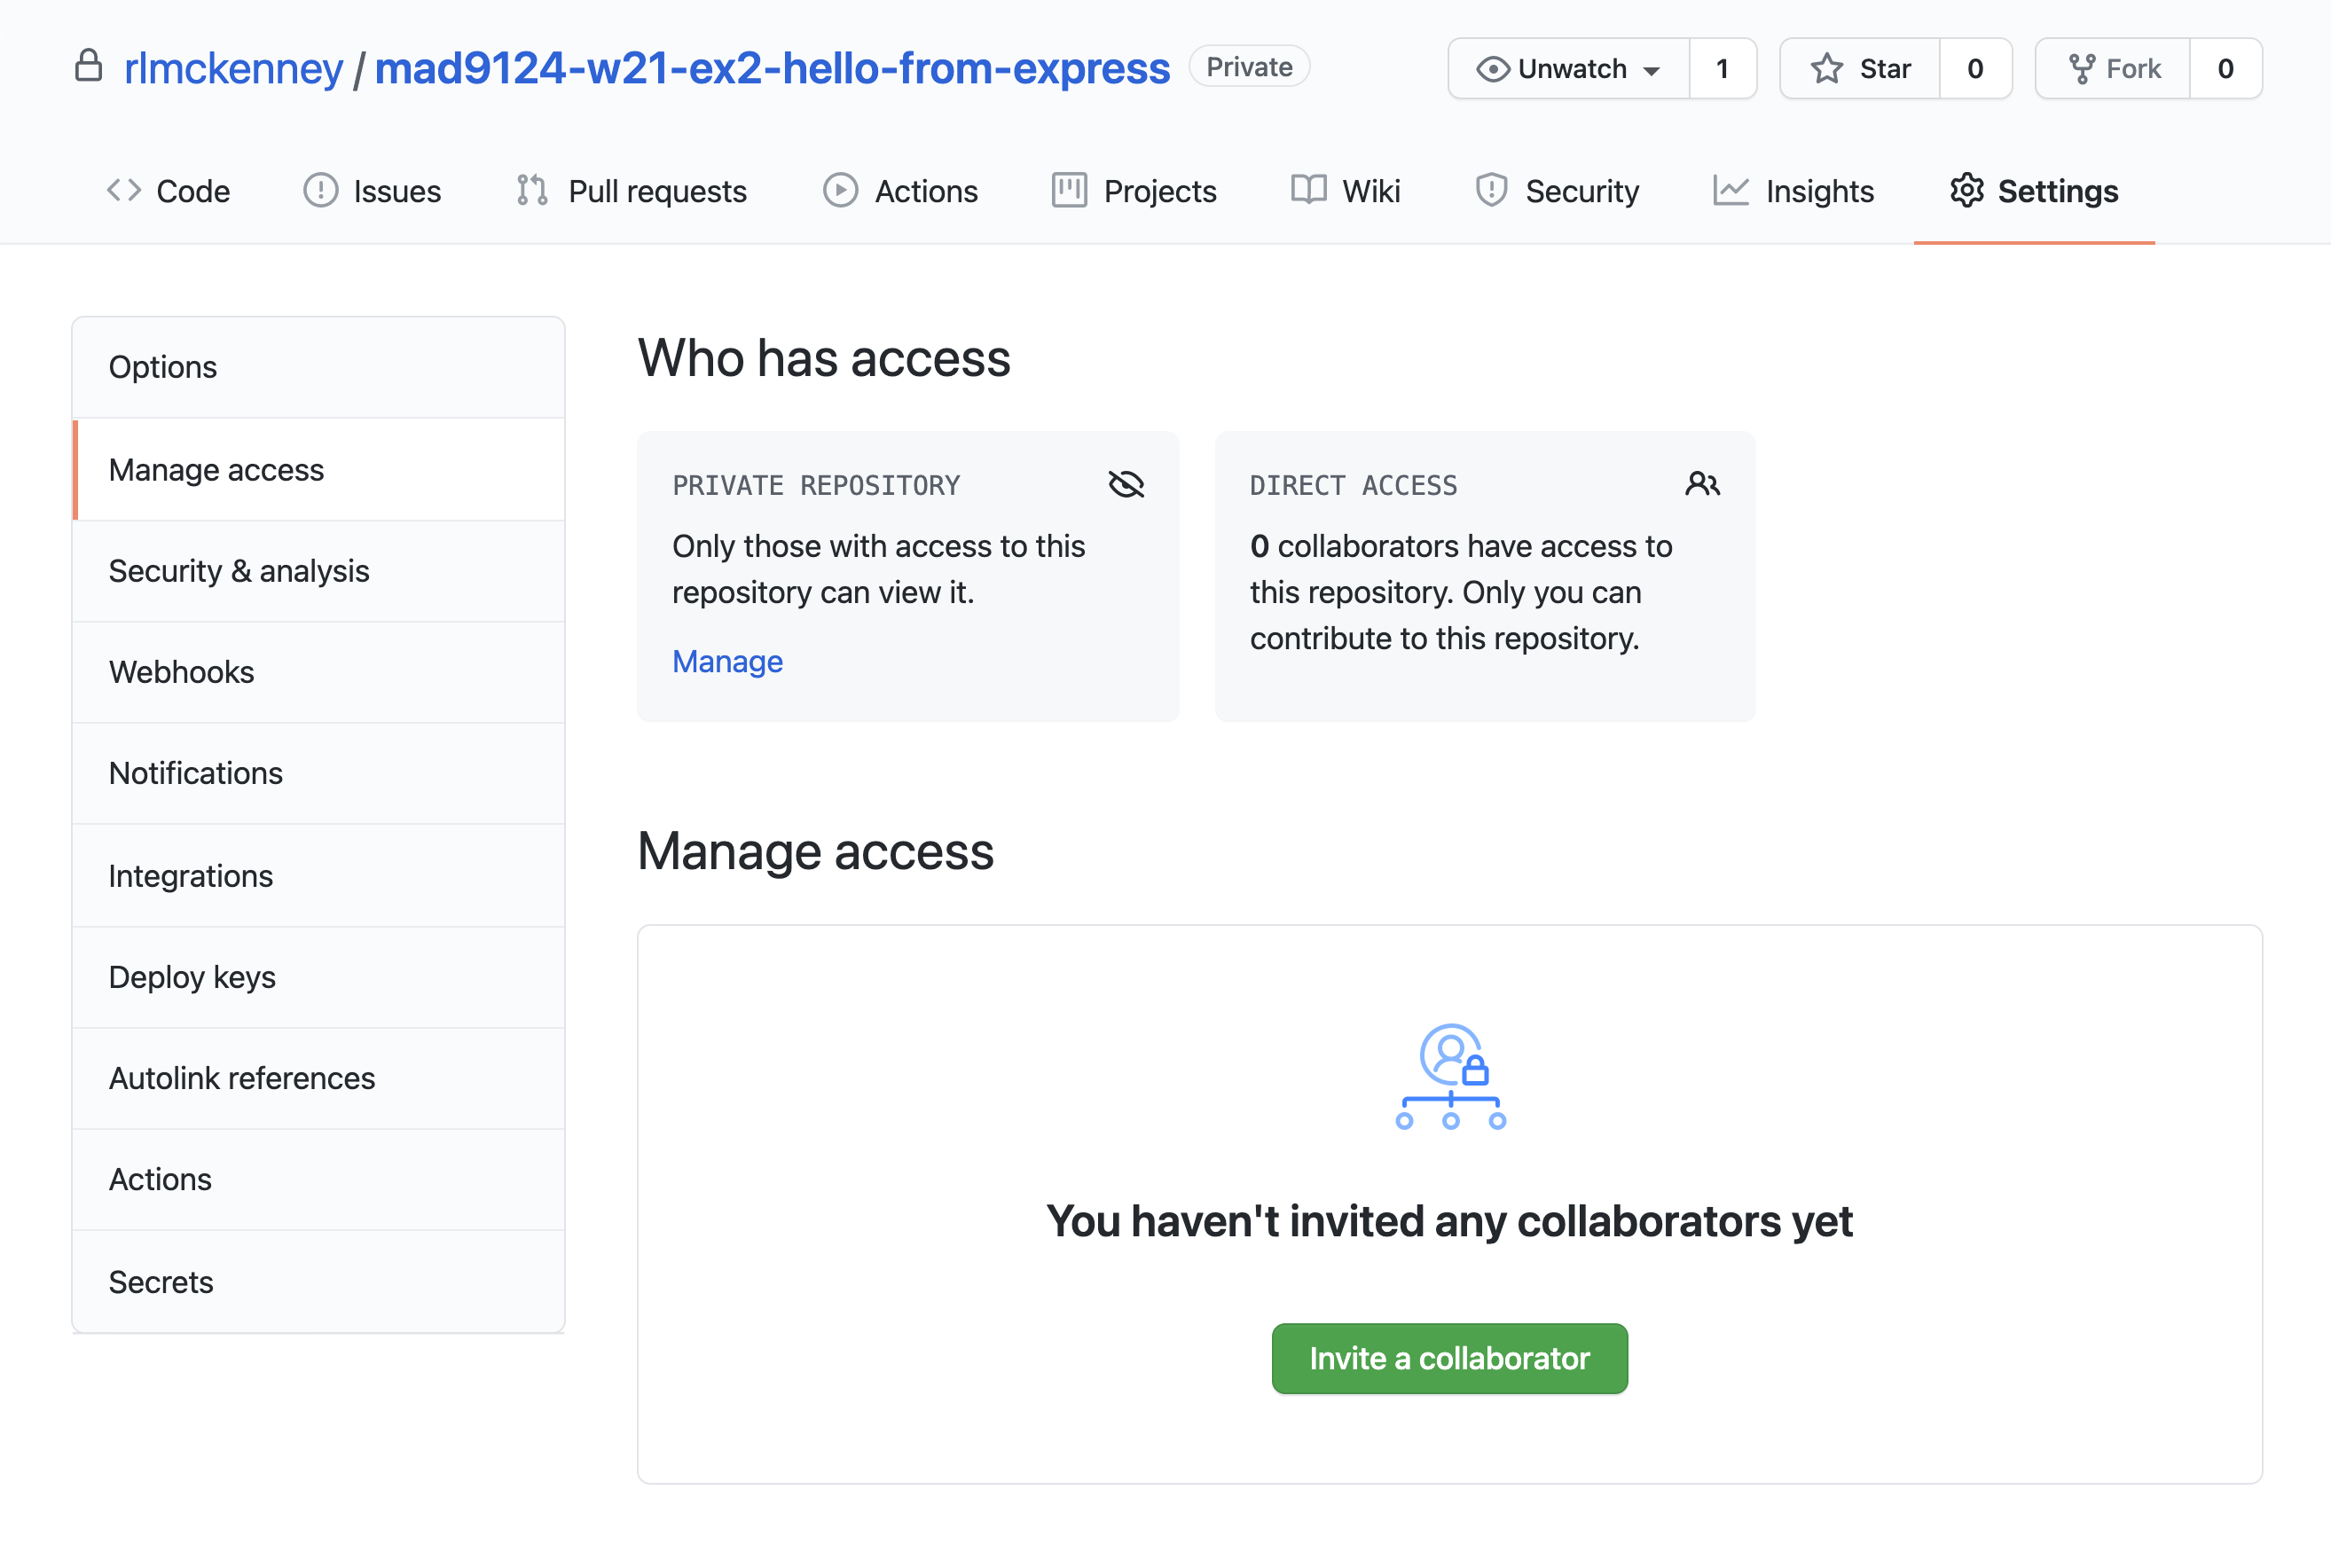
Because your repo is private, you will have to add me as a collaborator so that I can see your code. My GitHub userId is rlmckenney.
- Go to the [Settings] page of your GitHub repo
- Then click on the [Manage Access] tab on the left.
- Click on the green [Invite a collaborator] button on the right.
- Add my user name in the modal dialog-box.
# Don't forget to submit the URL to your GitHub repo on Brightspace
# For next week
Before next week's class, please review these additional online resources.
# Modules
- Modules, introduction | Javascript.info (opens new window)
- Introduction to ES Modules | Flavio Copes (opens new window)
# The Event Loop
- Overview of Blocking vs Non-Blocking (opens new window)
- What the heck is the event loop? (opens new window) video
- Don't Block the Event Loop (or the Worker Pool) (opens new window)
# Node's HTTP module
- The anatomy of an HTTP transaction (opens new window)
- Build web server with vanilla node (part 1) (opens new window) video
- Build web server with vanilla node (part 2) (opens new window) video
- Build web server with vanilla node (part 3) (opens new window) video
# JavaScript Promises
- JavaScript tutorial: Promises (opens new window)
- JavaScript Promise: Async/Await (opens new window)
- Async and await (opens new window) video
- Combining async/await with promises (opens new window) video
- For await of (opens new window) video
# JavaScript Classes and Prototypes
- Intro to Class syntax (opens new window) video
- Classes vs Prototypes (opens new window) video
- The prototype chain (opens new window) video
- How to Chain methods (opens new window) video
Quiz
There will be a short quiz next class. The questions could come from any of the material referenced above.