Week 9
Data Persitance and MongoDB
# Agenda
- AMA (10 mins)
- Data persistence
- Difference between NoSQL DB and MySQL DB
- MongoDB on local
- Moongoose
# Data persistence
Data persistence refers to the method of storing data in a permanent manner, even after the end of a session or the shutdown of the system. There are several ways to achieve data persistence in Node.js, including:
File System: Node.js provides a built-in module 'fs' to read and write files.
Database: Popular databases used in Node.js include MySQL, PostgreSQL, MongoDB, etc.
Cache: In-memory caching solutions like Redis or Memcached can be used for data persistence in Node.js.
Object Serialization: Node.js provides the 'Object.serialize()' method to convert an object into a string representation, which can then be written to disk or a database.
Ultimately, the choice of data persistence method depends on the requirements of your application, such as scalability, security, performance, and data structure. All these information would become valuable in final-term Applied Projects.
# Databases
Most real world applications need to store structured data that reflects the state of the application and is selectively searchable, with appropriate authorization credentials. This is the job of a database.
Traditionally databases systems have been based on a series of tables, like a spreadsheet, with the columns representing the properties on a record and each row containing the complete set of properties for that unique record.
The cars data we have seen might be represented in a table like this:
| id |  make | model | colour |
|---:|:-----:|:-----:|:------:|
|  1 | Tesla | S     | Black  |
|  2 | Tesla | 3     | Indigo |
|  3 | Tesla | X     | Brown  |
|  4 | Tesla | Y     | Silver |
# Relational Databases
Relational databases are a type of database management system (DBMS) that use a relational model to organize data into one or more tables. The relationships between the tables are defined by common fields (keys) between them, which serve as unique identifiers for each record. The most widely used relational database management systems are MySQL, PostgreSQL, Microsoft SQL Server, Oracle Database, and SQLite.
In a relational database, data is organized into rows and columns within tables, with each row representing a single record and each column representing a specific piece of information about the record. The relationships between tables are defined by the presence of common columns (keys) in multiple tables, which are used to link records together.
Relational databases are well suited for applications that require complex data relationships and transactions, as well as for managing large amounts of structured data. They offer robust querying capabilities, enabling developers to retrieve and manipulate data in a variety of ways. However, they can be slower and more difficult to scale than other types of databases, such as NoSQL databases.
# Document Databases
Document databases are a type of NoSQL database management system (DBMS) that store data in semi-structured or unstructured documents. Each document represents a single record and contains all the information about that record, including both data and metadata. The documents are stored within collections, which are similar to tables in relational databases.
In document databases, data is stored as JSON or BSON documents, which are flexible and allow for easy scaling and high performance. The schema-less nature of document databases means that documents can have different structures and fields, making it easier to add new data to the database without having to modify the existing schema.
Document databases are well suited for applications that require high performance and scalability, as well as for handling complex, hierarchical data structures. Popular document databases include MongoDB, CouchDB, and RavenDB. However, document databases can be more difficult to query and may have limitations when it comes to complex transactions and data relationships.
# Hands on with MongoDB
# Install MongoDB
There are several ways to get MongoDB running in your local development environment.
- Download the runtime installer from the MongoDB website.
- Use Homebrew to install MongoDB.
- Use Docker and run it in a container.
For this course, we will using Homebrew to install MongoDB.
- Open the Terminal app and type
brew update. - After updating Homebrew
brew install mongodb - After downloading Mongo, create the
dbdirectory. This is where the Mongo data files will live. You can create the directory in the default location by runningsudo mkdir -p /data/db - Make sure that the
/data/dbdirectory has the right permissions by running
> sudo chown -R /data/db
> # Enter your password
- Run the Mongo daemon, in one of your terminal windows run
mongod. This should start the Mongo server. - Run the Mongo shell, with the Mongo daemon running in one terminal, type
mongoin another terminal window. This will run the Mongo shell which is an application to access data in MongoDB.
mongod //in one of your terminal
mongo //in another terminal
- To exit the Mongo shell run
quit() - To stop the Mongo daemon hit
ctrl-c
Set Mongo as a service on Mac
Most importantly to run mongo as a service first stop mongo and mongod by using ctrl+c
To run Mongo daemon as a service run command: brew services start mongodb After successfully run the command, Now restart the computer to set mongo as a service
brew services start mongodb
# Install MongoDB Compass
If you have worked with MySQL databases in the past you probably used a tool like phpMyAdmin, MySQL WorkBench or Sequel PRO to manage and query your databases. MongoDB has a similar tool call Compass. You can read all about its capabilities on at MongoDB.com (opens new window).
Make sure to select Platform depending on your MAC

With the correct version selected, click the big green download button, and then run the DMG installer (the downloaded file).
# Running MongoDB locally
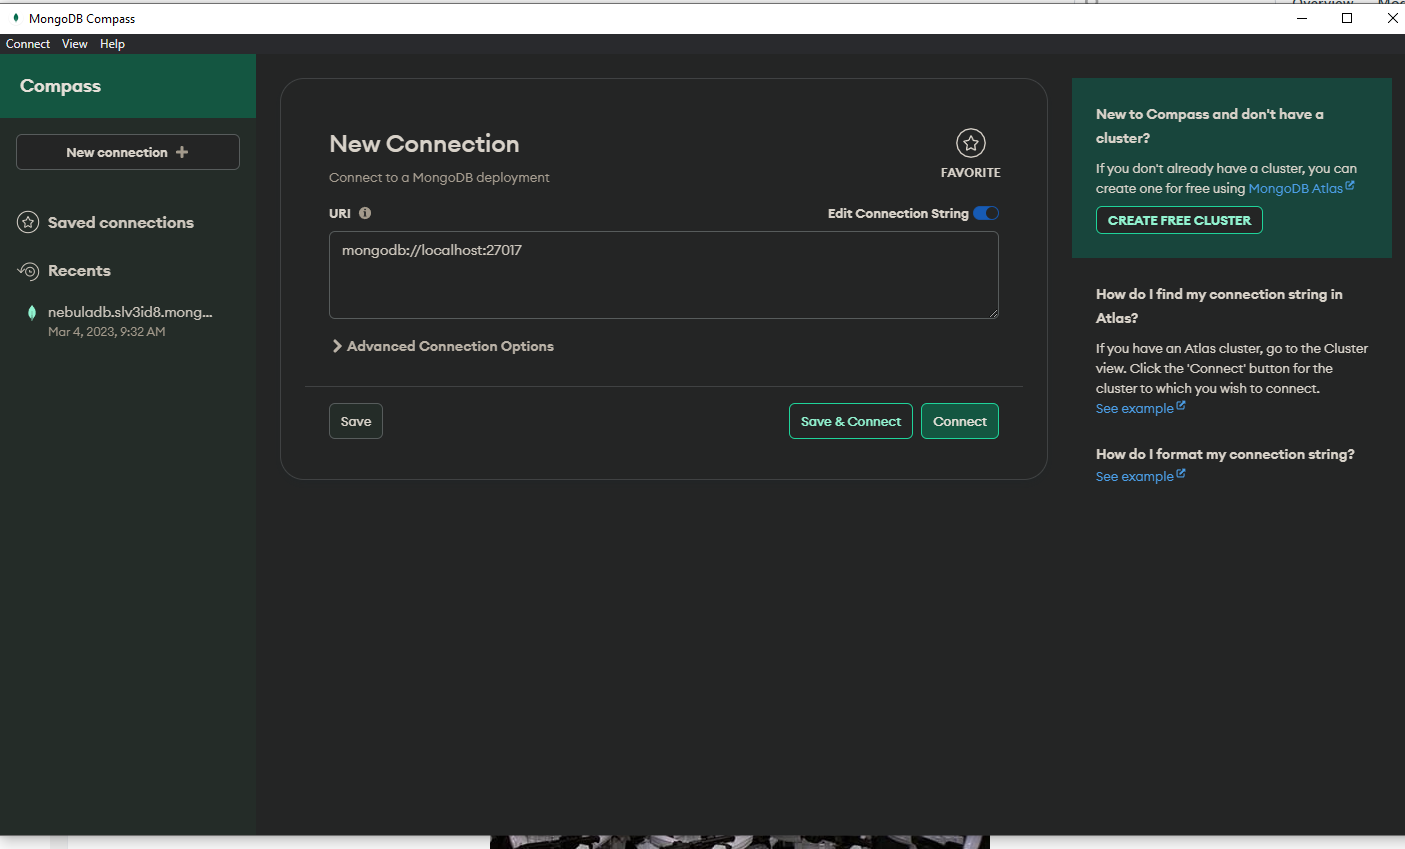
Open the MongoDB Compass app and connect using this connection string
mongodb://localhost:27017
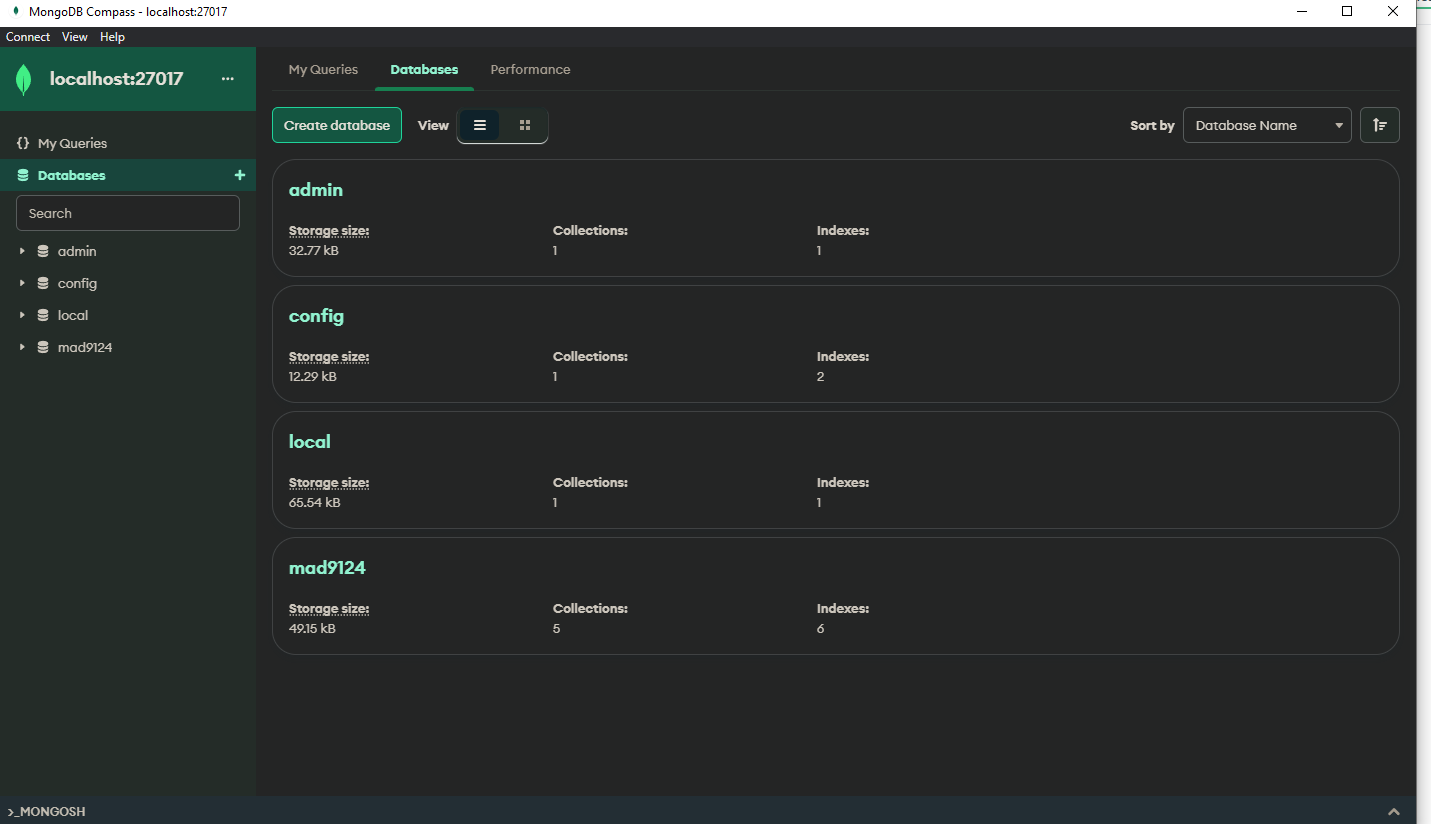
You should now see an active connection to the database engine that looks like this:
# Connect to MongoDB from Node.js
All that set-up was so that we can persist application state in a database.
In your Node.js apps, you will need to open a connection to the MongoDB database so that you can store and retrieve your resource objects (JSON documents). MongoDB provides a official NPM package which we can use to interact with the database. To install it in your project, simply run yarn install mongodb in the terminal.
However ...
For this course we will instead be using a popular data modelling library called Mongoose (opens new window)
# Mongoose Quick Start
yarn add mongoose
OR if you're using npm use npm install mongoose
Create a new file in your project folder called mongooseTest.js. We will give the mongoose.connect method the same connection string for our local MongoDB server that we used with Compass and then append the name of the database we want to connect to at the end. Let's call the database test. The full connection string should now be mongodb://localhost:27017/test.
const mongoose = require('mongoose')
mongoose.connect('mongodb://localhost:27017/test', {
  useNewUrlParser: true,
  useUnifiedTopology: true
The mongoose.connect() method takes two arguments. The first is the connection string. The second is a configuration options object (opens new window). Here we have used the
useNewUrlParser:true option and theuseUnifiedTopology:true option. These are required for connecting to MongoDB servers of version 4.0 or higher. Also, with this option, the port number MUST be included in the connection string.
Even though we have not previously created this
/testdatabase, MongoDB will automatically create it the first time we try to interact with it.
const Cat = mongoose.model('Cat', {name: String})

const kitty = new Cat({name: 'Spot'})
kitty.save().then(savedKitty => console.log(`${savedKitty.name} says 'meow'`))
The mongoose.model method is a class factory (opens new window)that creates a resource class that represents a document collection and we can use it to interact with the database. In the example above we are giving it two properties: 'Cat' is the name of the class of objects to store in a collection in the database, and {name: String} is the expected shape of each 'Cat' document - it will have a property called 'name' which will hold some string data.
An instance of a Model is a Mongoose Document.
Use the new keyword with the model class to create a new instance, or new database document from that class.
Naming conventions: Models are named as a singular noun and start with a capital letter. Database tables or document collections are named as the plural of the model name and are all lower case.
OK. Lets run it and then check the results in MongoDB Compass.
node mongooseTest.js
Let's try adding another Cat instance to the collection. Change the name on line three and rerun it.
const Cat = mongoose.model('Cat', {name: String})

const kitty = new Cat({name: 'Patches'})
kitty.save().then(savedKitty => console.log(`${savedKitty.name} says 'meow'`))
Let's try adding an age to our next Cat.
const Cat = mongoose.model('Cat', {name: String})

const kitty = new Cat({name: 'Callie', age: 6})
kitty.save().then(savedKitty => console.log(`${savedKitty.name} says 'meow'`))
This time, when we check it in Compass the age was not saved. Our Mongoose Model automatically discards any properties that are not predefined. This time change the model schema as well.
const Cat = mongoose.model('Cat', {name: String, age: Number})

const kitty = new Cat({name: 'Callie', age: 6})
kitty.save().then(savedKitty => console.log(`${savedKitty.name} says 'meow'`))
We can also insert many objects into the database at once.
const Cat = mongoose.model('Cat', {name: String, age: Number})

const newCats = [
  {name: 'Fluffy', age: 2},
  {name: 'Pink Spots', age: 12},
  {name: 'Tabatha', age: 16}
]
Cat.insertMany(newCats).then(docs => console.log(docs))
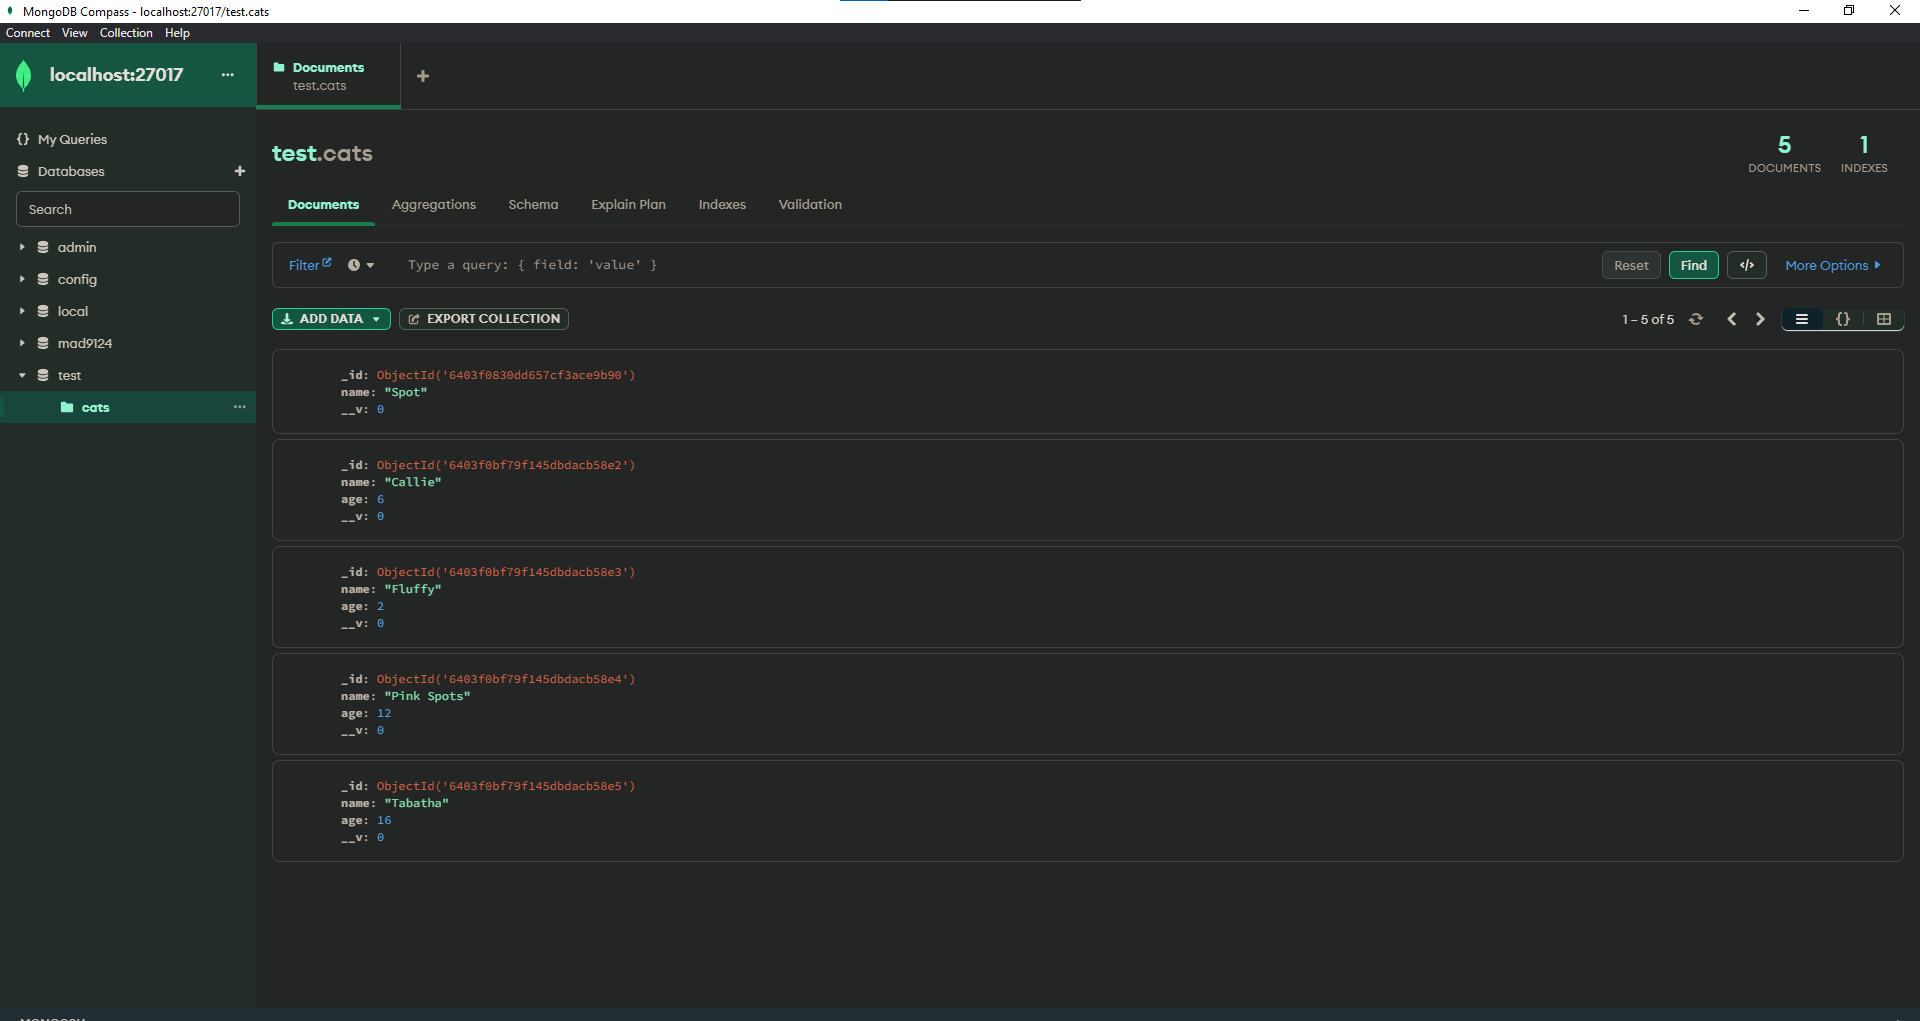
We have added many documents to our collection. How do we retrieve them? Add a new line to find all of the cats from the database.
Cat.find().then(result => console.log({listAll: result}))
How about listing just the Cats with the name 'Spot'?
Cat.find({name: 'Spot'}).then(result => console.log({spot: result}))
That found all of the cats with the exact name 'Spot'. But, what if we wanted to check for names like Spot? We can use regular expressions (opens new window)to match patterns. Replace the quotes with slashes. Now it will match 'Spot', 'Spots', 'Spotty', or 'Pink Spots'.
Cat.find({name: /Spot/}).then(result => console.log({regex: result}))
Regular expressions can be a very powerful tool. Checkout the resources linked below to learn more.
Putting it all together, the final version of our mongooseTest.js should look like this.
'use strict'

// Import the Mongoose library
const mongoose = require('mongoose')

// Connect the mongoose instance to our MongoDB
mongoose.connect('mongodb://localhost:27017/test', {
  useNewUrlParser: true,
  useUnifiedTopology: true
})

// Define the document model for the 'cats' collection
const Cat = mongoose.model('Cat', {name: String, age: Number})

// Create a new Cat document and save it to the database
const kitty = new Cat({name: 'Callie', age: 6})
kitty.save().then(savedKitty => console.log(`${savedKitty.name} says 'meow'`))

// Directly insert an array of Cat property objects
const newCats = [
  {name: 'Fluffy', age: 2},
  {name: 'Pink Spots', age: 12},
  {name: 'Tabatha', age: 16}
]
Cat.insertMany(newCats).then(docs => console.log(docs))

// List all of the Cats in the collection
Cat.find().then(result => console.log({listAll: result}))

// List only the Cats with 'Spot' in the name
Cat.find({name: /Spot/}).then(result => console.log({regex: result}))
There is a lot more to learn about how to use Mongoose and we will continue next week.
# Excerise: Set-up MongoDB
Submit a screenshot of MongoDB Compass showing the connection to localhost:27017/test.cats and the listing of the documents in the collection after your test transactions.